
For years, my trusty Raspberry Pi 4 was the heart of my digital home. It was my little project box, humming away, trying its best to serve my apps and media. But as my ambitions grew, my little Pi started to feel... well, a bit overwhelmed. It wasn't the most reliable, and I was constantly hitting a performance wall, unable to run everything I dreamed of.
I needed an upgrade. A real one. Plus I have not owned any personal Laptop/Desktop since 2018.
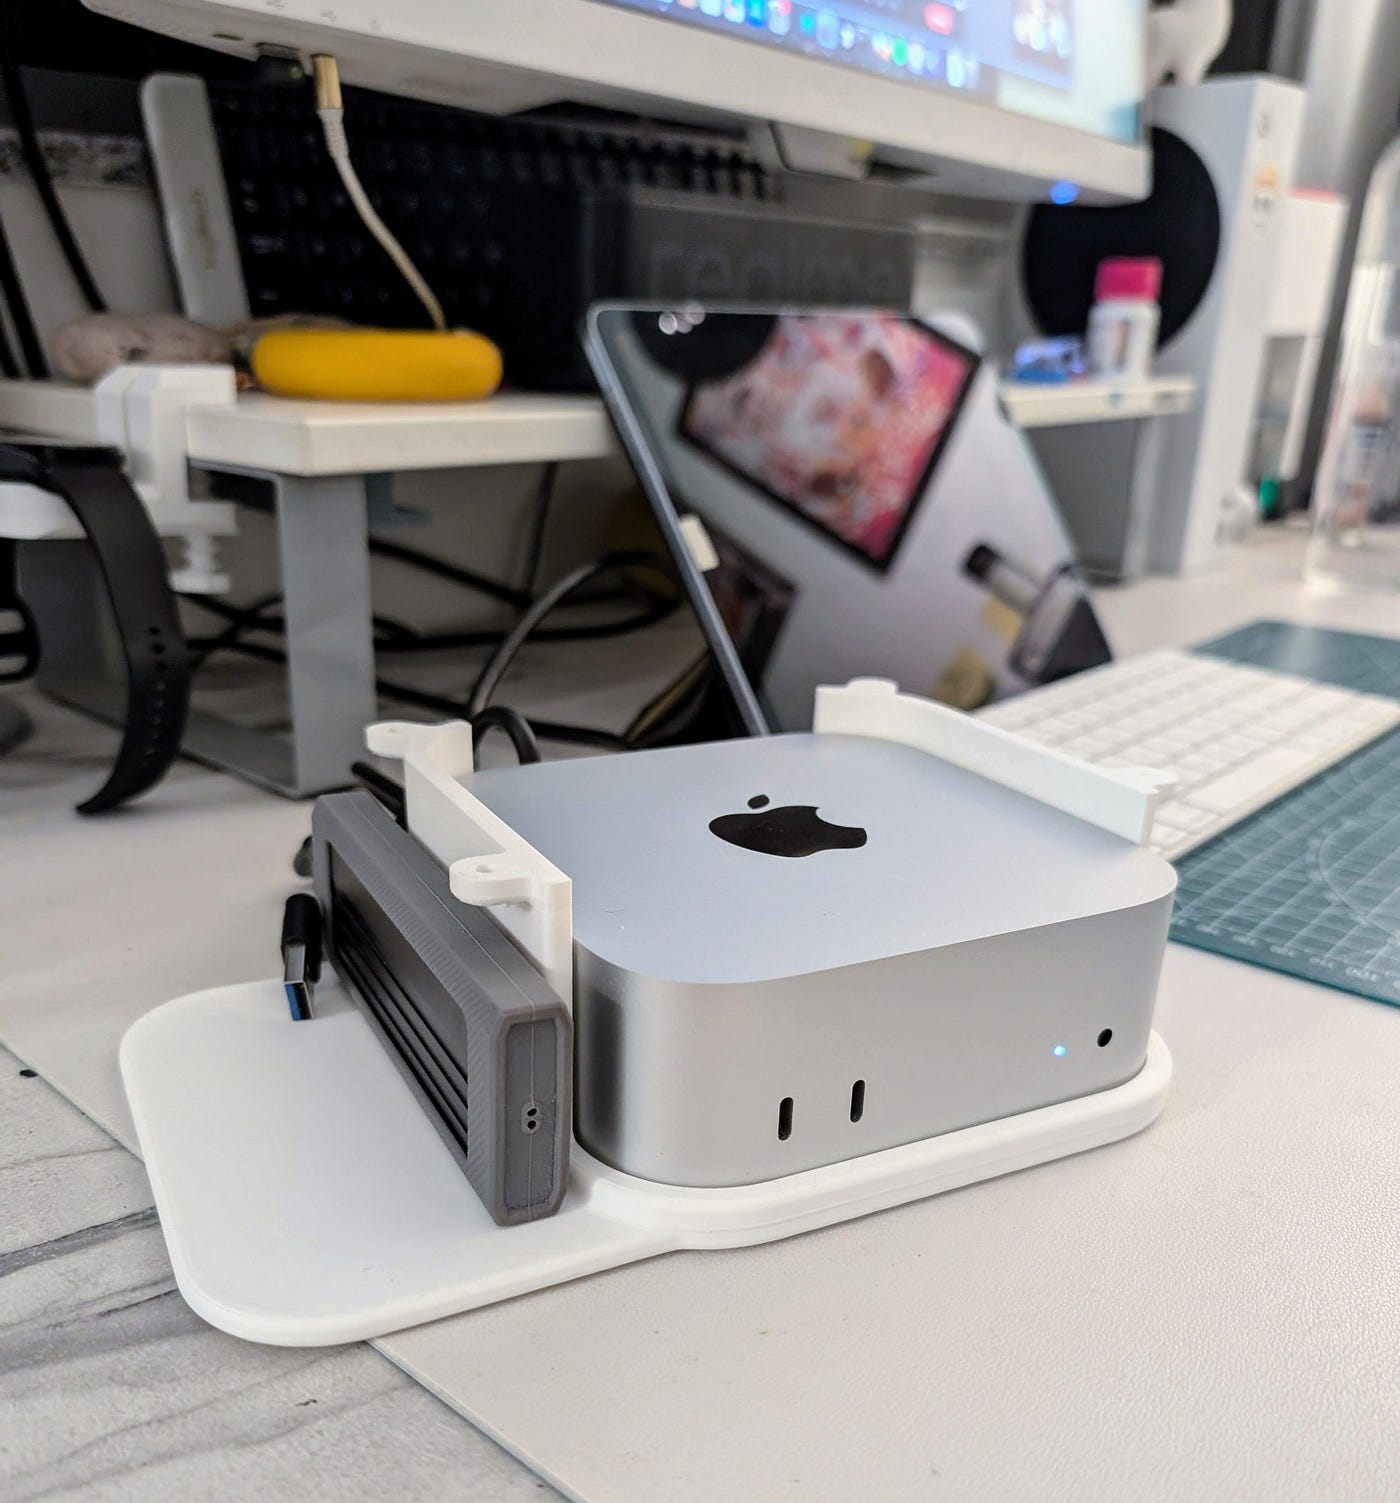
So, I took a leap and decided to build my new digital command center around a machine. I chose the sleek, powerful, and surprisingly tiny Mac Mini. This wasn't just going to be a server; it was going to be my all-in-one powerhouse.
Why the Mac Mini is a Home Server Superhero
You might be thinking, "A Mac Mini? For a server?" Oh, yes. And it's spectacular. Here's why this little silver box is the perfect hero for the job.
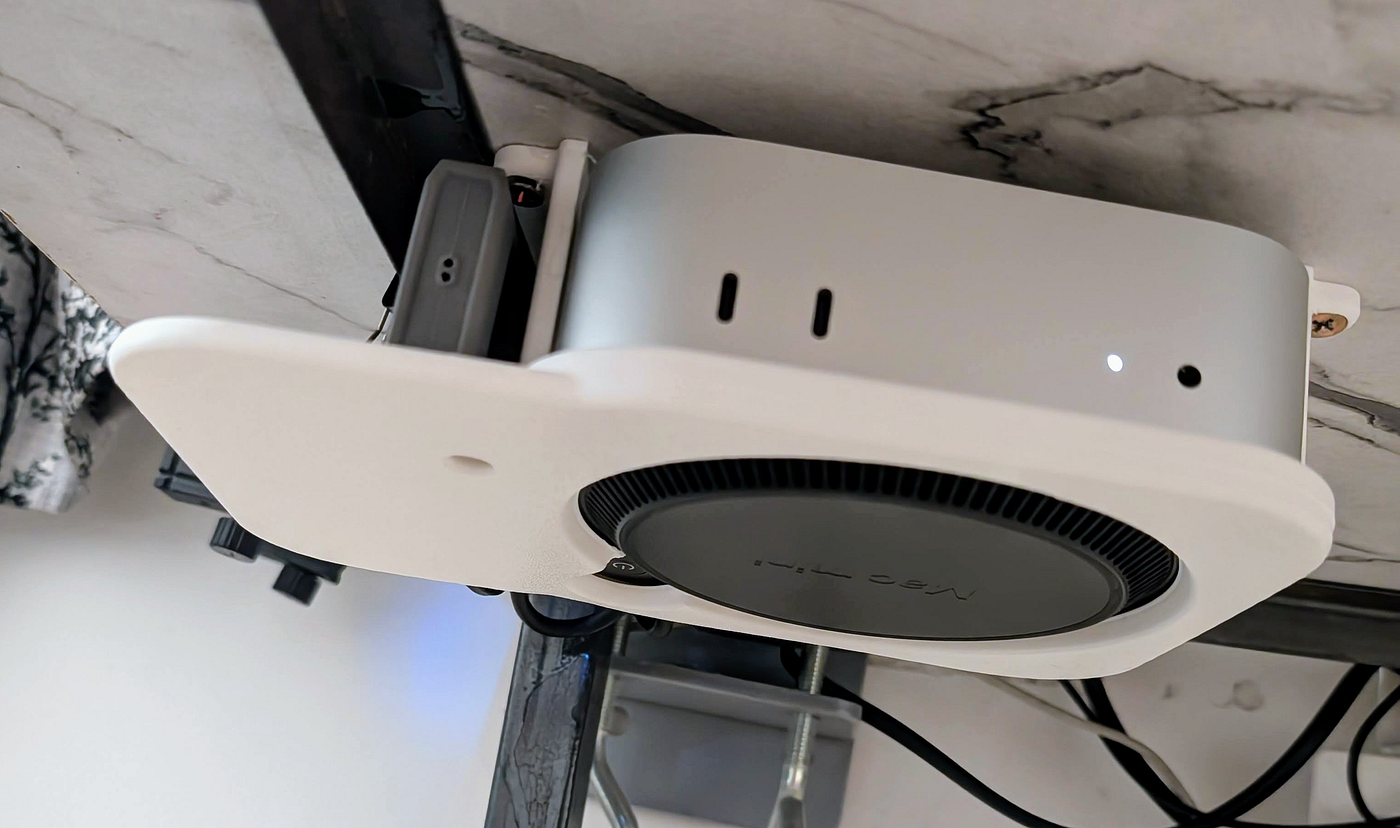
- Compact & Clean: It's tiny! To keep my desk setup minimal, I 3D printed a slick under-desk mount. It keeps the Mac Mini out of sight, secure, and gives the bottom fan plenty of room to breathe.
- Silent & Cool: This thing is whisper-quiet. Seriously. Even when it's transcoding a 4K movie, I barely hear it. It stays cool and doesn't turn my room into a sauna.
- Apple Silicon Efficiency: The M-series chip inside is a marvel. It delivers incredible performance while sipping little power. We're talking ~3-4 watts when idle and around 45 watts under heavy load. It can run 24/7 without making my electricity meter spin like a top.
- Hardware Magic: The M-series chip has dedicated hardware for video encoding (like HEVC/H.265). This is a game-changer for apps like Plex and Tdarr, allowing them to transcode video at lightning speed without crushing the CPU.
It's also super easy to set up, maintain, and even resell if I ever decide to upgrade. It's the total package.
My Digital Toolbox: The Apps Running the Show
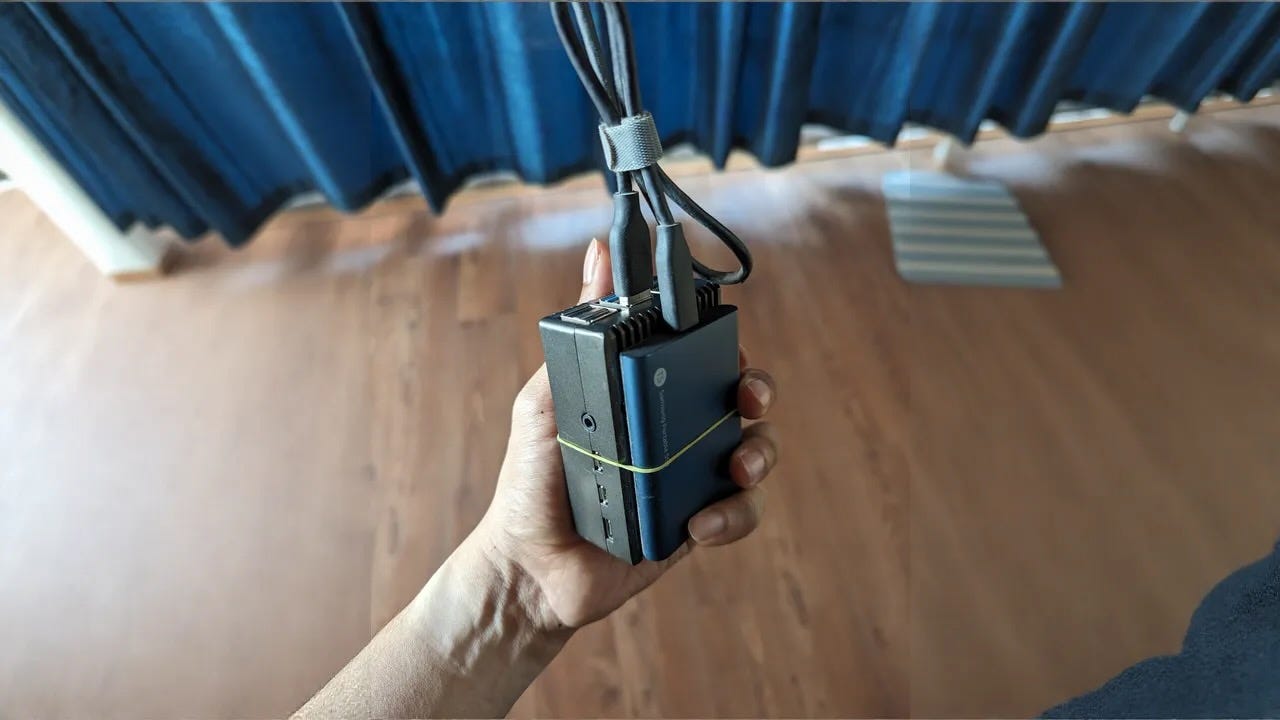
My setup is built on a Mac Mini with 24GB of RAM and a 1TB external SSD, which I've partitioned for Time Machine backups and all my media. The real magic, however, lies in the software. I run almost everything in containers using Orbstack (a fantastic, speedy replacement for Docker on macOS). Here's a peek at my arsenal:
The Entertainment Hub
This is my personal, automated Netflix.
- Plex: The king of media servers, beautifully organizing and streaming my movies and TV shows to any device.
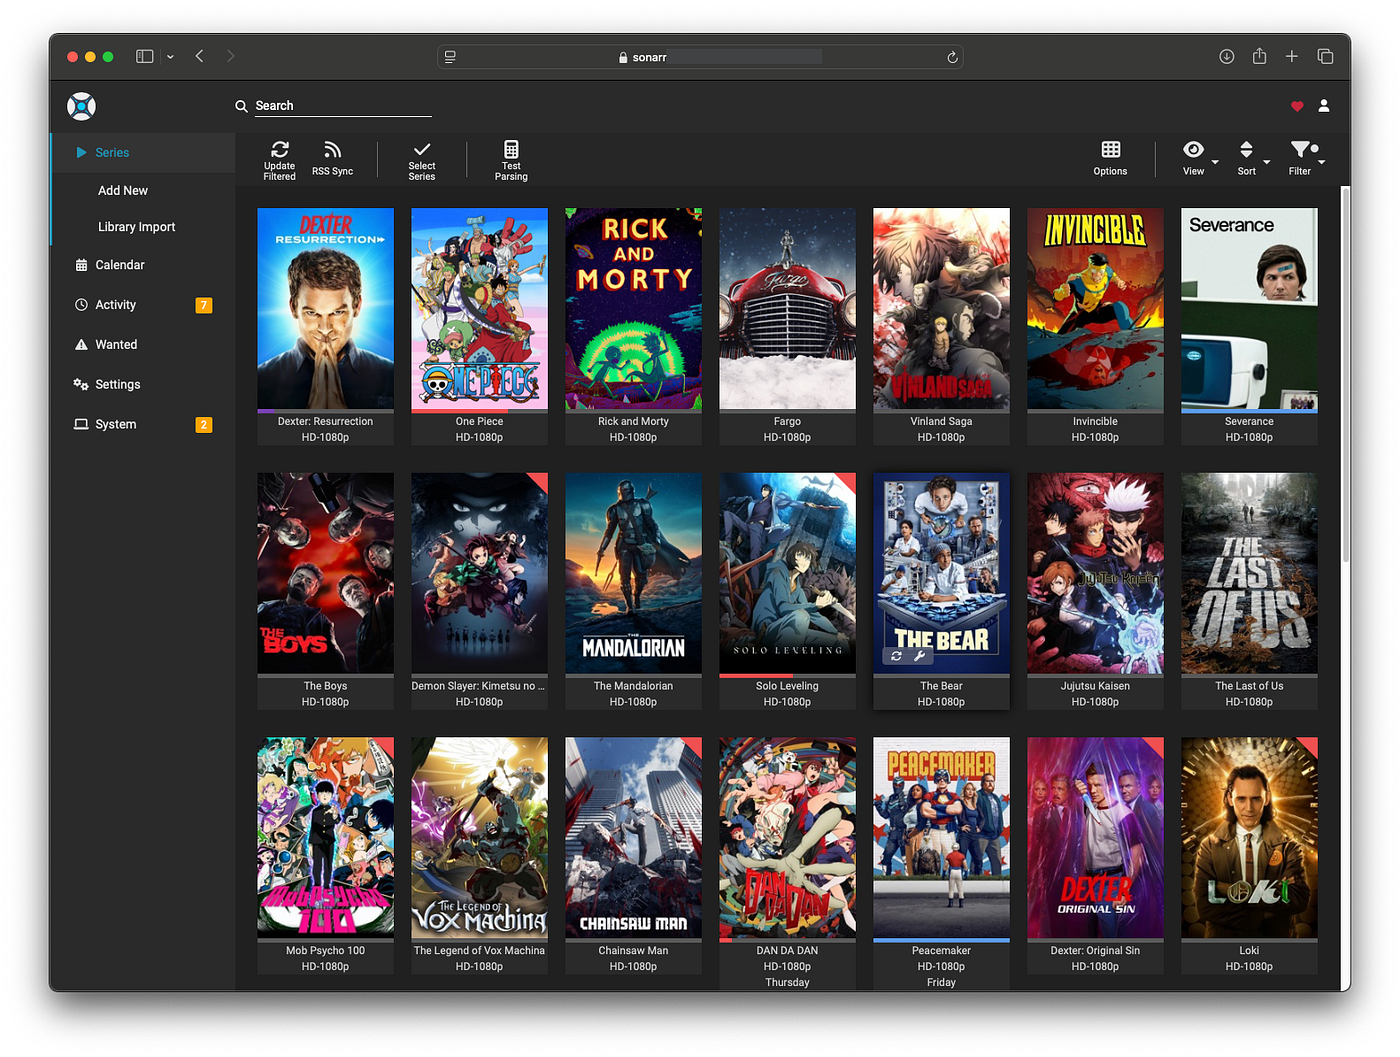
- Sonarr & Radarr: My robot assistants that automatically find and download TV shows and movies the moment they're available.
- Prowlarr: The master key that manages all the indexers for Sonarr and Radarr. It finds the download links across the internet through VPN proxy.
- Tautulli: A cool dashboard that gives me stats on my Plex server. Who's watching what, when, and where? Tautulli knows.
- Tdarr: My storage-saving wizard! It automatically scans my library and converts bulky video files into the much more efficient H.265 format, saving tons of space without losing quality.
The Automation & Smart Home Core
This is where the server becomes the brain of my home.
- Home Assistant: The ultimate open-source hub for controlling all my smart lights, plugs, and sensors.
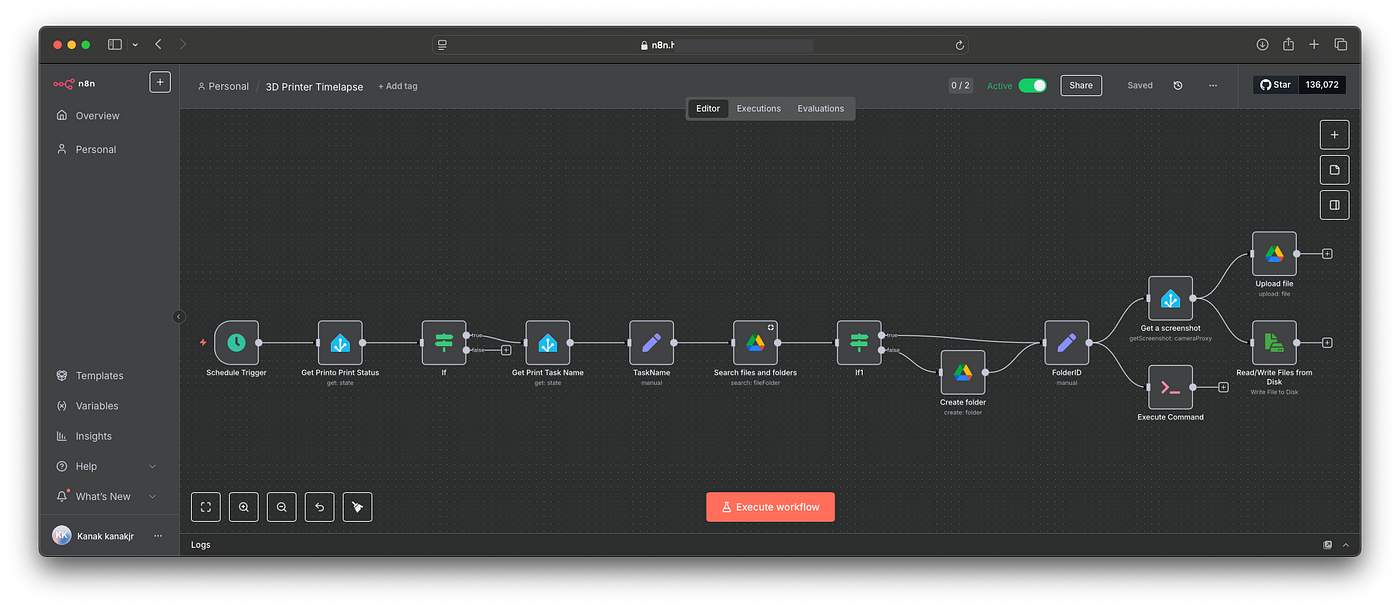
- N8n: A powerful workflow automation tool, connecting different apps and services to perform tasks for me.
- Syncthing: My personal, private Dropbox. It seamlessly syncs files between my Mac Mini, phone, and other devices.
The Developer's Playground
This is where I get to experiment and host my own projects.
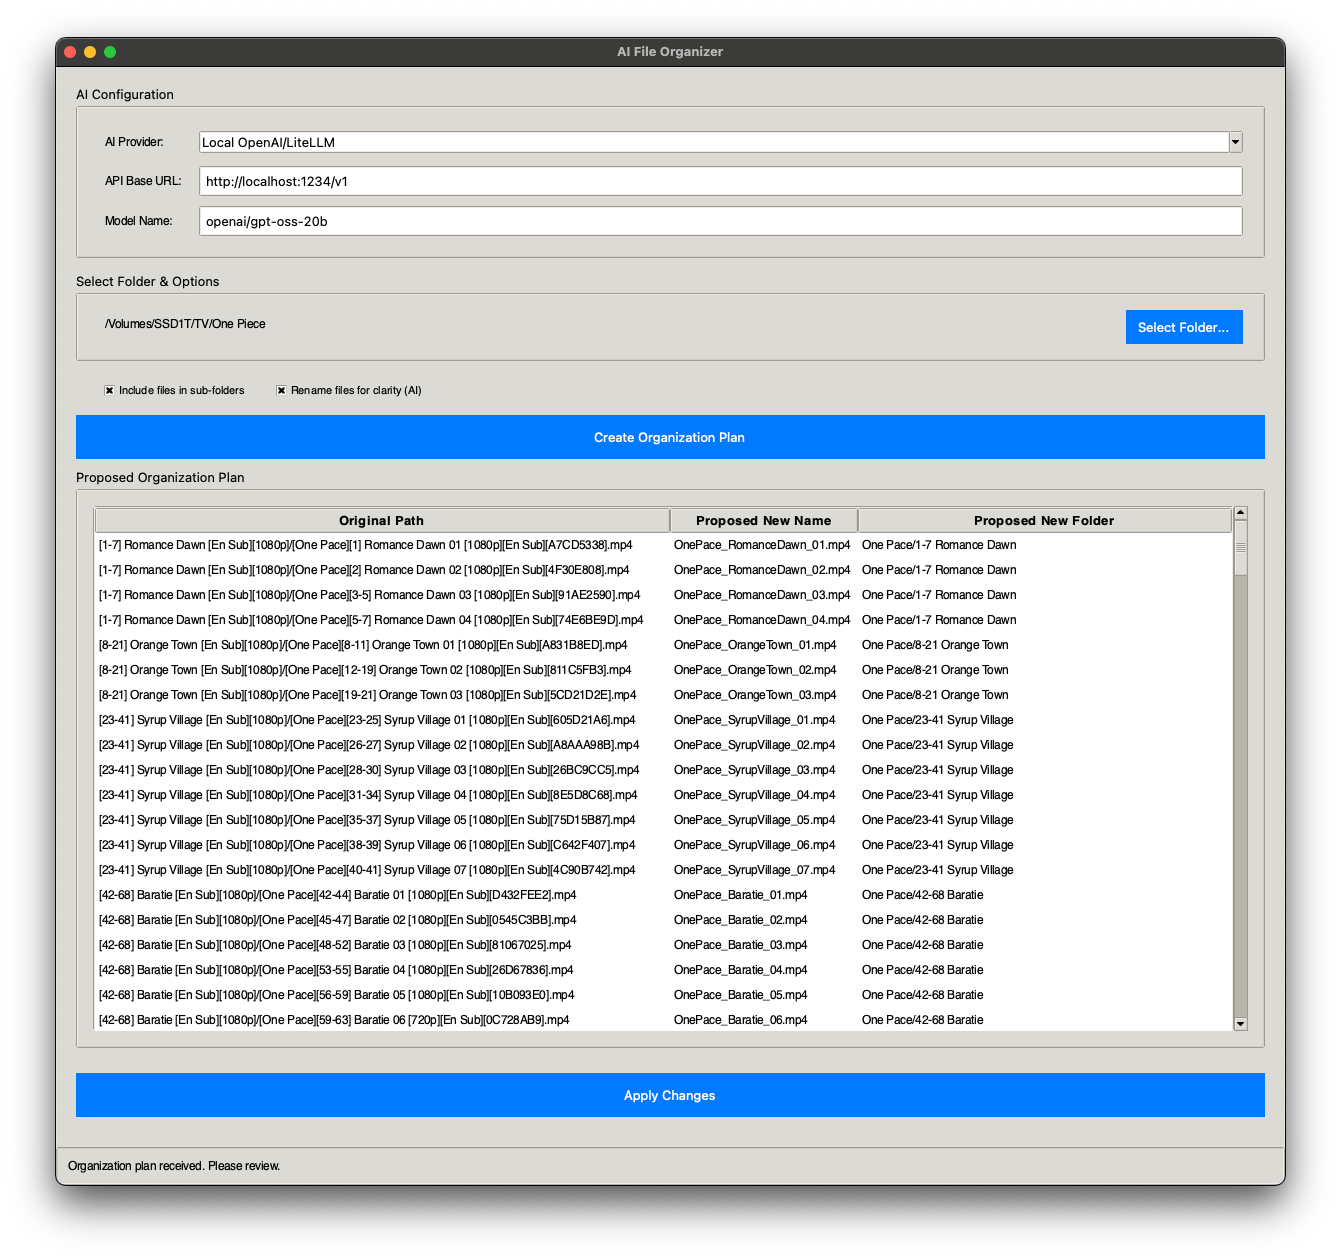
- Ollama & LM Studio: I can run powerful LLMs locally for AI experiments. Recently made a super simple app that uses a local LLM to organize data in a folder (used it while setting up this server itself).
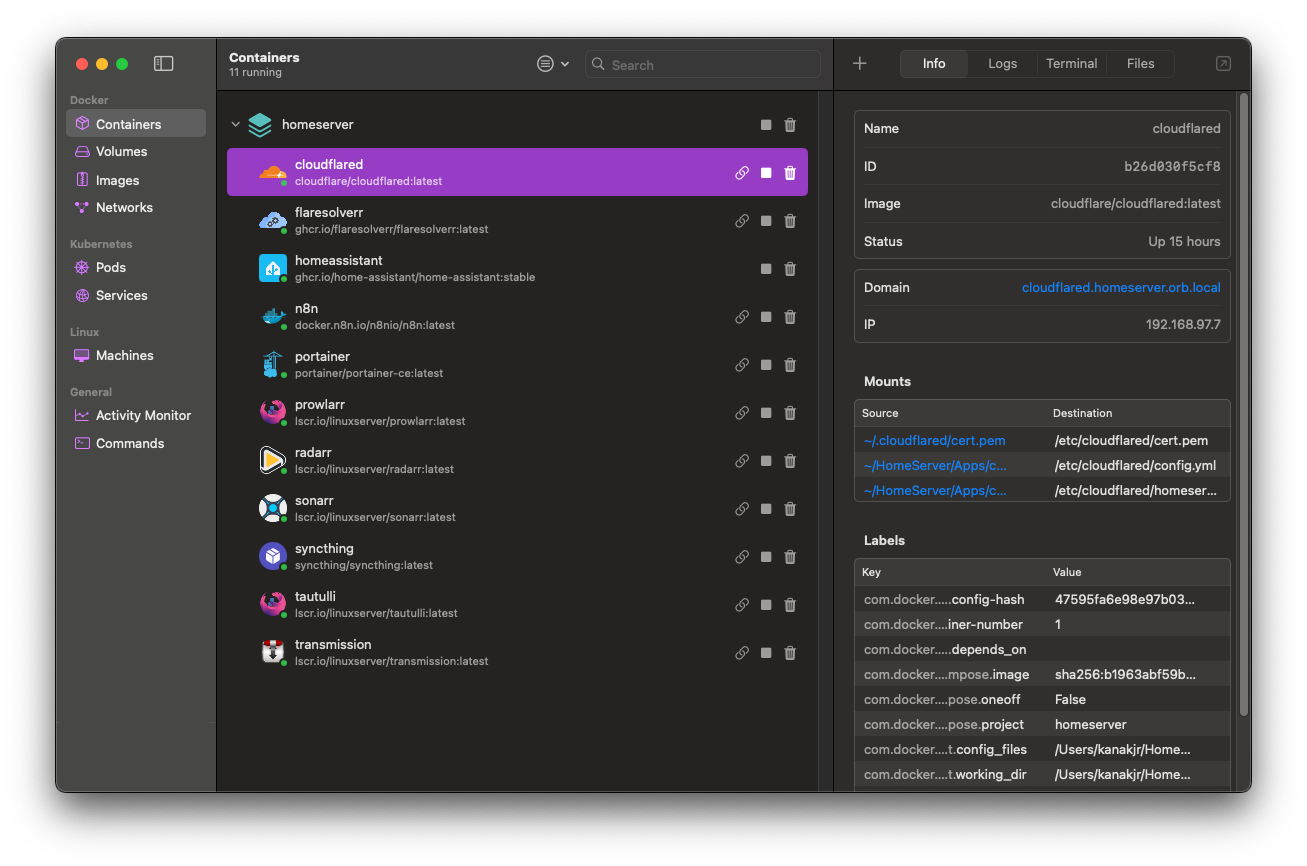
- Portainer: A simple, clean UI for managing all my running containers.
- Coolify: An open-source, self-hostable Platform-as-a-Service (PaaS). It's like having my own personal Heroku or Vercel! I can deploy apps, websites, and databases directly from GitHub.
Check it out: Github - AI-File-Organiser
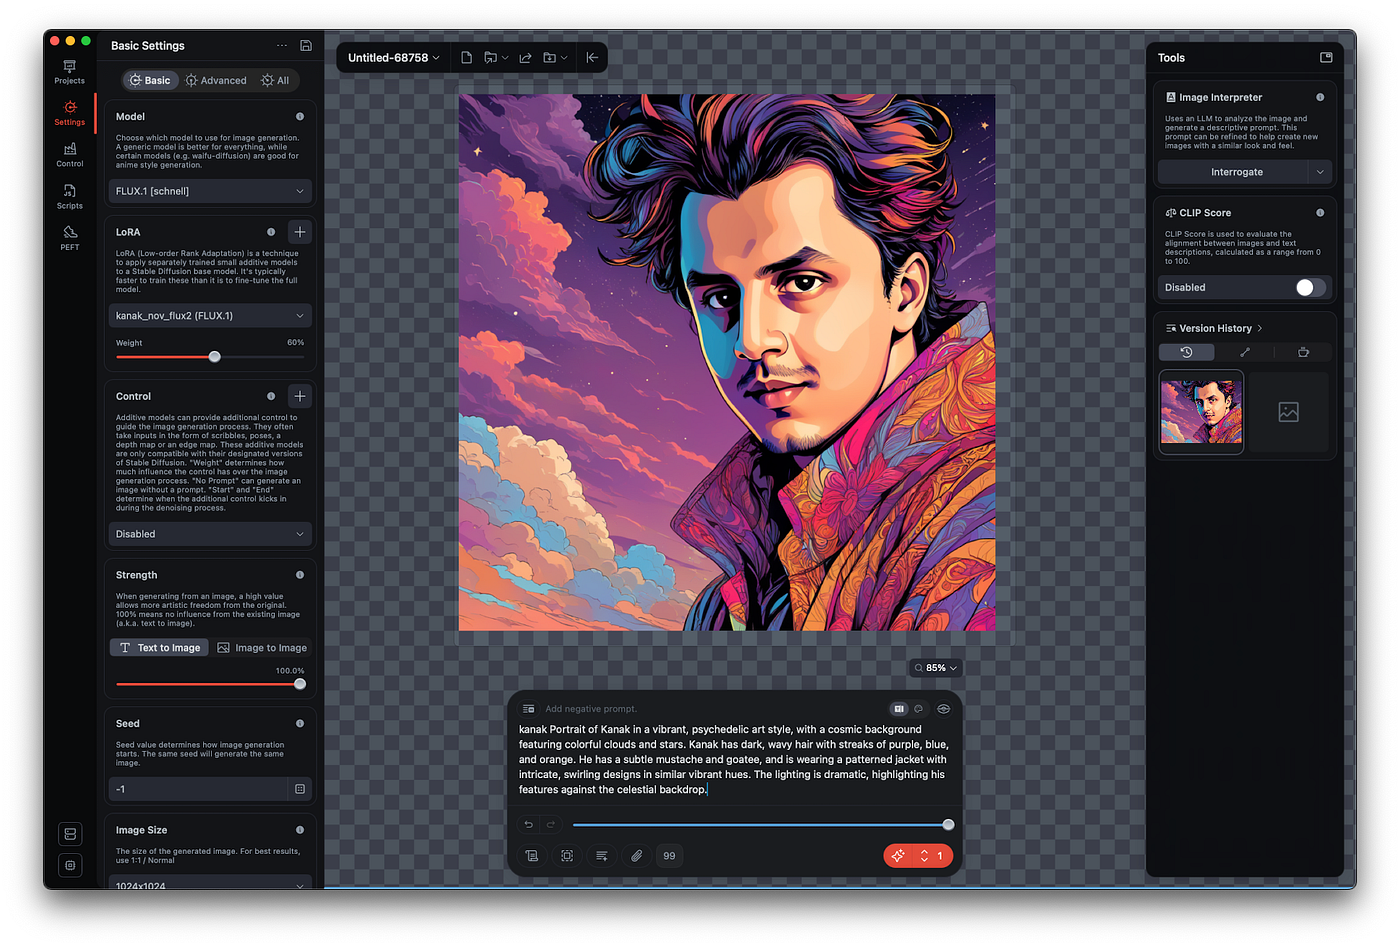
- Draw Things AI: For generating AI images right from my own machine. Also gives API interface so can be used from n8n workflows or custom code.
Accessing My Kingdom from Anywhere
So, how do I securely access all these services when I'm not at home? I definitely don't want to open up a bunch of ports on my router. That's a security nightmare!
The solution is Cloudflare's Argo Tunnel. It creates a secure, encrypted tunnel directly from the cloudflared container on my Mac Mini out to the Cloudflare network. I can then point a custom domain (e.g., plex.mycoolserver.com) to that tunnel. It's fast, incredibly secure, and dead simple to set up. No open ports, no complex firewall rules.
The Blueprint: A Peek at the Code
Managing all these apps could be a mess, but thanks to docker-compose, it's all defined in one simple text file. This is the "recipe" that tells Orbstack what services to run, what storage to give them, and what network ports to use. It makes tearing down and rebuilding my entire setup a 10-minute job. Here's a small snippet of what that looks like:
version: '3.8'
services:
  # The secure tunnel to the outside world
  cloudflared:
    image: cloudflare/cloudflared:latest
    container_name: cloudflared
    restart: unless-stopped
    command: tunnel --no-autoupdate run
    # ...volumes and configs here

  # My movie bot
  radarr:
    image: lscr.io/linuxserver/radarr:latest
    container_name: radarr
    restart: unless-stopped
    ports:
      - "7878:7878"
    volumes:
      - ./Apps/radarr:/config
      - ./Movies:/data/movies
      - ./Downloads:/downloads

  # The smart home brain
  homeassistant:
    image: ghcr.io/home-assistant/home-assistant:stable
    container_name: homeassistant
    restart: unless-stopped
    ports:
      - "8123:8123"
    volumes:
      - ./Apps/homeassistant:/config
  # .... Many more
This "infrastructure-as-code" approach is the secret to a clean, repeatable, and stress-free home server.
Was It Worth It? Absolutely.
Moving from the Raspberry Pi to the Mac Mini was more than just an upgrade; it was a revolution for my home lab. I now have a single, silent, and power-efficient machine that effortlessly runs my entire digital life -- from a media powerhouse and smart home brain to a full-fledged development and AI playground.
Plus, when I need it, it's still a screaming-fast personal desktop.
If you're on the fence about building a home server or feel like you've outgrown your current setup, don't overlook the mighty Mac Mini. It might just be the best all-in-one solution you can get.
Happy hosting!