
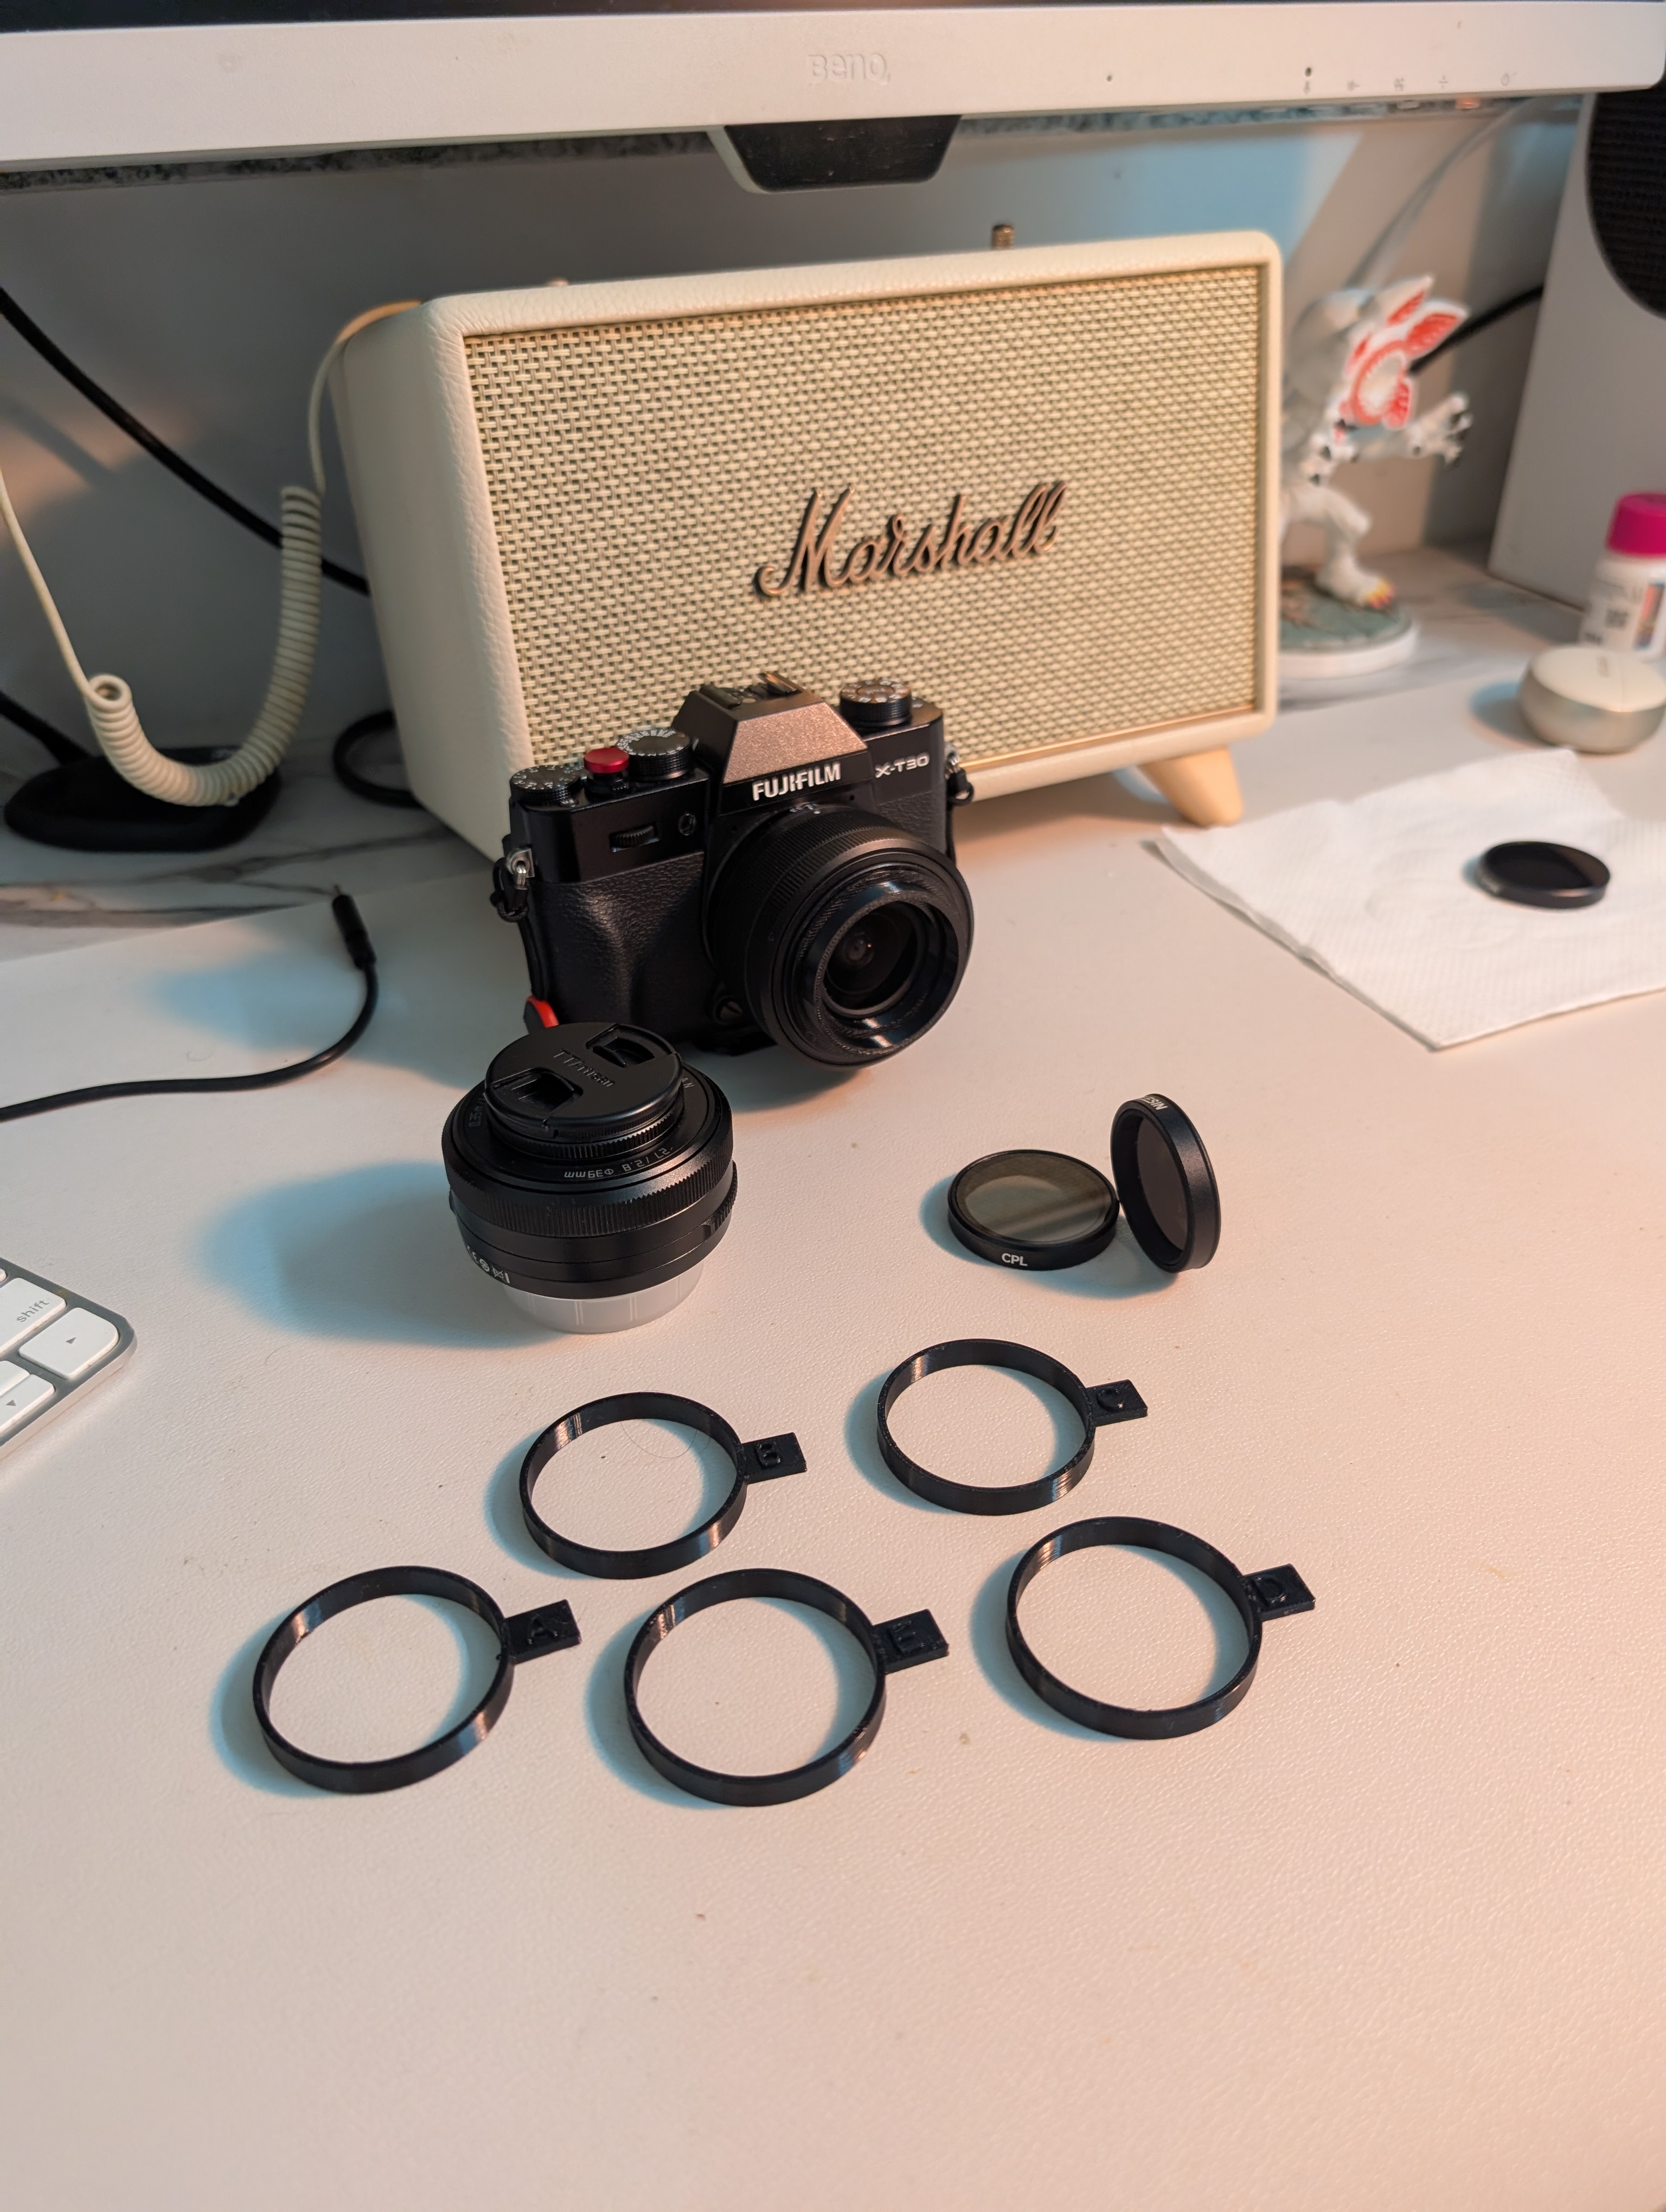
The full cast: a Fujifilm X-T30 III, the XC13-33mm kit lens, a DJI Osmo Action CPL/ND filter, and the five printed fit-test rings that made it all click.
The itch
I already own a nice ND/CPL filter set, except it is sized for my DJI Osmo Action 5 Pro, not my camera. It is the K&F Concept push-on kit (SKU.2337V1): small, well-made action-cam glass that snaps onto the Osmo's tiny lens.
Meanwhile my Fujifilm X-T30 III wears the XC13-33mm F3.5-6.3 kit lens, which takes 49mm screw-in filters. So the obvious-but-annoying answer was to go buy a second set of ND/CPL filters in 49mm.
I did not want two of everything. I wanted one filter kit that works on both. The action filters are physically much smaller than the APS-C lens's front, so on paper this is a bad idea. But bad ideas are exactly what a 3D printer is for.
The 30-second feasibility test
Before modeling anything, I did the cheapest possible experiment: I held the little DJI ND filter in front of the Fuji lens by hand and took a shot at the 33mm (telephoto) end.
It looked great. No dramatic vignetting, clean exposure knock-down from the ND. That one test told me the optics were viable if I could just hold the filter close and centered, which is a mechanical problem, and mechanical problems are solvable.
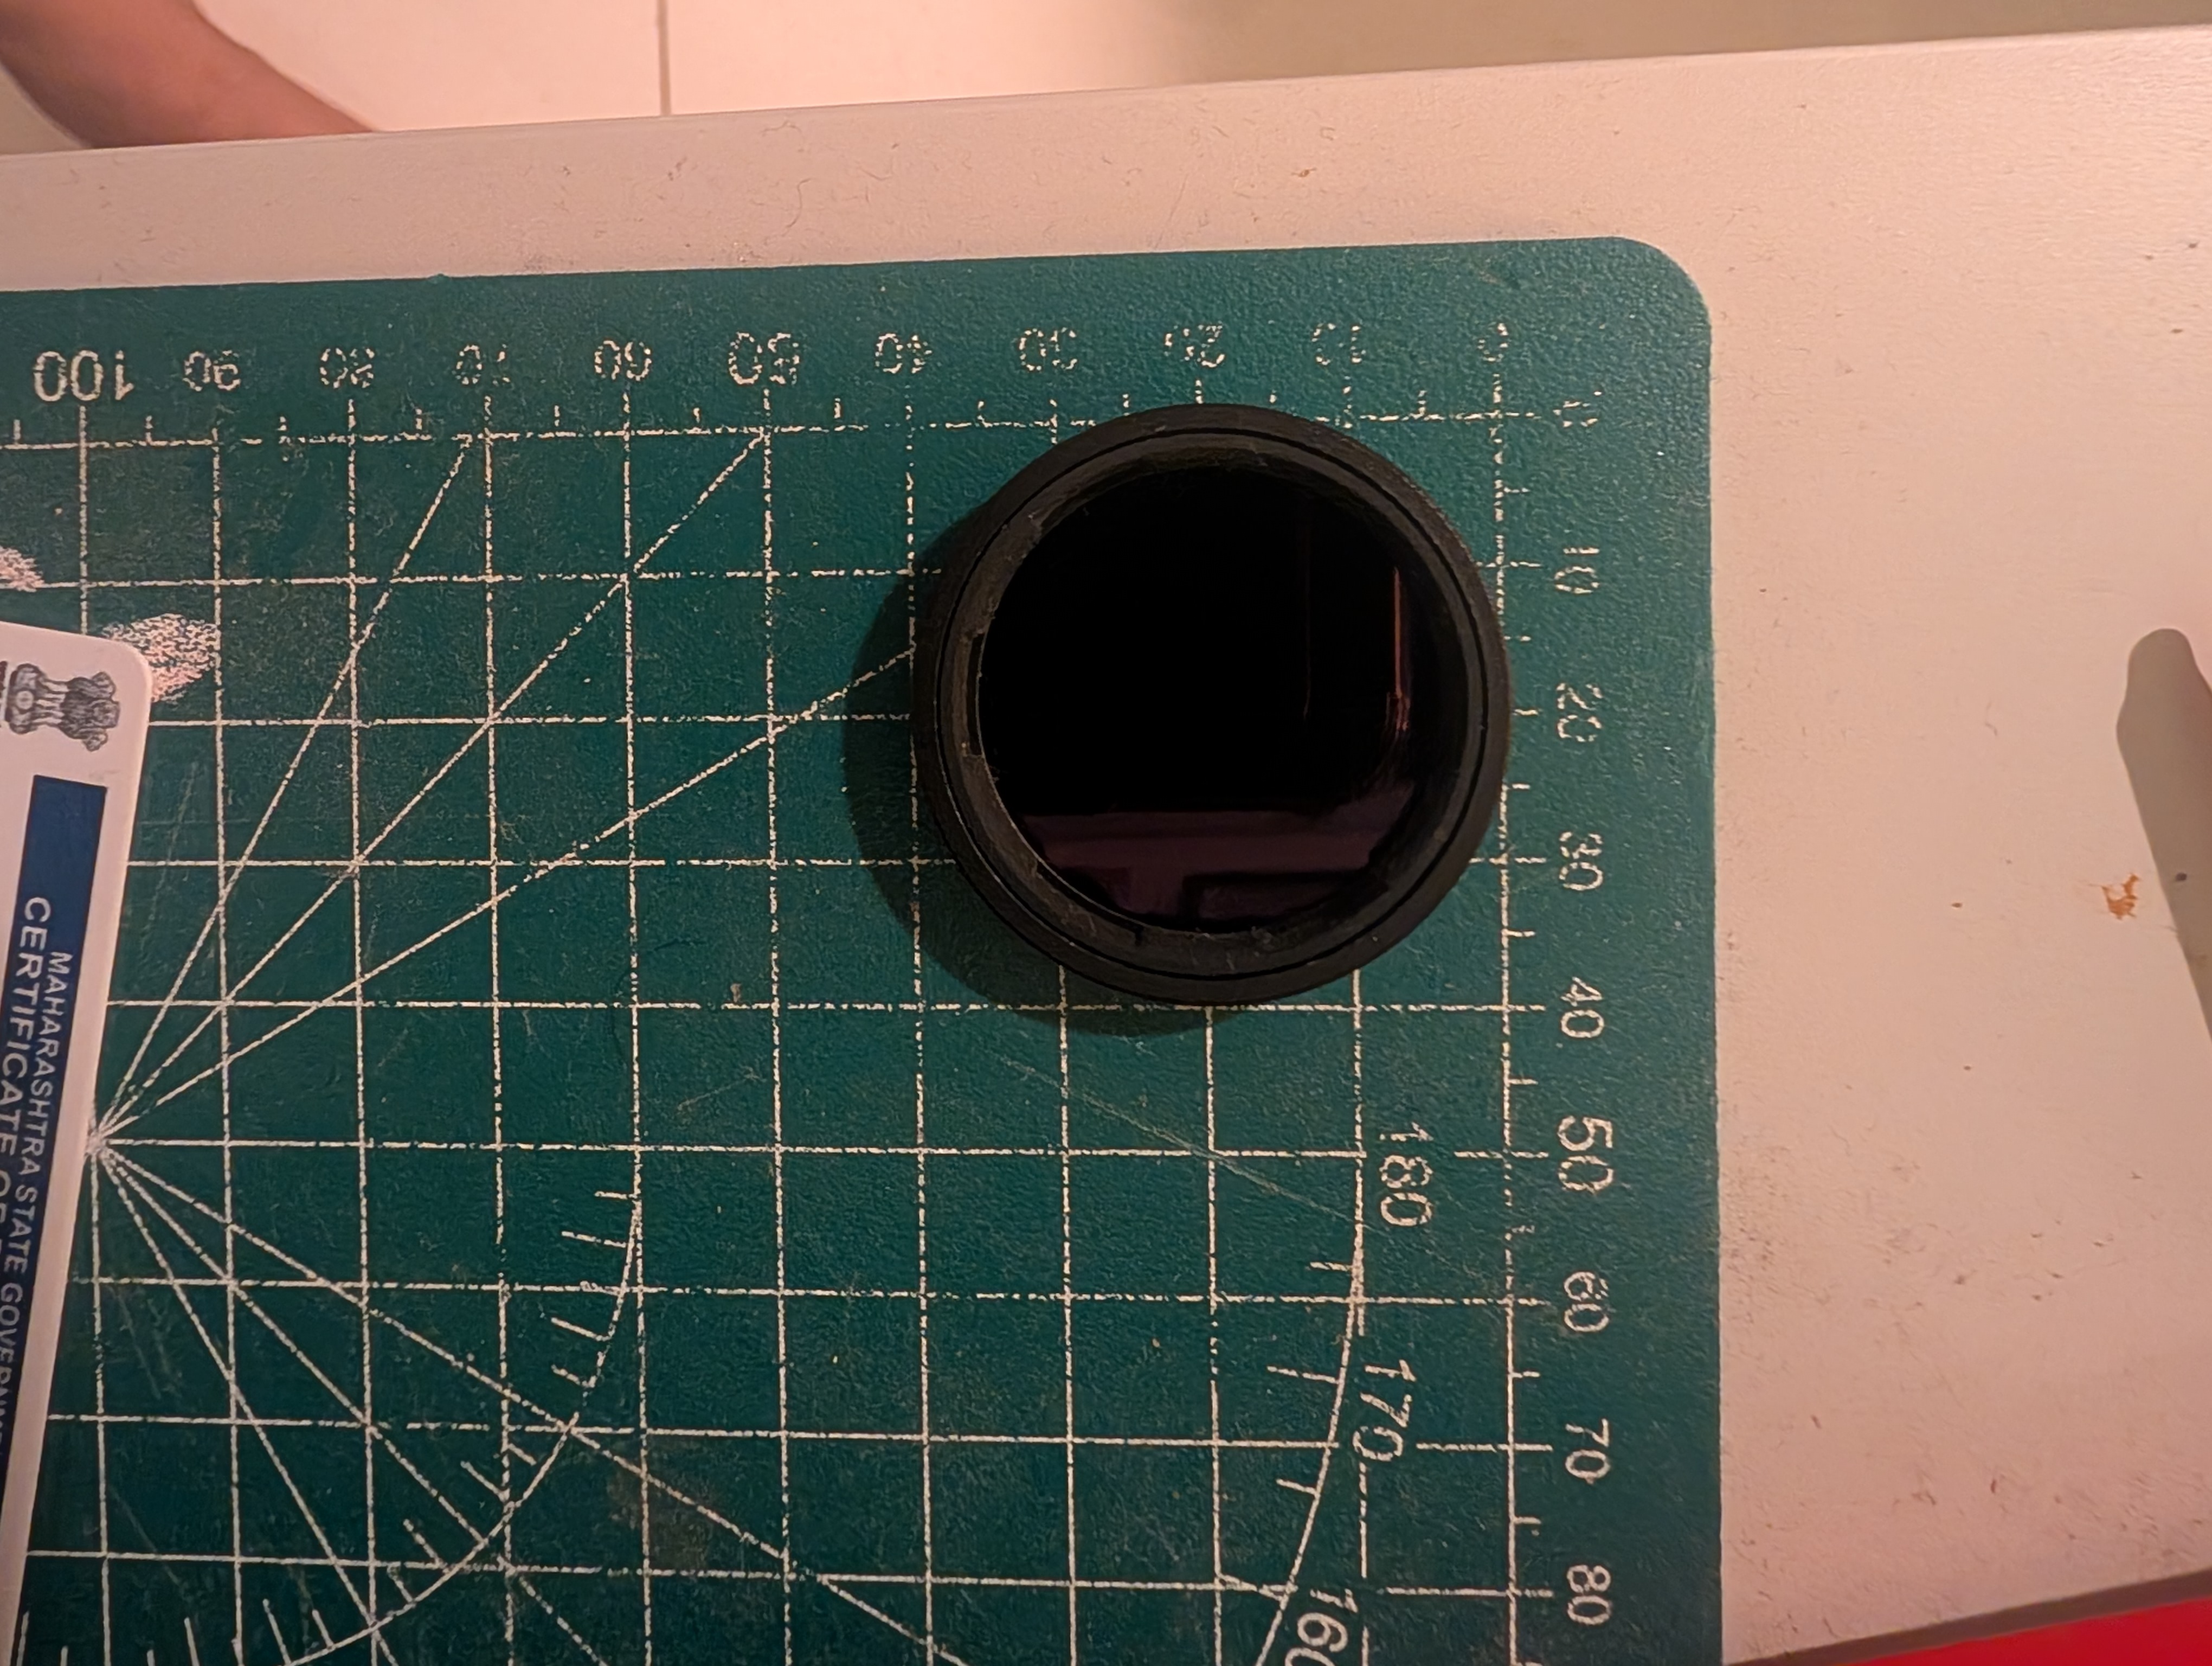
The filter I wanted to reuse: a push-on action-cam filter, roughly 38.5mm across the metal frame. Small, but the glass is good.
The plan
The design is a two-sided part:
- Lens side: a male M49 x 0.75 thread that screws straight into the kit lens's 49mm filter threads.
- Filter side: a friction cup that grips the filter's roughly 38.5mm frame and holds it centered over the glass.
- In between: an open light bore, so the adapter itself never adds vignetting.
I built it parametrically in OpenSCAD, using the BOSL2 library to generate a real, printable screw thread. Parametric matters here: almost every dimension (thread clearance, cup diameter, how close the filter sits to the glass) is a variable I can tune and re-print in minutes.
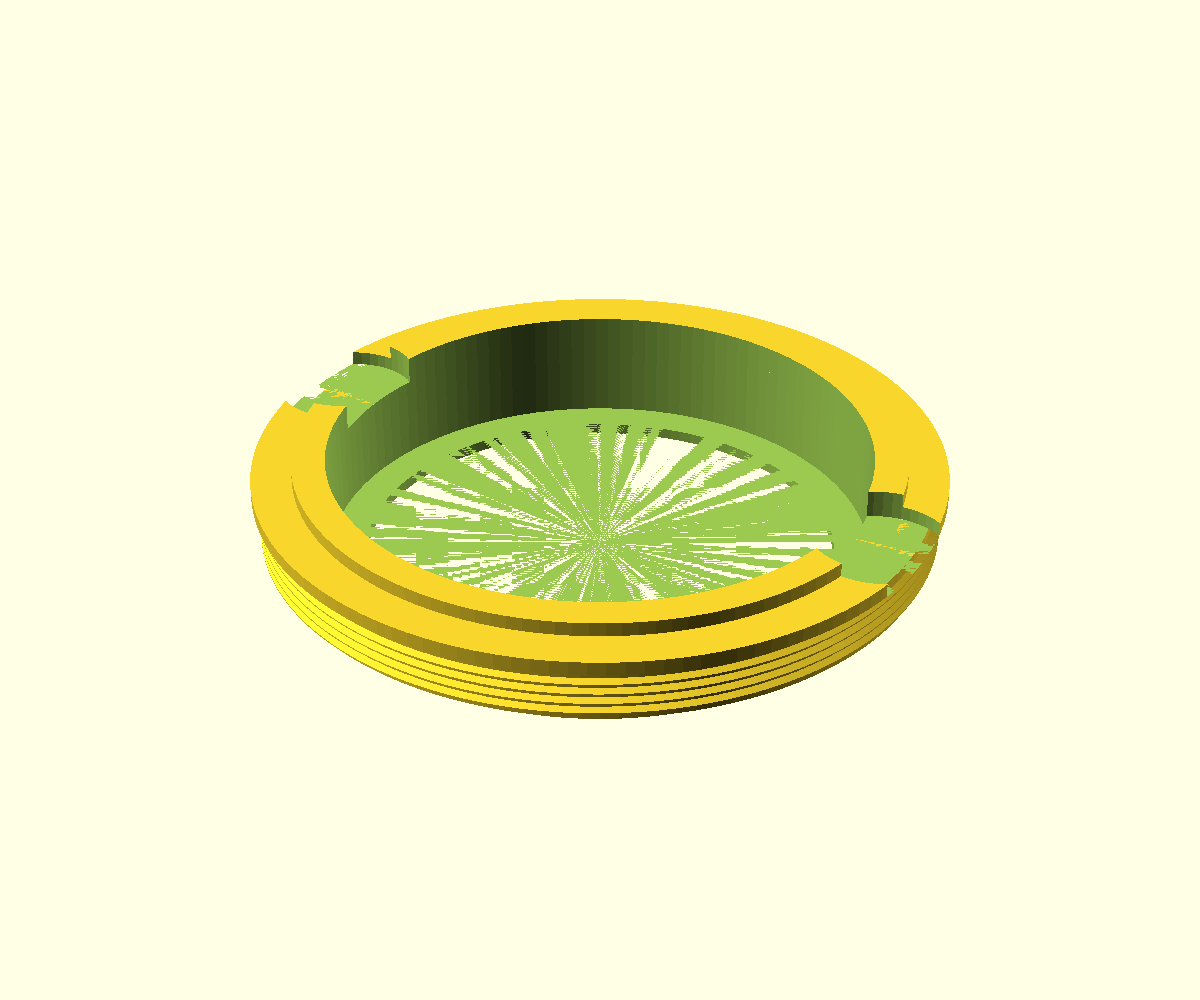
The adapter in OpenSCAD: a printed M49x0.75 thread that screws into the lens, and a cup that holds the action-cam filter.
First print: threads perfect, cup a hair tight
The very first print was encouraging in the way that matters most: the 49mm thread screwed onto the lens like a glove. Printed threads are usually the scary part, and this one just worked.
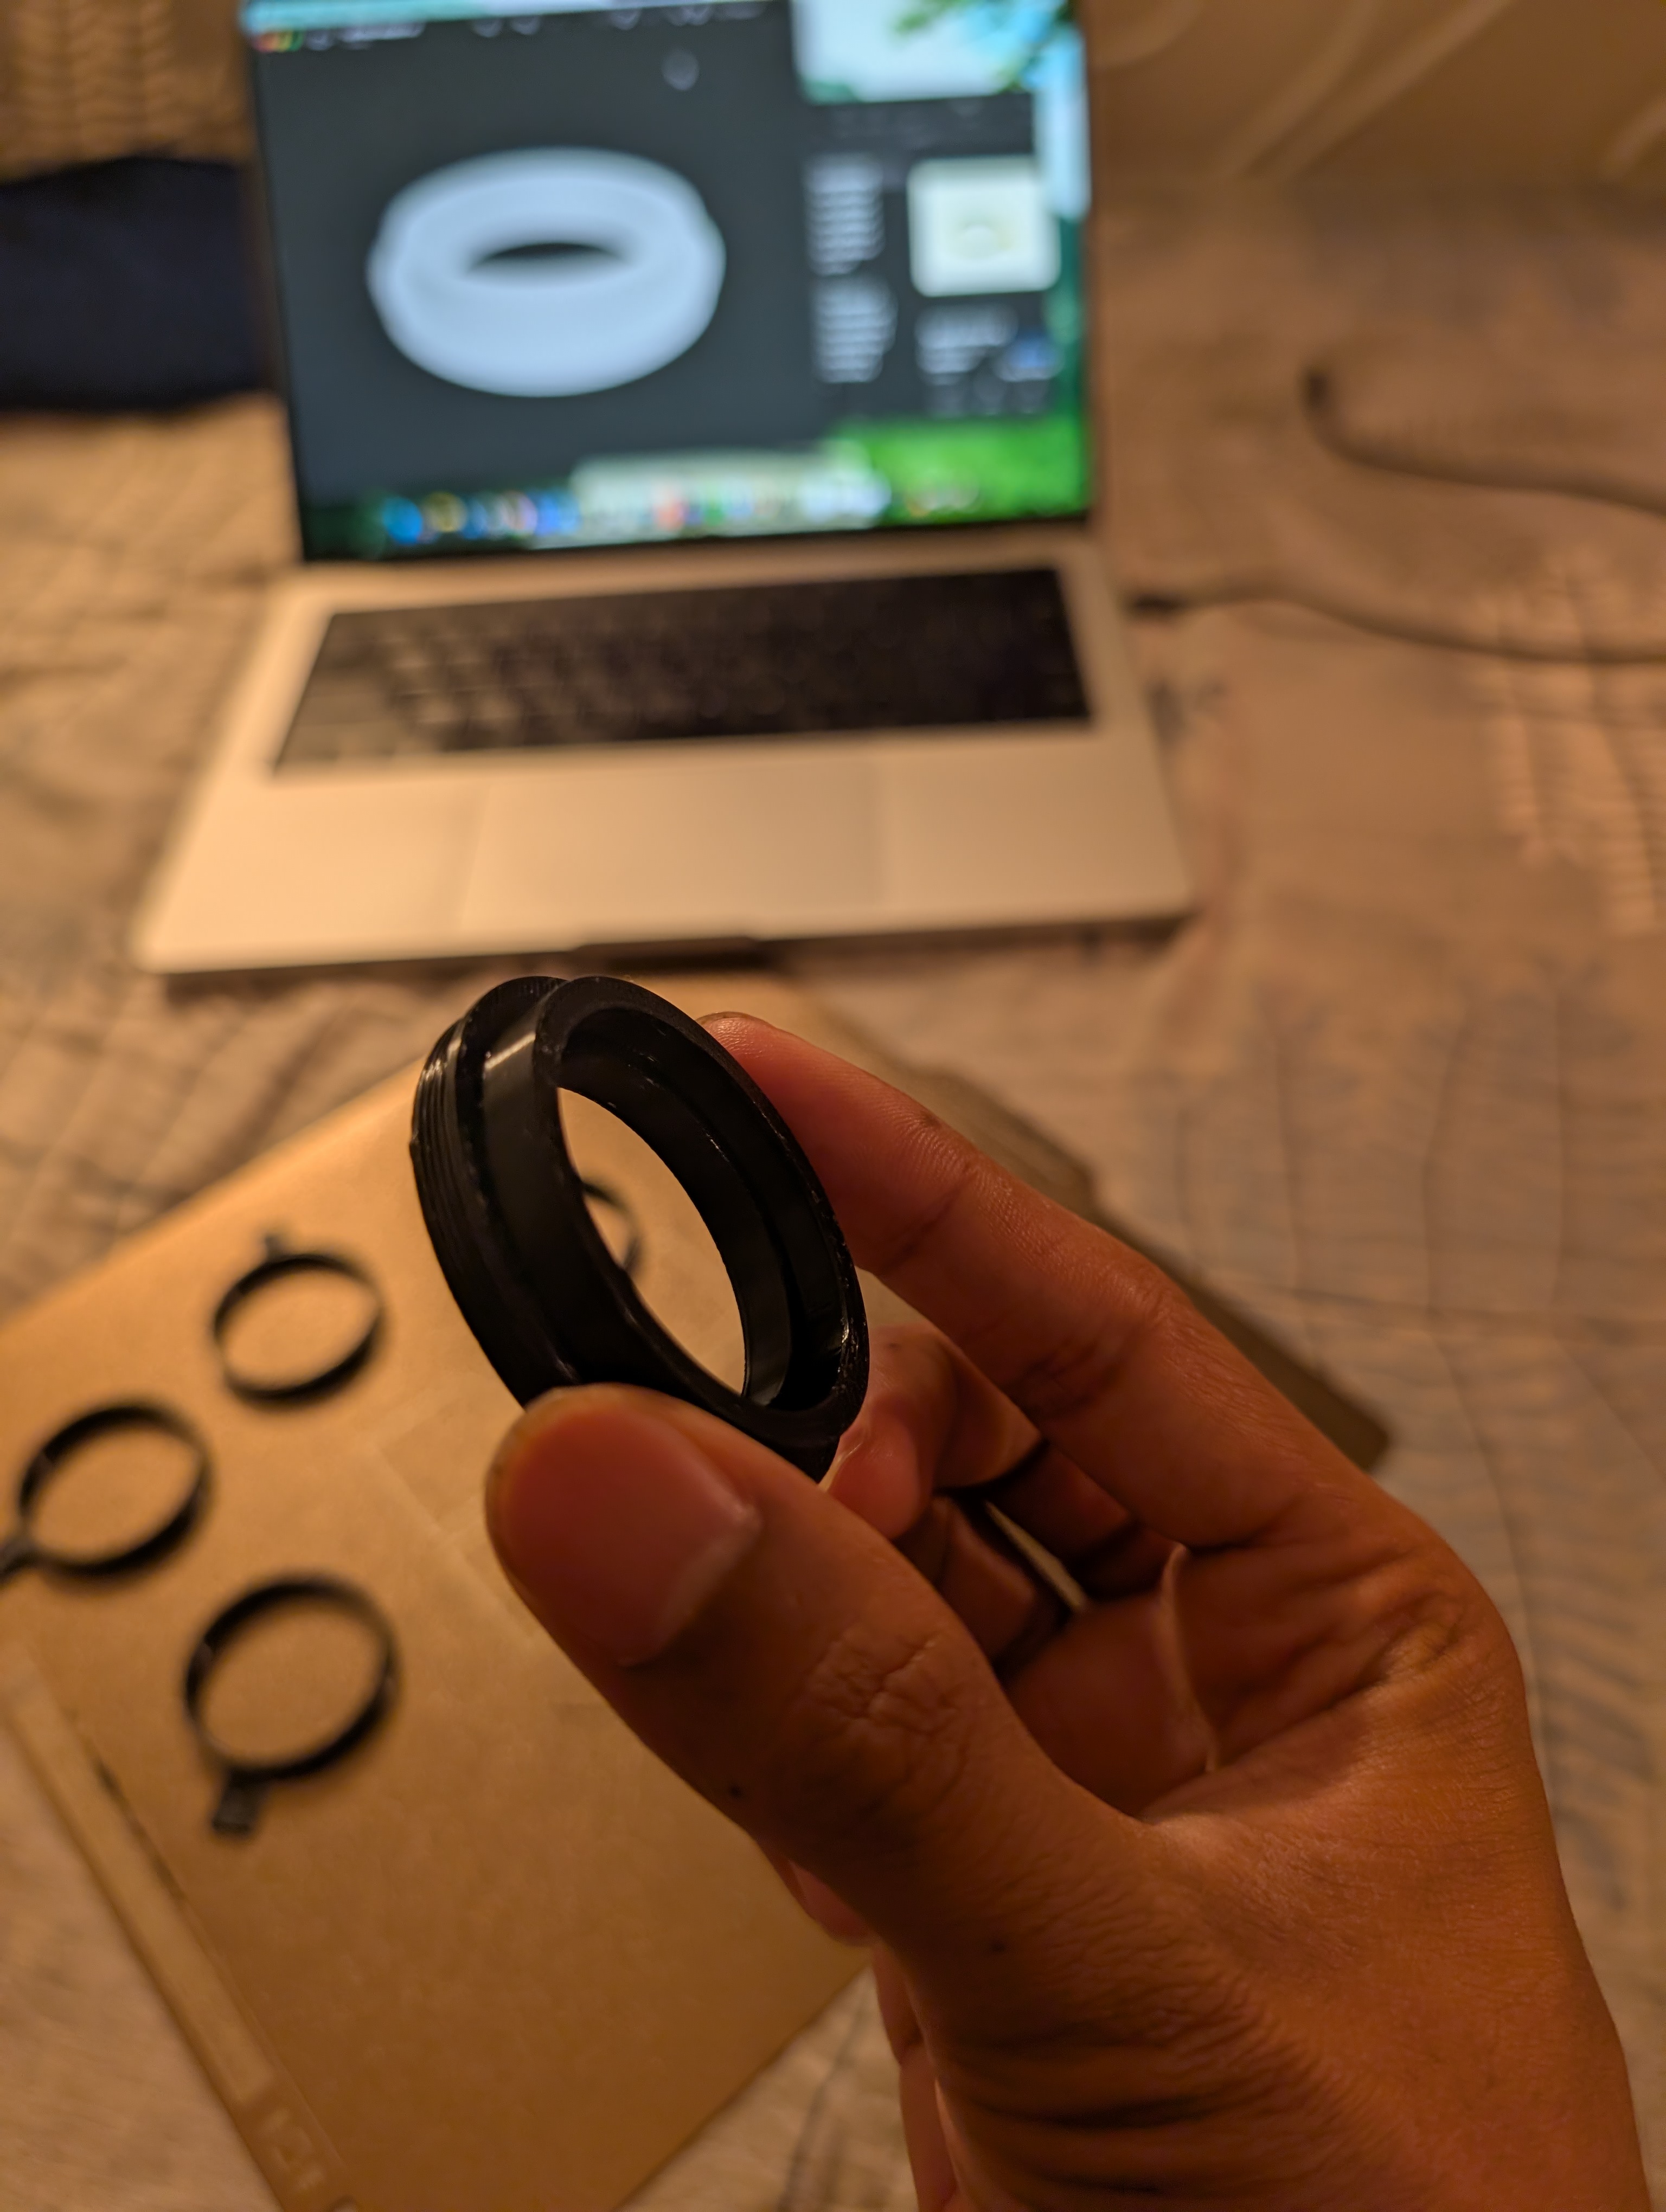
First print in hand. The thread engaged the lens perfectly on the first try.
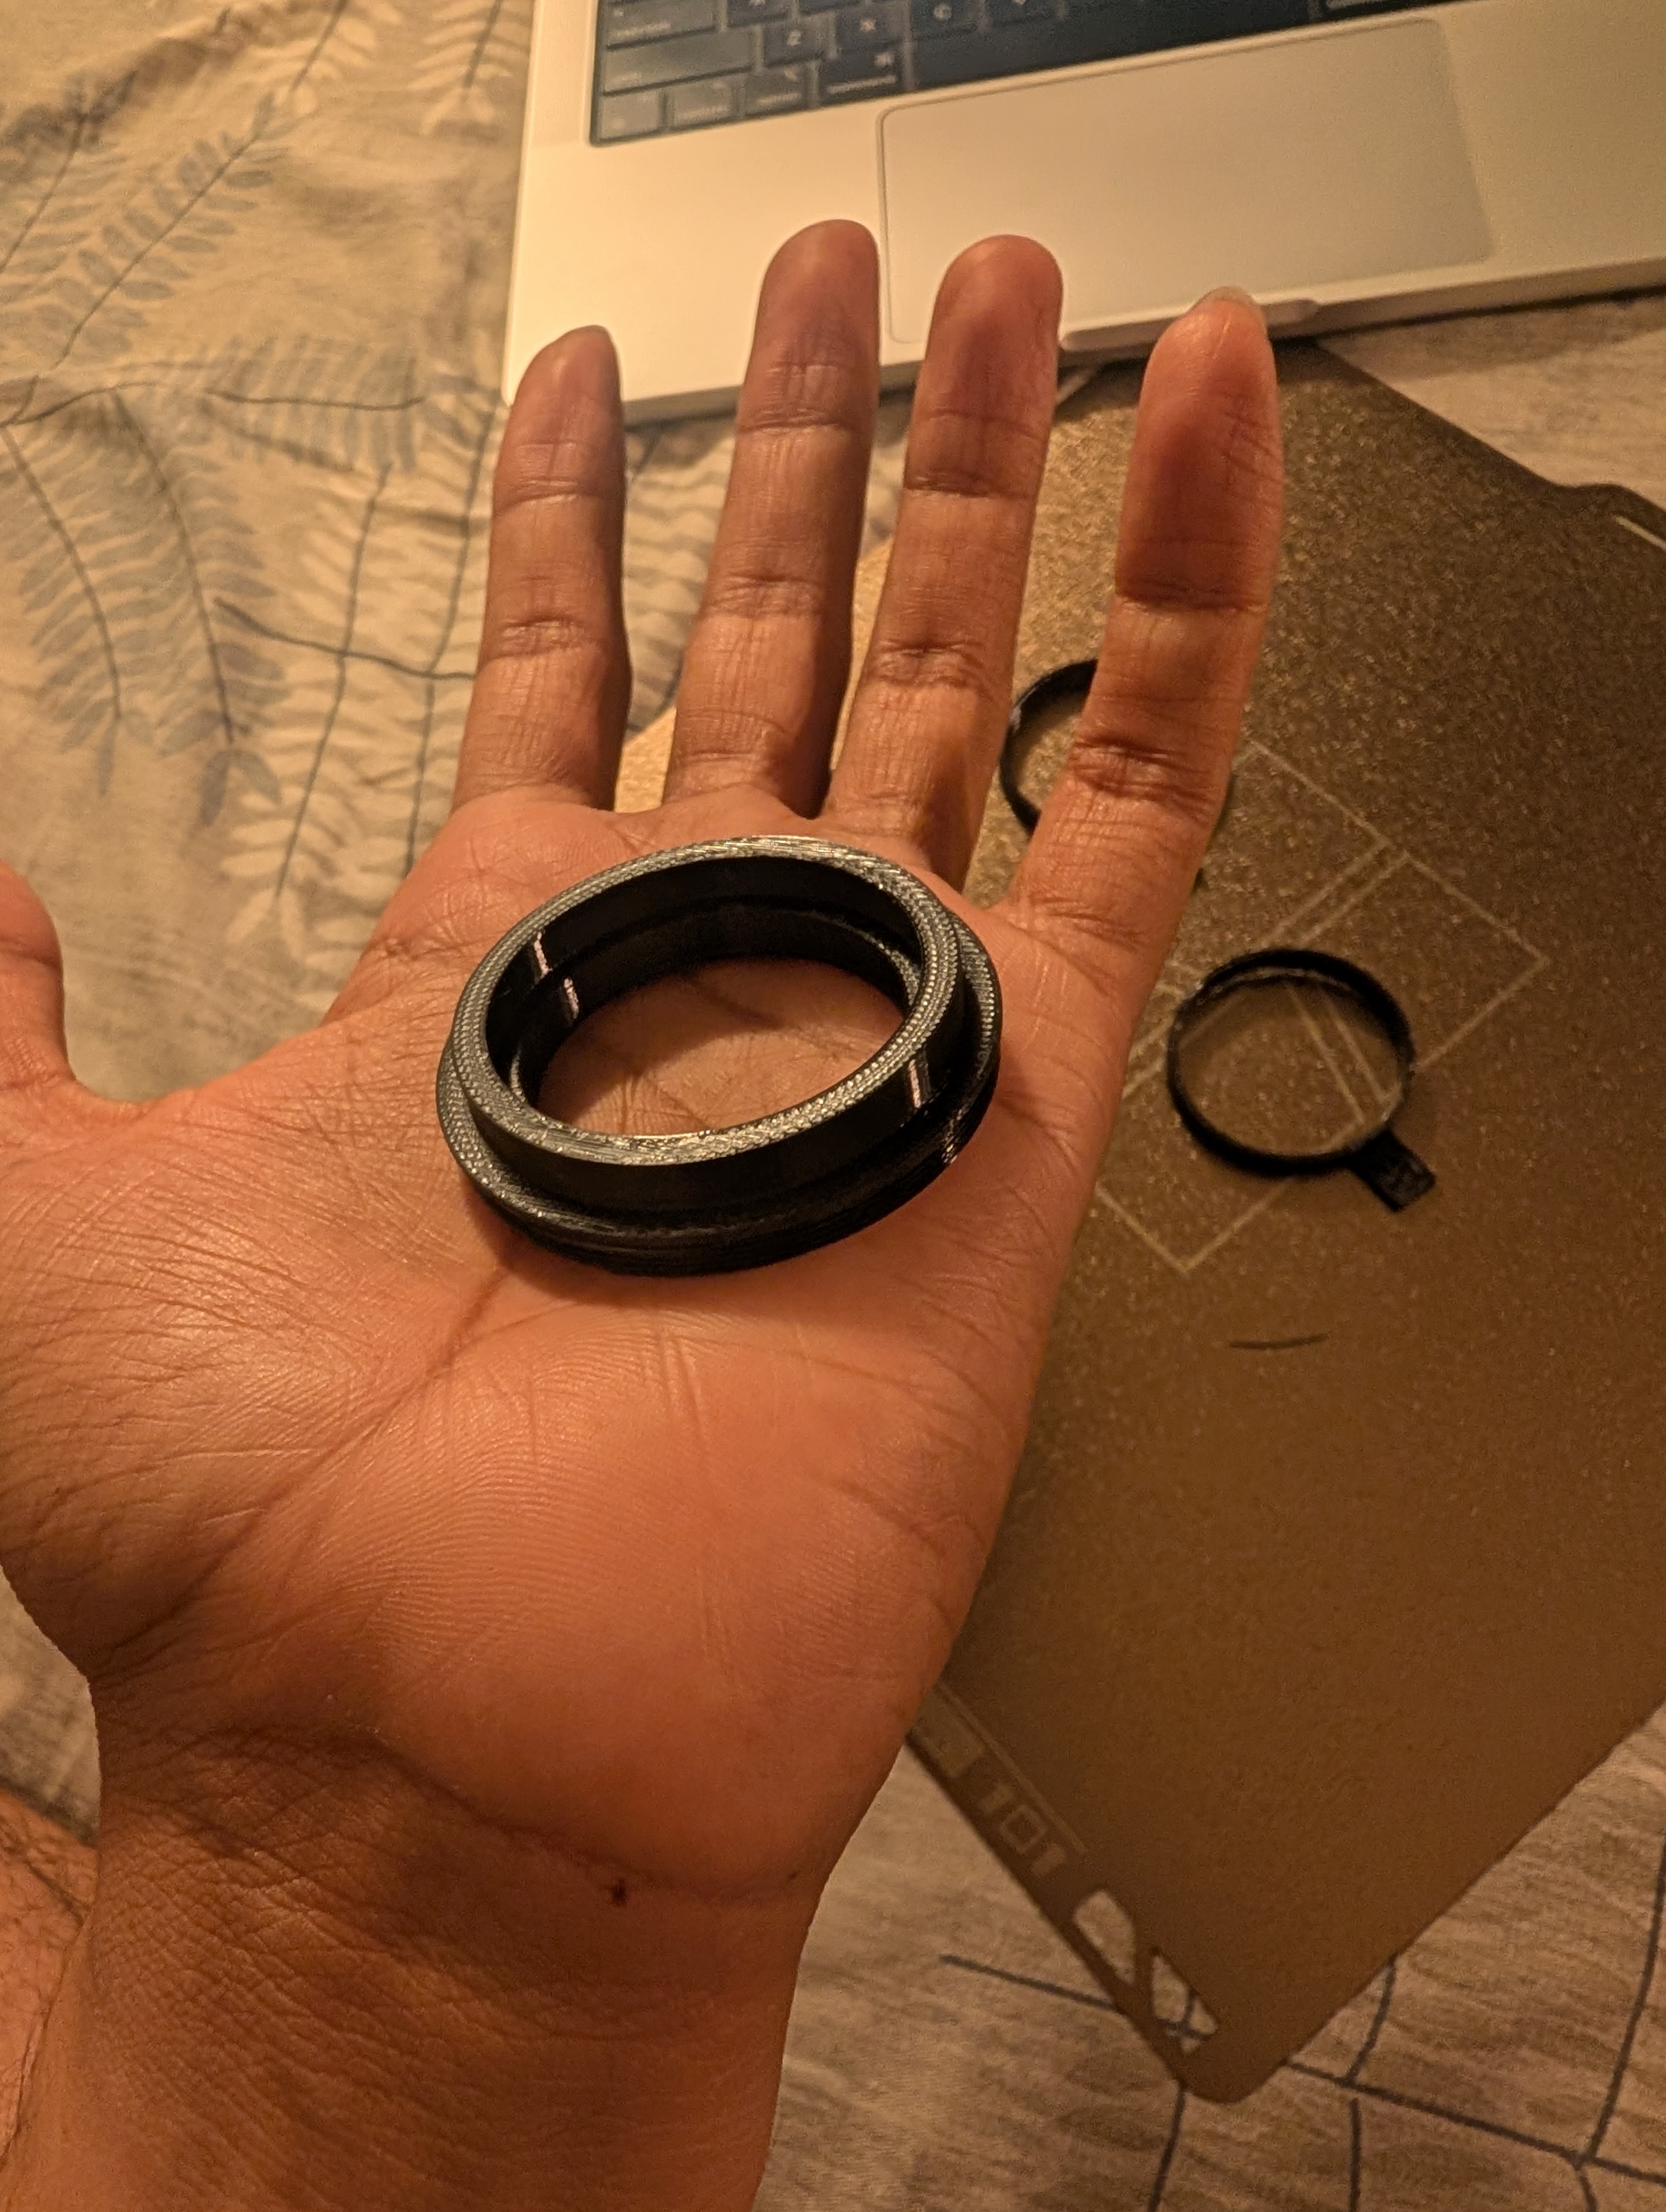
A closer look at the printed thread. 0.12mm layers made it clean enough to hand-tighten smoothly.
The one problem: the filter cup was just slightly too small. The filter almost seated, but not quite. On an FDM printer, holes and pockets never come out at exactly their modeled size. The real-world shrinkage depends on the printer, the filament, the temperature, even the speed. Guessing a "+0.4mm tolerance" is a coin flip.
So I stopped guessing.
The gauge trick: let the printer tell you the tolerance
Instead of reprinting the whole adapter over and over to chase a fit, I printed a set of five slim test rings, labeled A through E, each sweeping the cup's inner diameter in small steps (39.0, 39.3, 39.6, 39.9, and 40.2mm). They print in a couple of minutes and use almost no plastic.
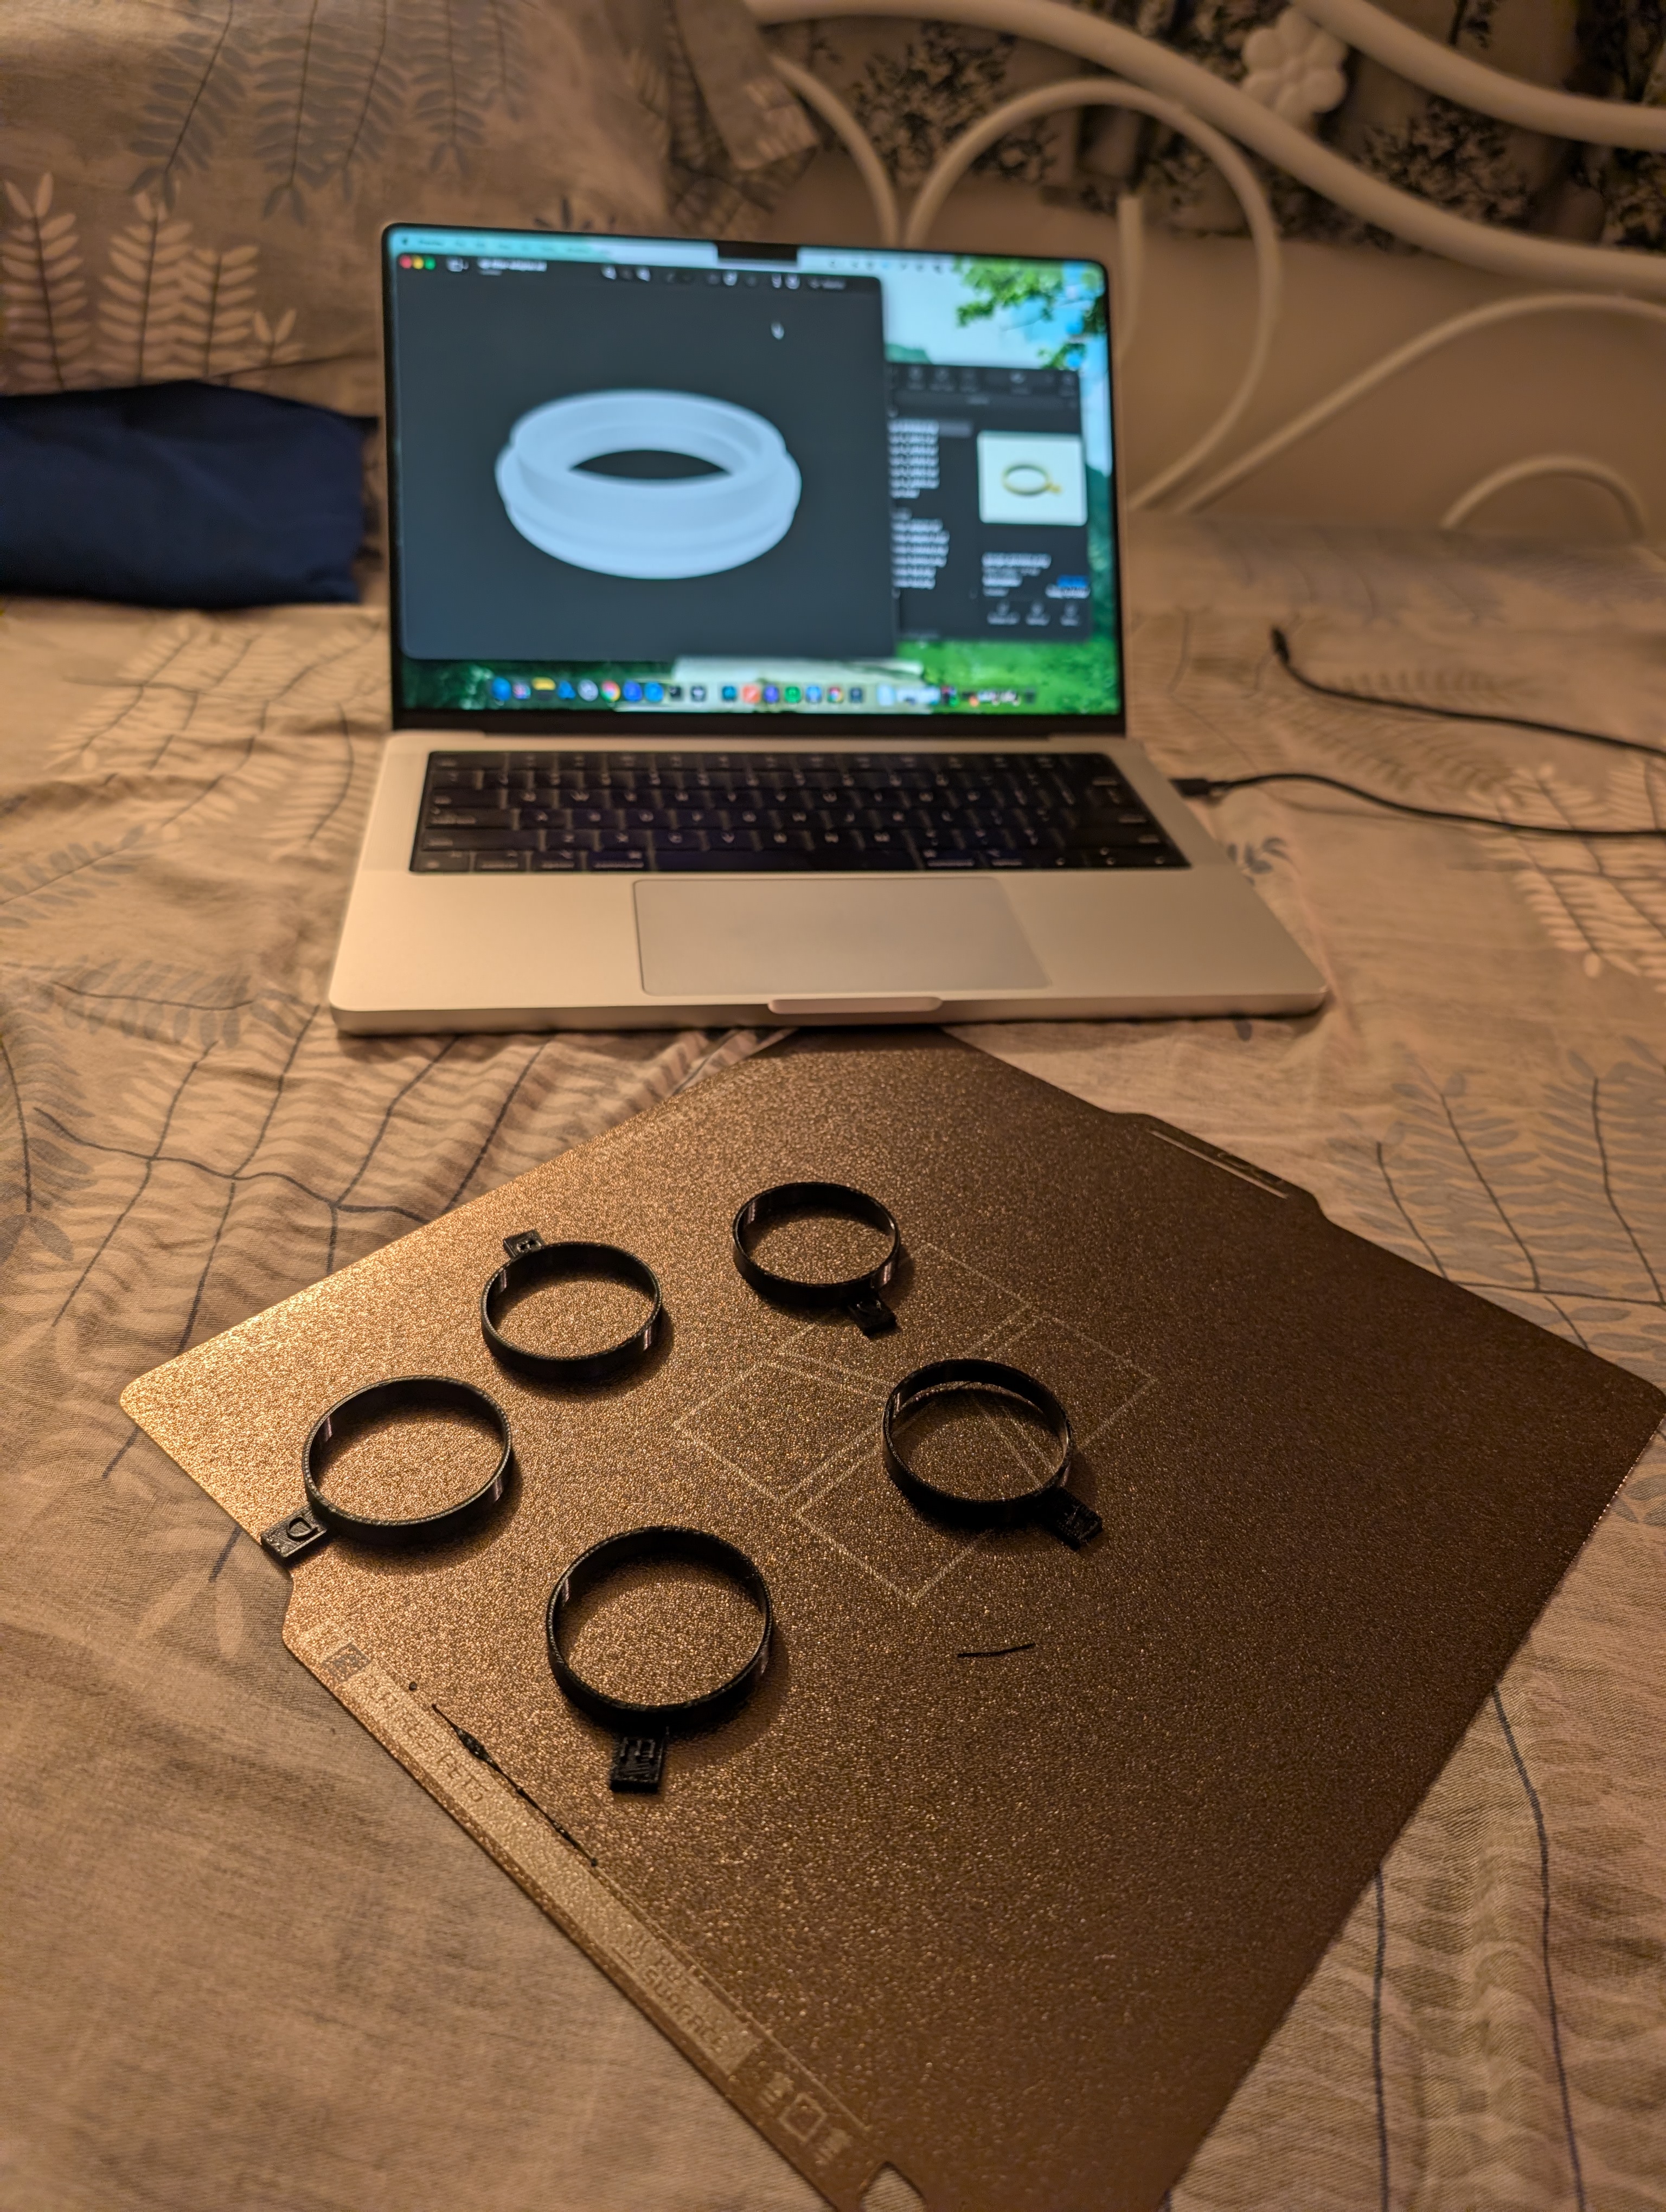
Five labeled test rings (A-E), each a slightly different inner diameter. The point is to measure the real fit instead of trusting a modeled number.
Then I did the simplest test imaginable: push the actual filter into each ring and feel which one grips snugly while still seating fully.
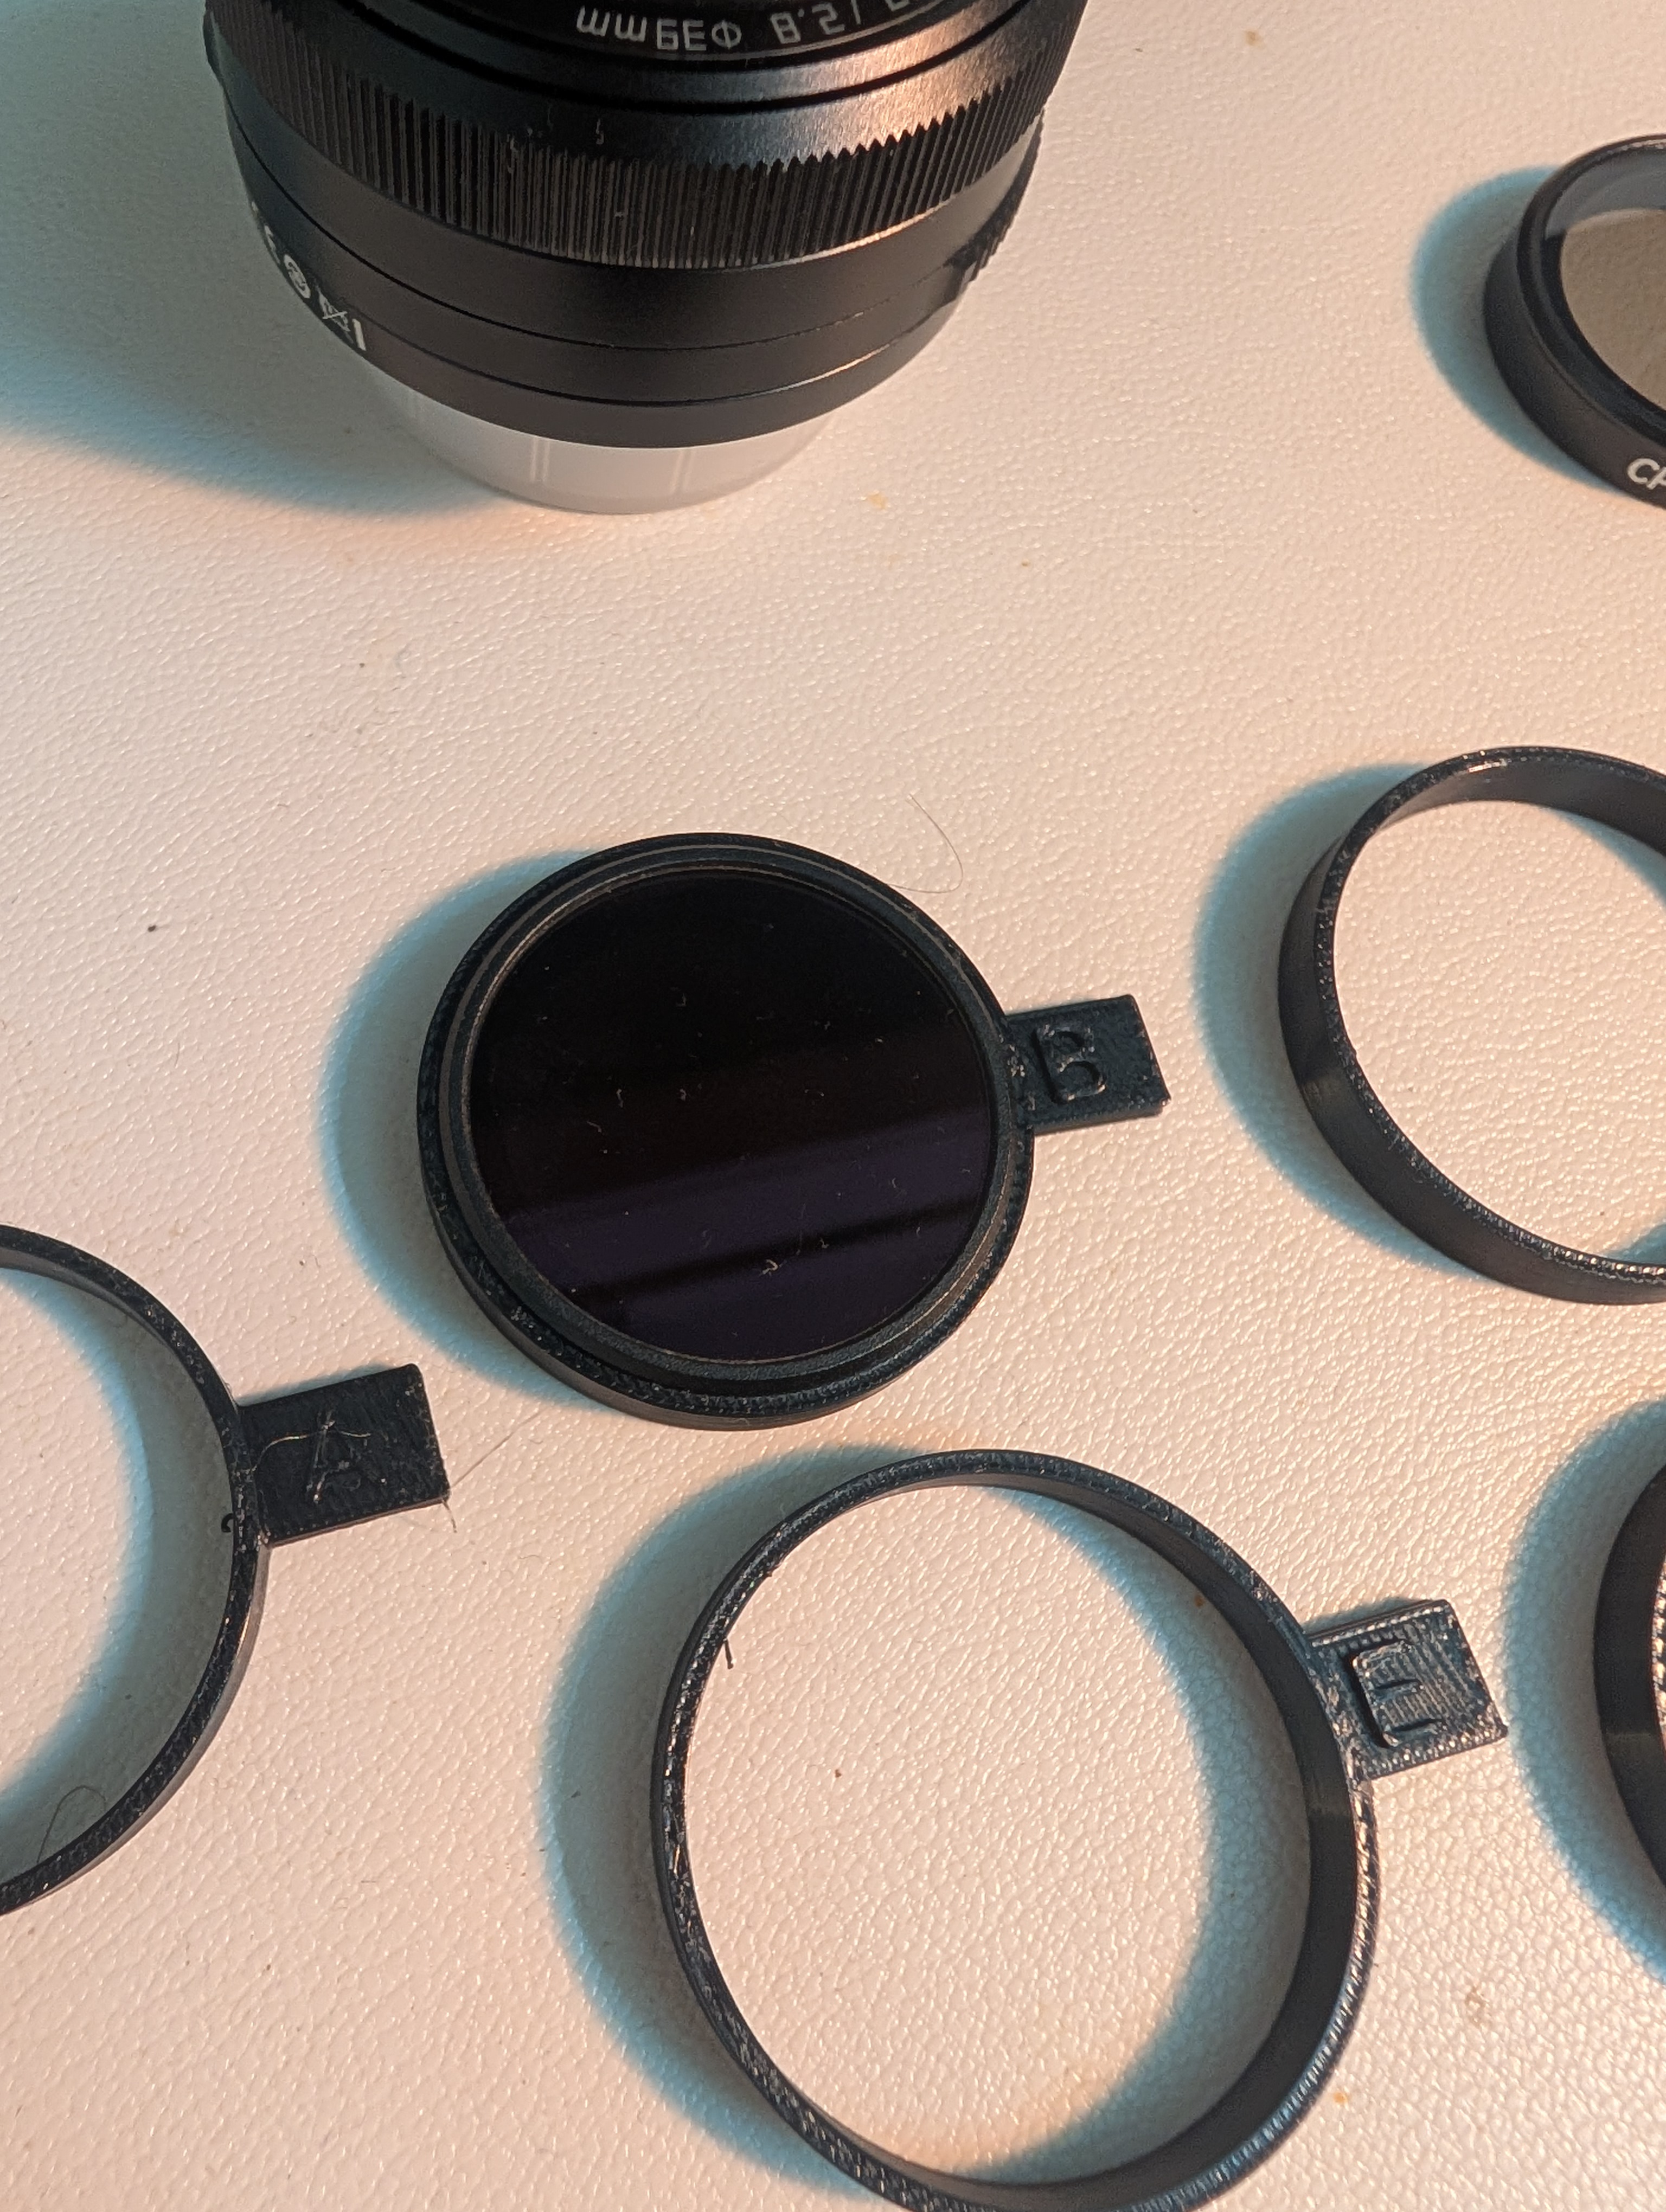
Dropping the real filter into each ring. This is the whole verification method: no calipers required, because the filter is its own gauge.
Ring A (39.0mm) won: snug, secure, no rattle. Because the gauge and the final adapter print on the same machine with the same shrinkage, that winning number transfers directly into the adapter's cup diameter. This is my favorite trick from the whole project: the printer effectively calibrates itself.
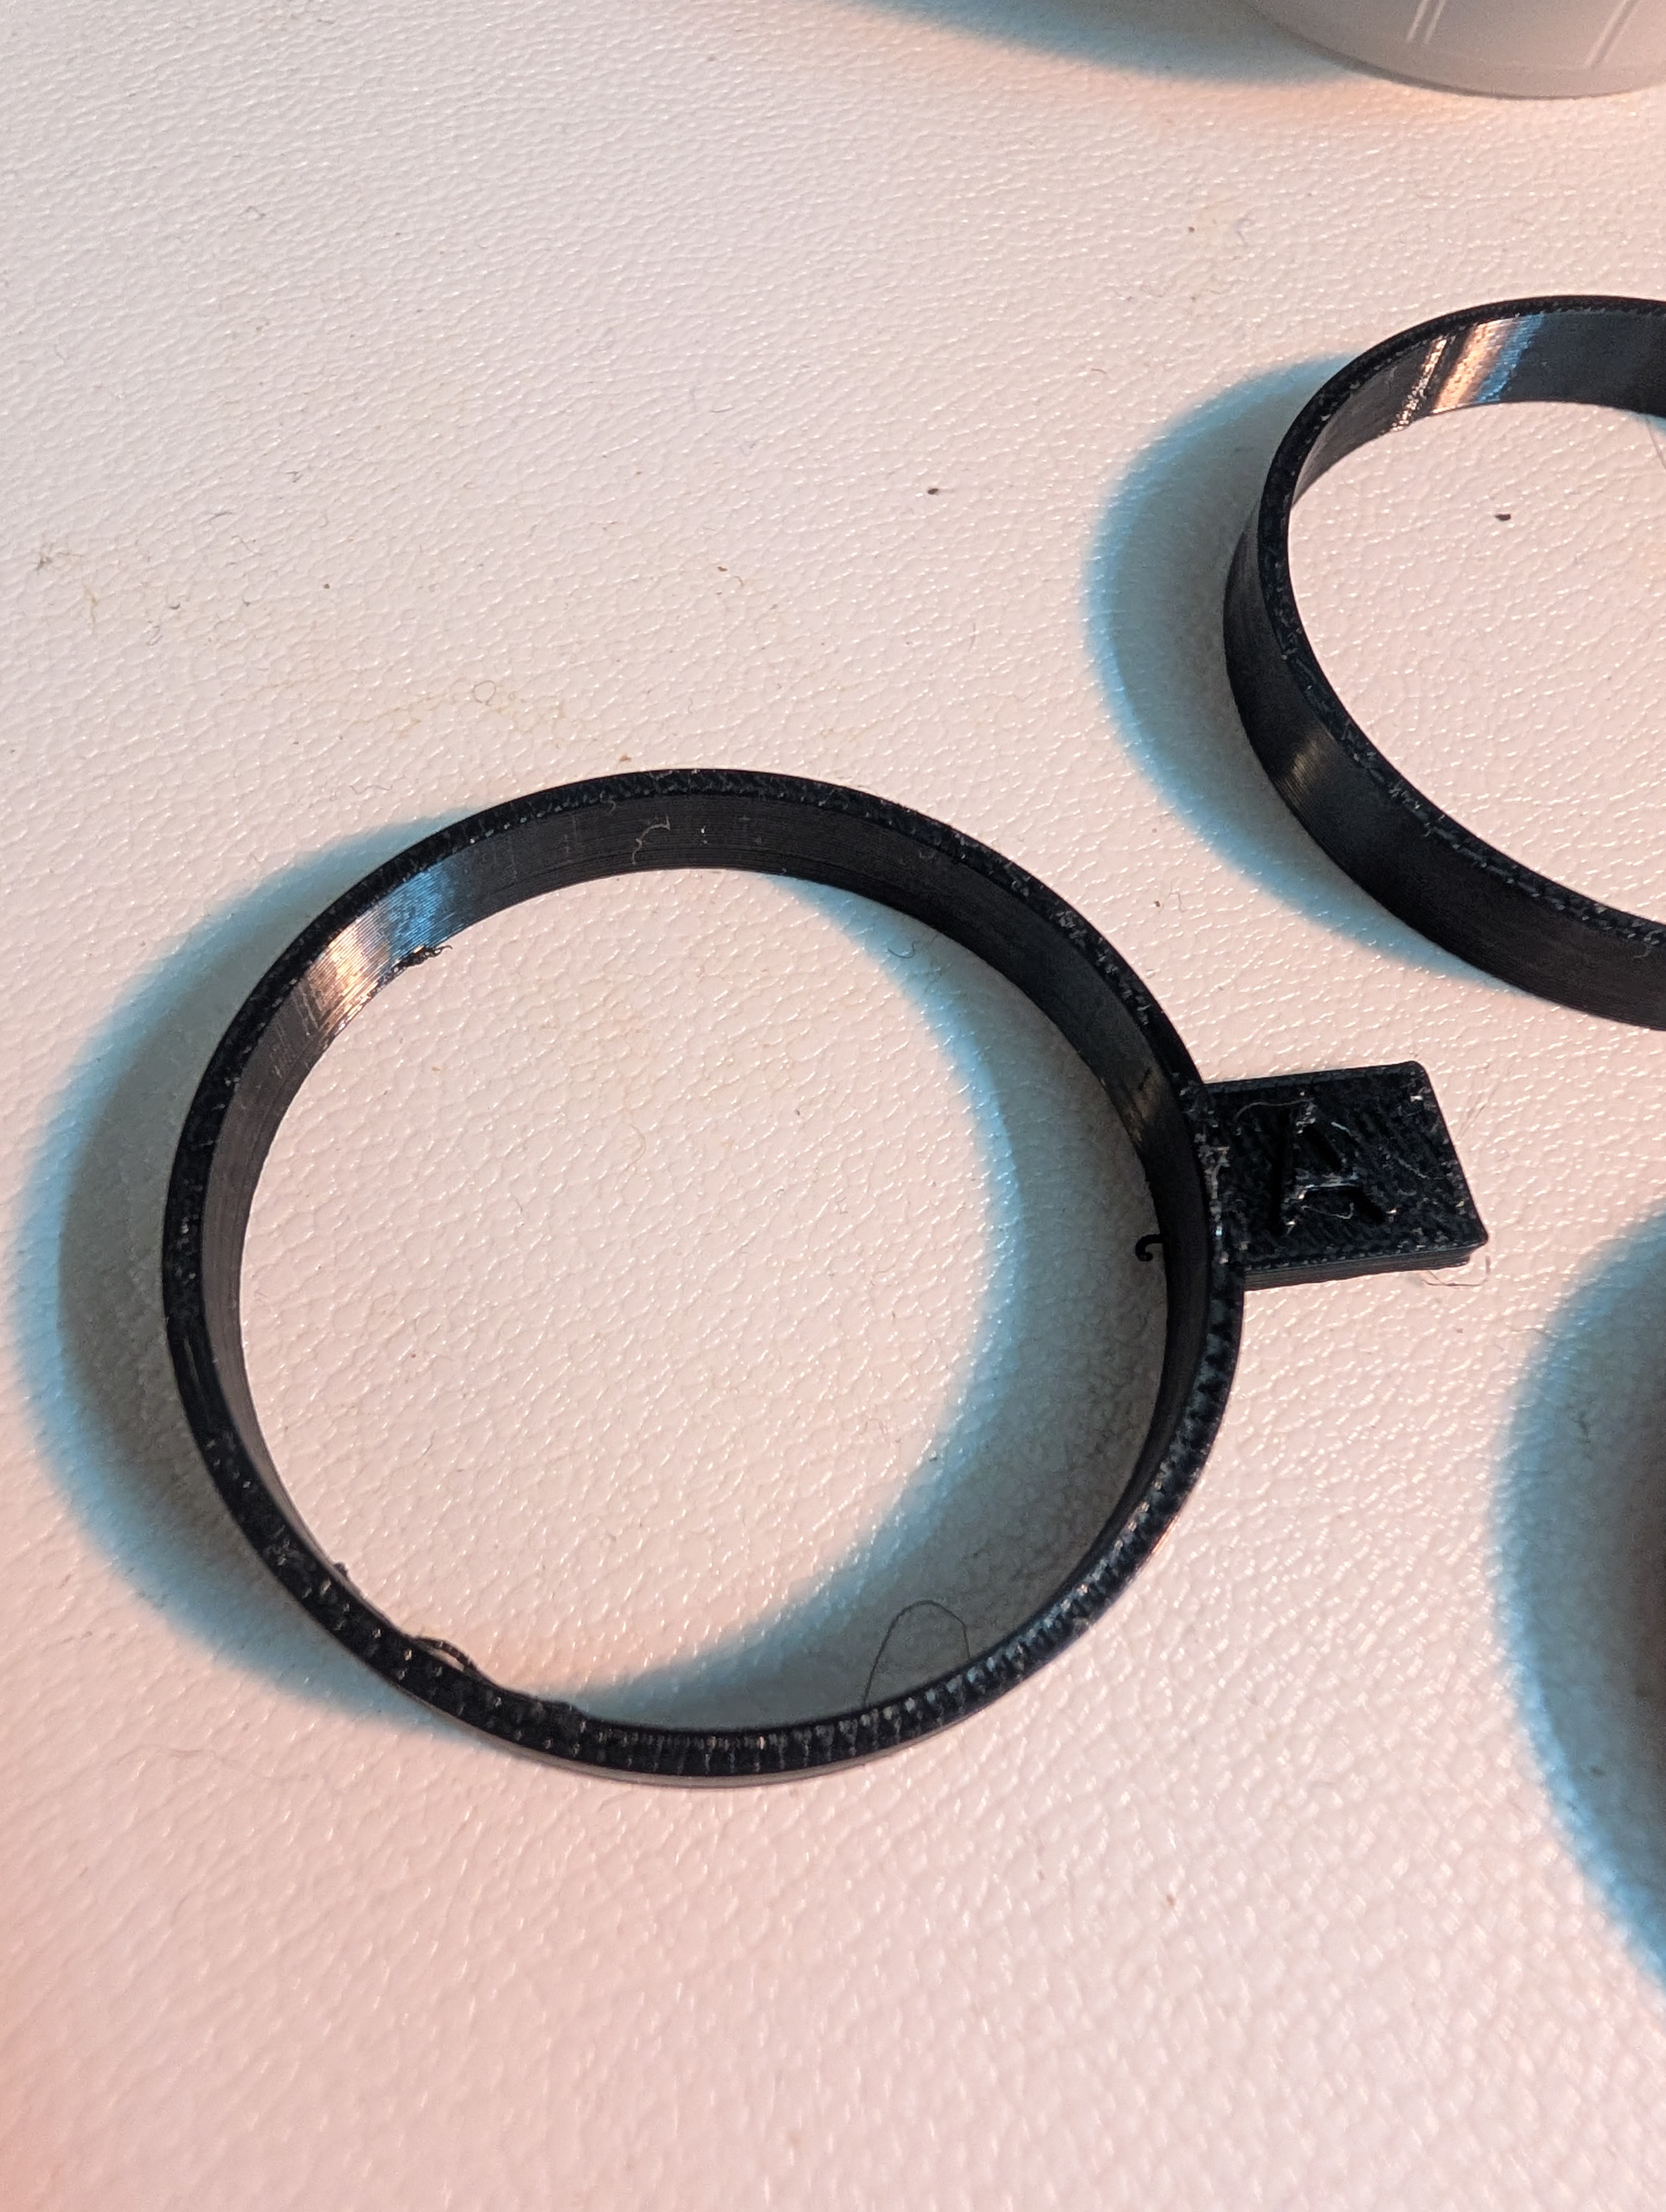
Ring A, the winner. Its inner diameter became the cup diameter in the final design.
Closing the gap: the vignetting chase
With the fit locked in, I turned to image quality. Testing across the zoom range, the results were:
- Clean from roughly 16mm and up. No visible vignetting.
- Slight vignetting only at the widest 13mm. Even that shrinks the closer the filter sits to the front glass.
So the entire optimization became: get the filter as close to the lens element as possible. That drove three iterations:
- v1: filter held in the cup with a small standoff above the lens rim.
- v2: I realized the filter did not need to sit above the rim at all. I recessed it down into the lens's filter-thread mouth, closer to the glass, and added two finger-notch scallops so a sunken filter is still easy to pinch out.
- v3: the key insight was that the front element sits deep, with roughly 8-9mm of air below the rim, and the filter is a hollow cylinder. Only its edge ring actually contacts anything. That means the lens front can nest inside the filter's back. So v3 sinks the filter even deeper on a thin sleeve, bringing the glass-to-glass distance down to a few millimeters.
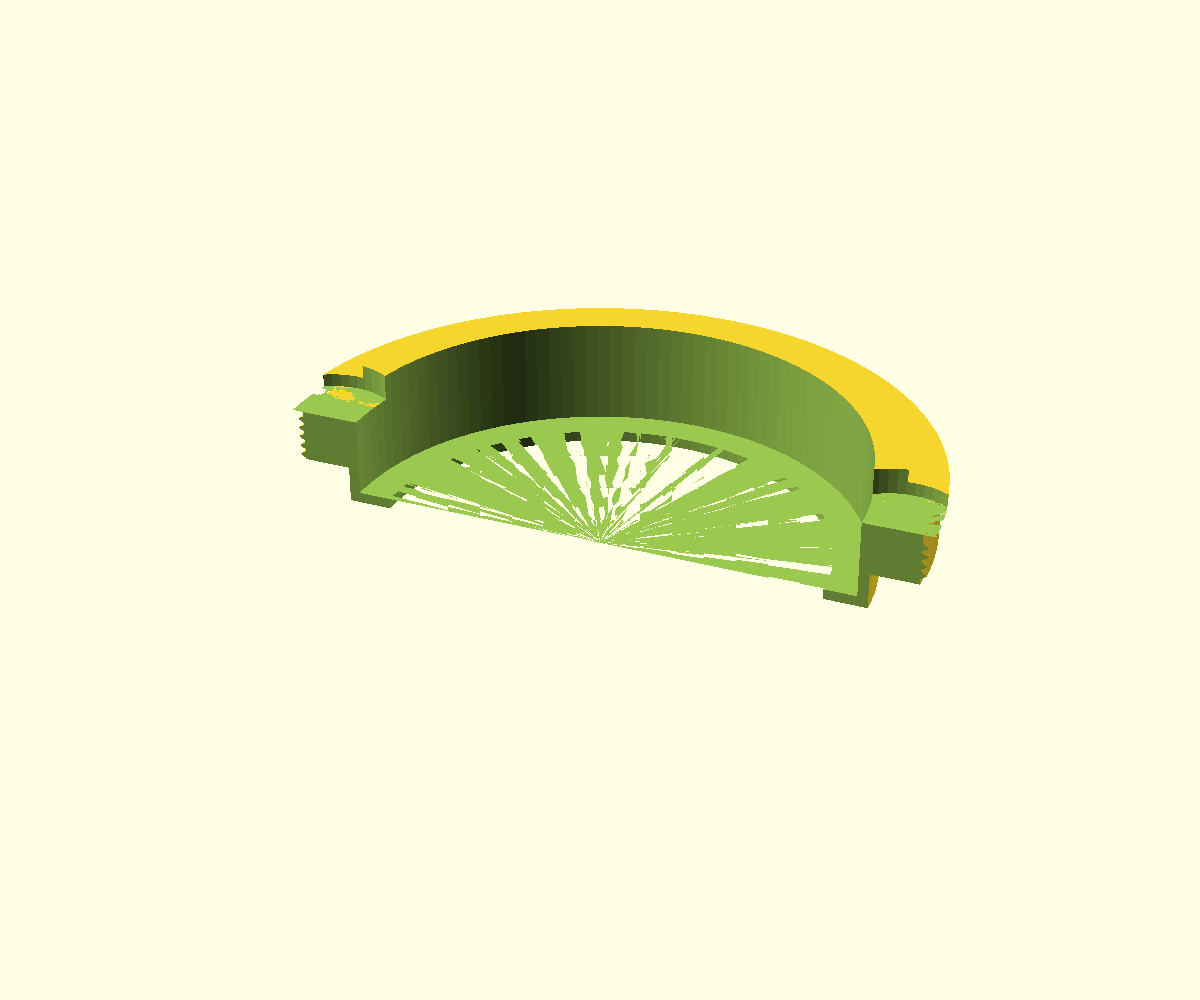
Cutaway of the v3 design. The filter drops deep into the lens mouth on a thin sleeve, the open bore keeps the light path clear, and finger notches let you pull the filter back out.
Each step nudged the 13mm vignetting down further. Since the lens is happiest optically toward 33mm anyway, the practical result is a filter setup that is clean across the range I actually shoot.
Printing it
Nothing exotic here. I sliced it in Bambu Studio at 0.12mm fine layers in PETG, then printed it on a Bambu Lab A1. No supports are needed; a brim helps the small footprint stick. Print the part axis-vertical so the thread comes out crisp.
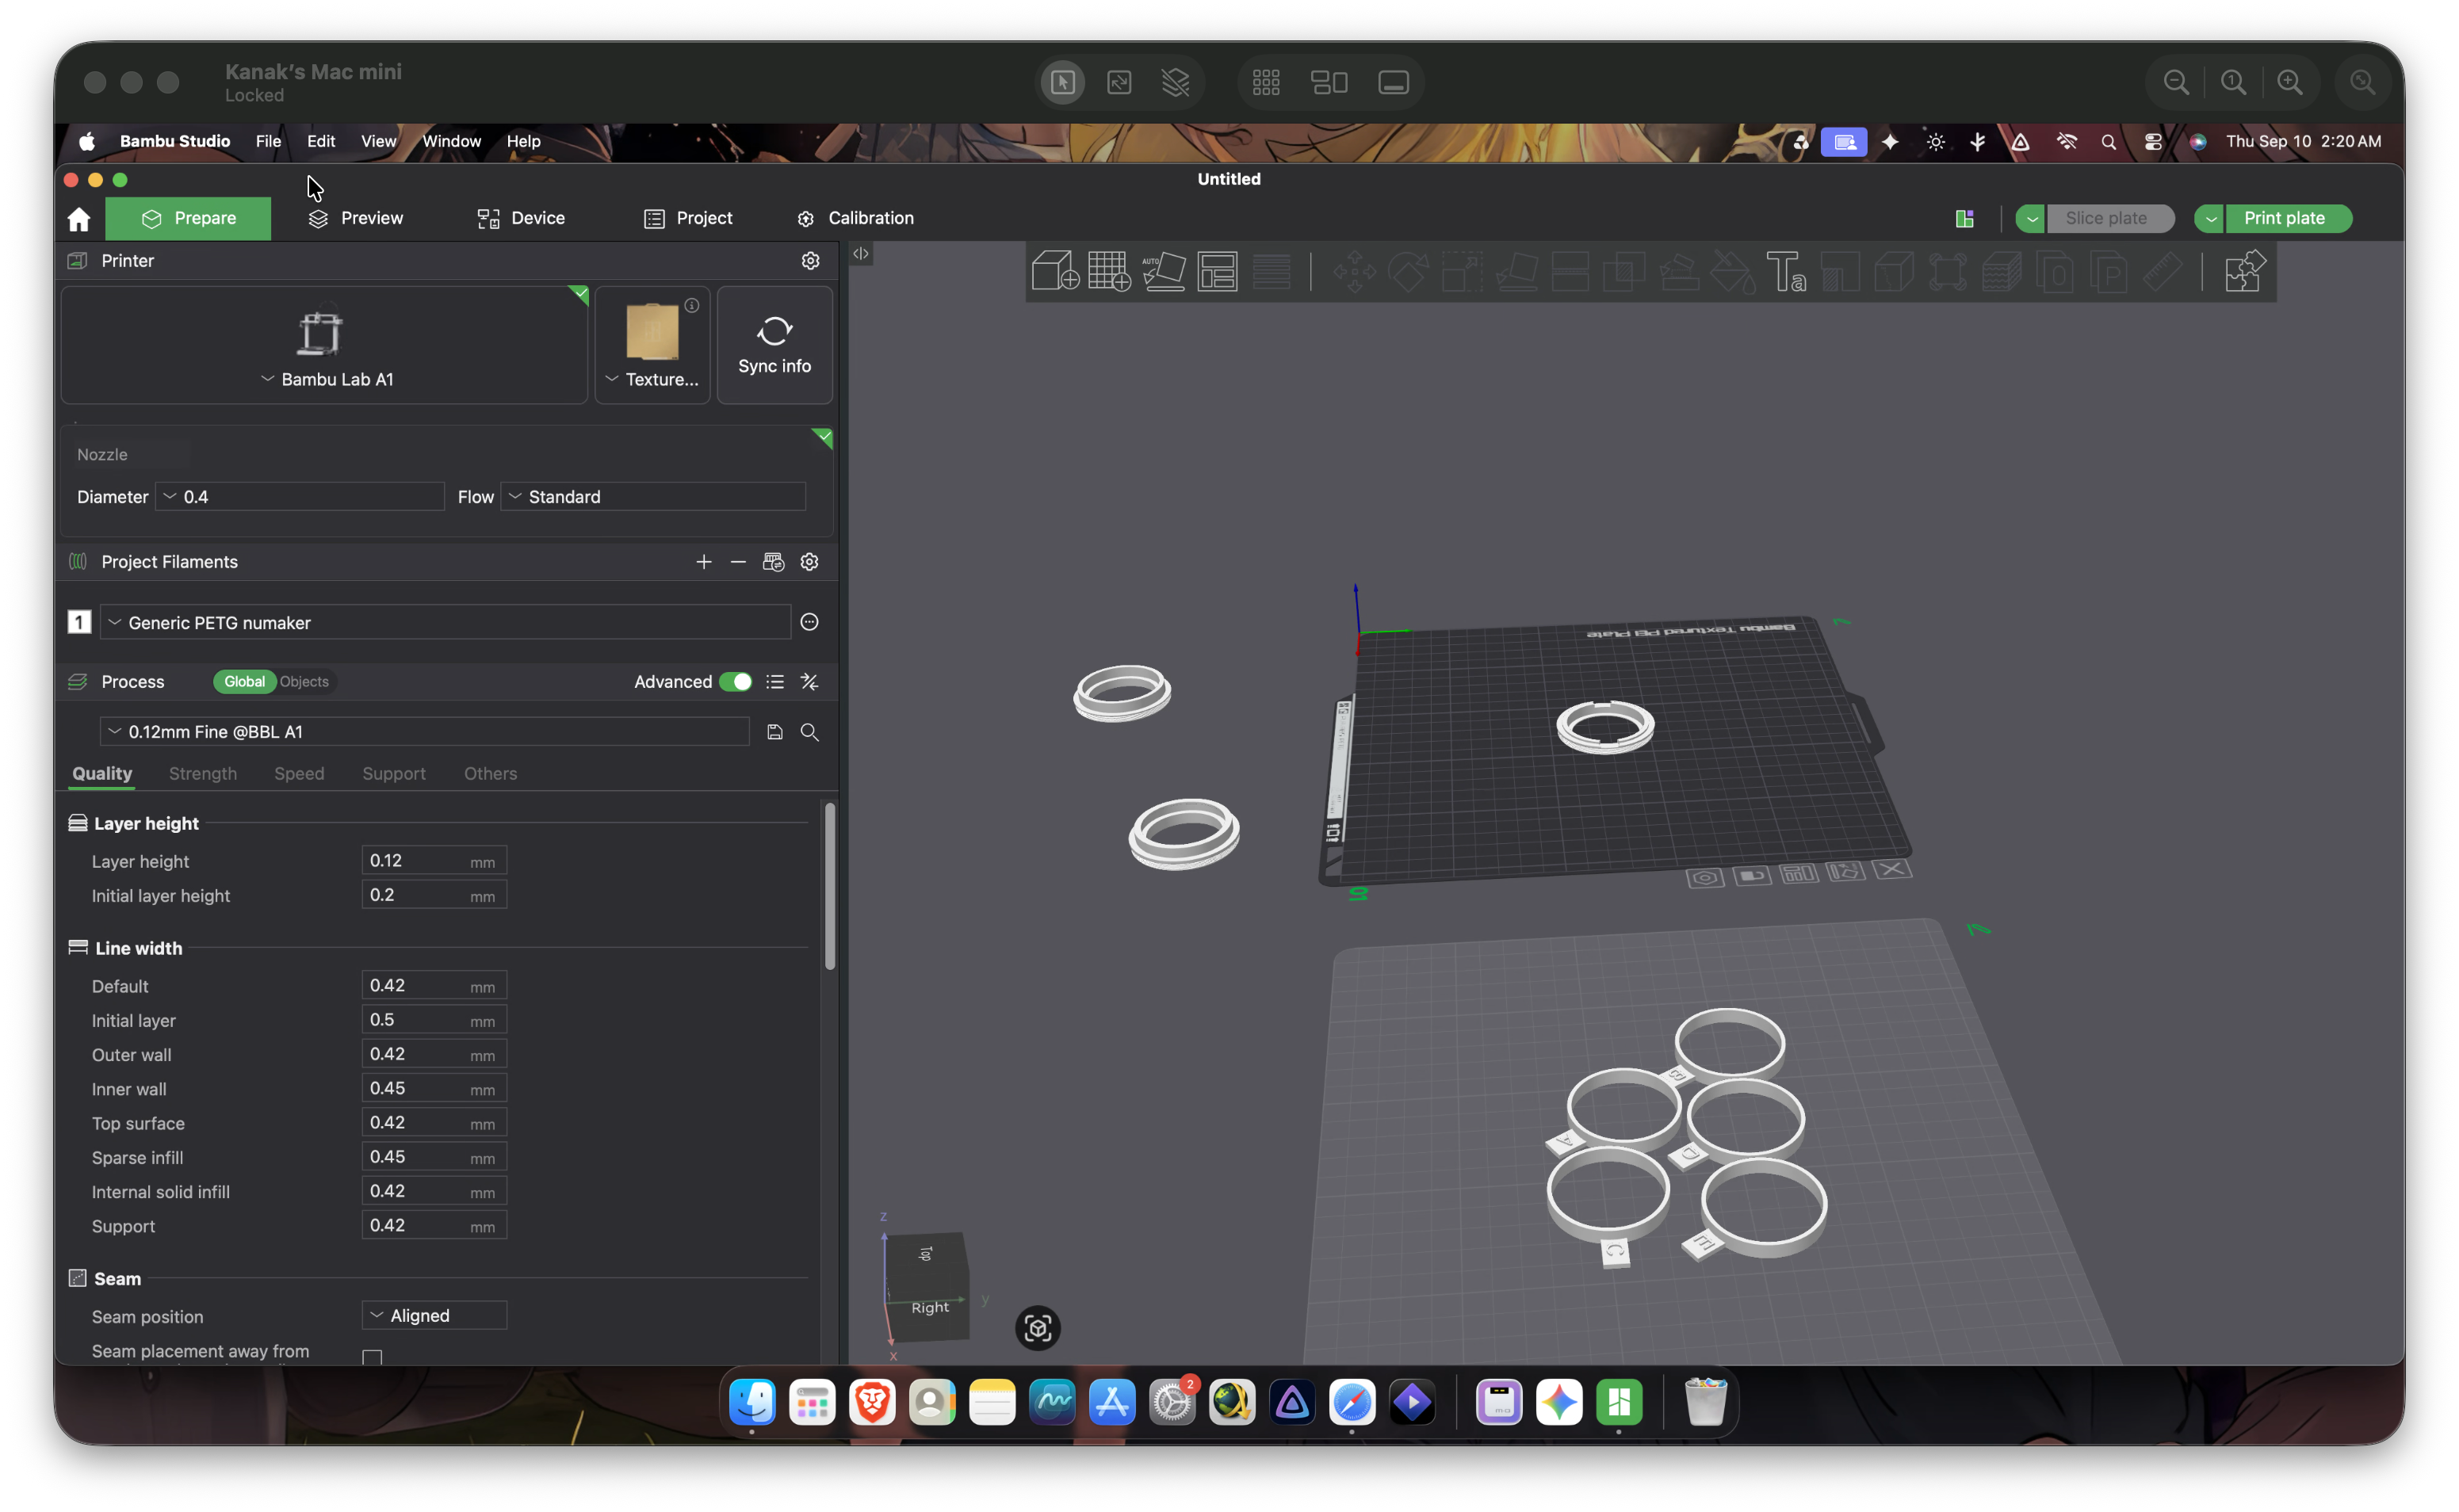
Slicing setup: 0.12mm fine layers, PETG. The adapter and a set of gauges share the plate.
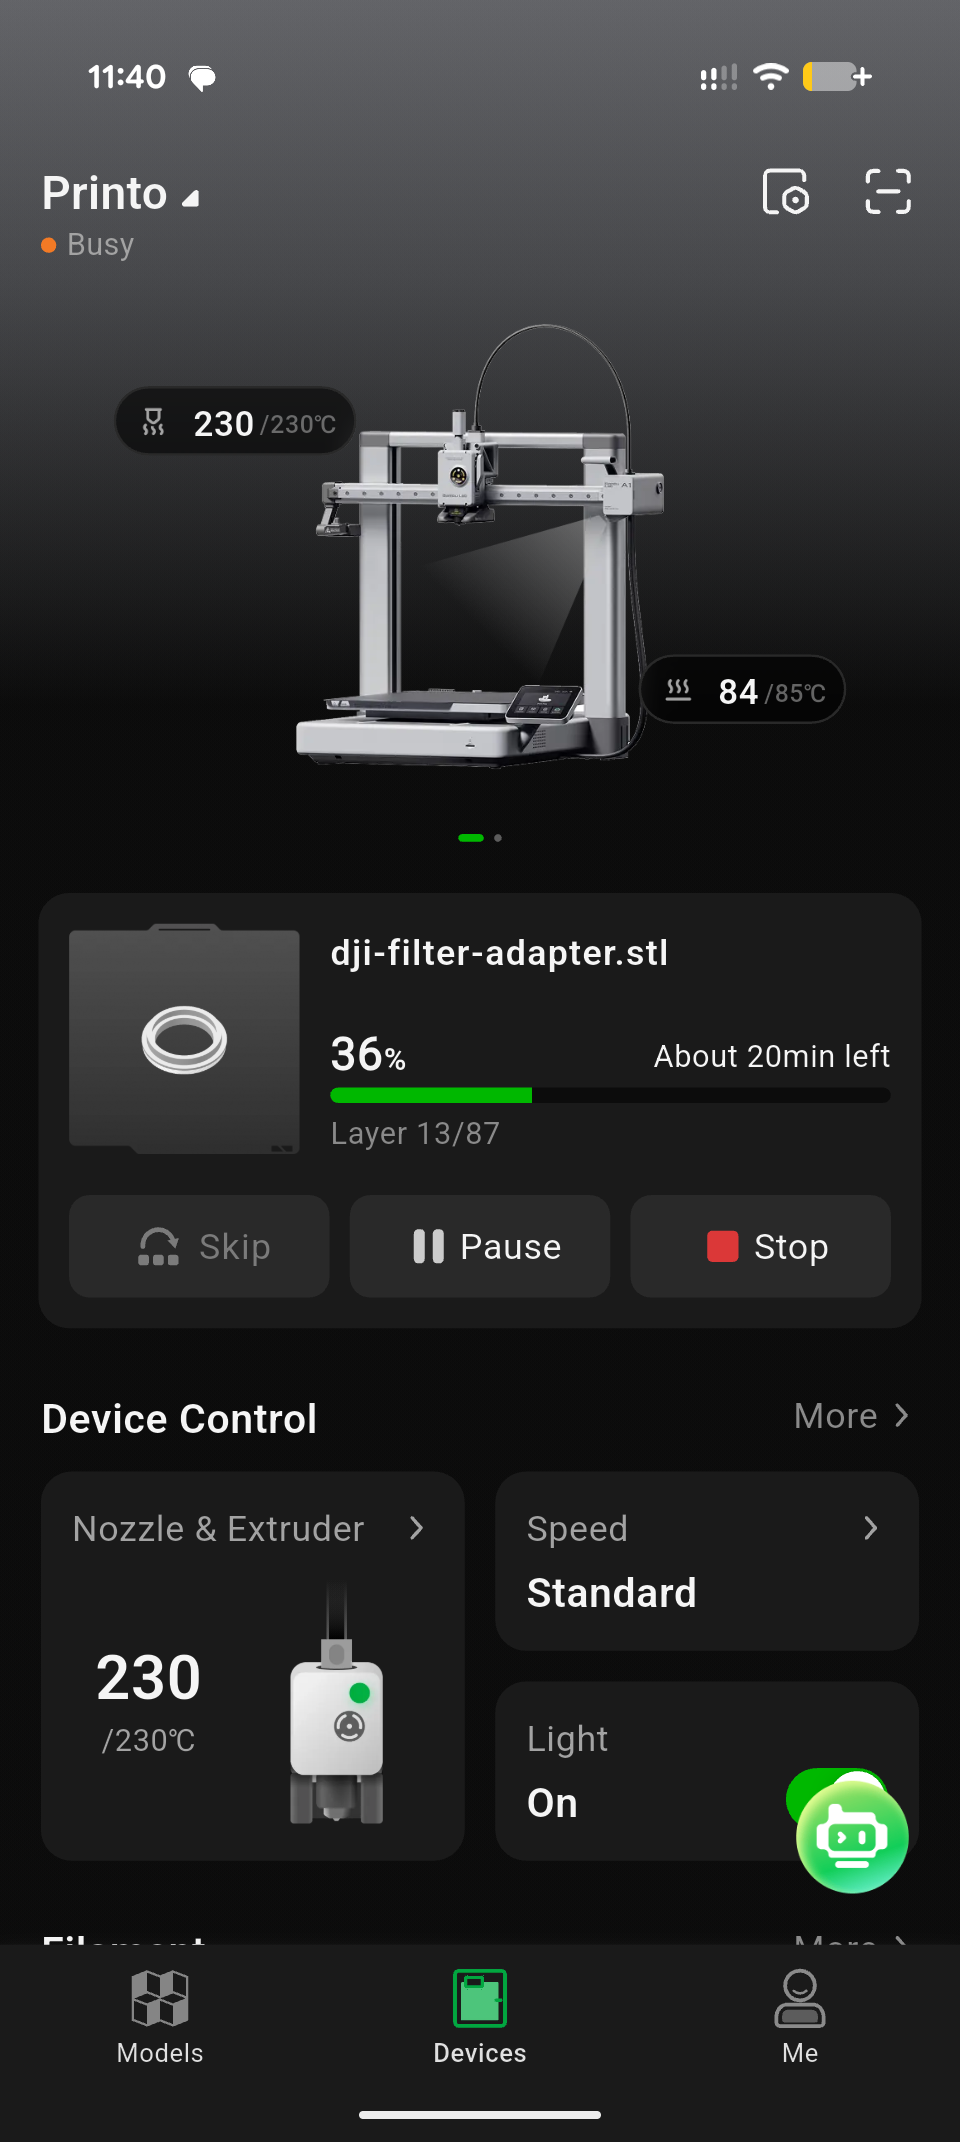
A print in progress. At this size each iteration is quick, which is what makes the gauge-and-tune loop practical.
The result
Screw the adapter onto the lens, drop in the filter, and shoot. A set of tiny action-cam ND/CPL filters now pulls double duty as ND/CPL glass for an APS-C camera, with no second filter kit required.
Watch the end-to-end demo (36 seconds)
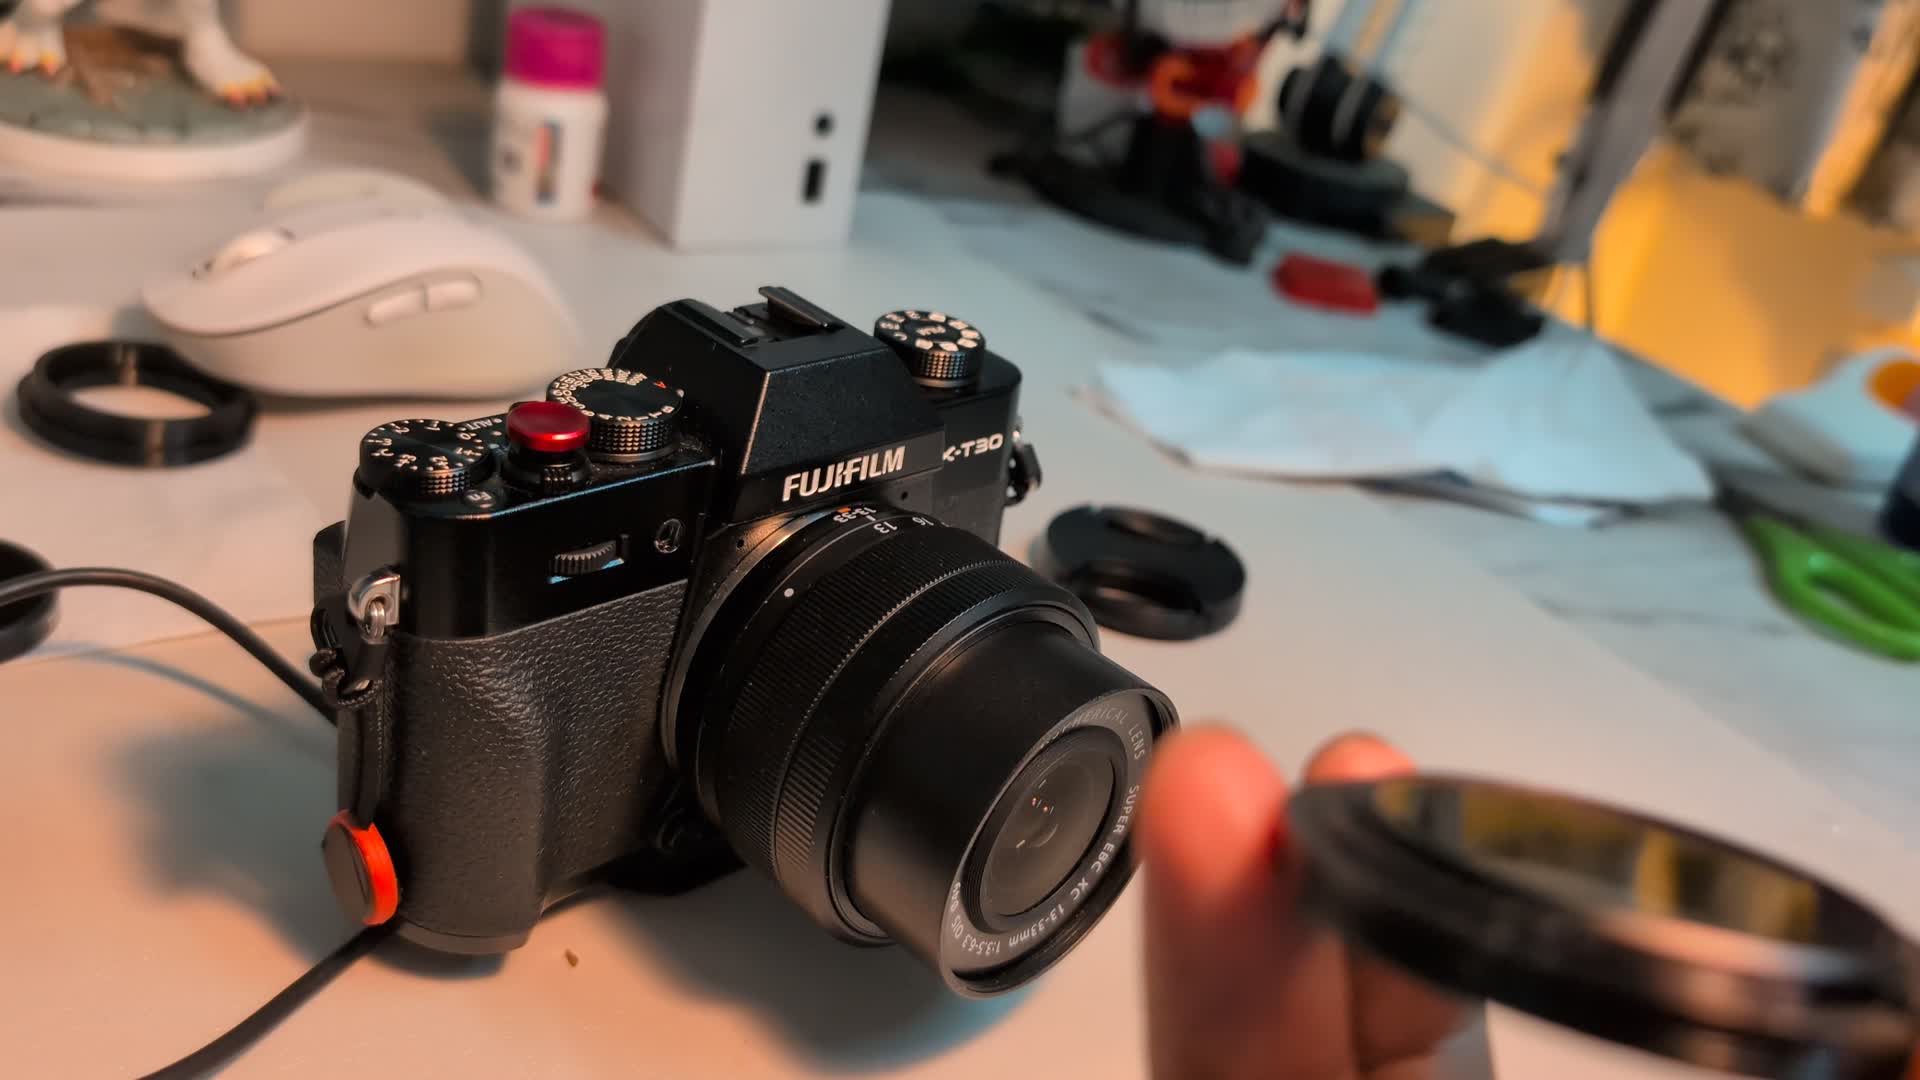
End to end: the printed adapter mounts to the lens, the DJI filter seats in the cup, and the camera shoots the scene through reused action-cam glass.
Make your own
Everything is parametric. The important knobs at the top of dji-filter-adapter.scad:
cup_id: the cup inner diameter. Set this to whichever gauge ring wins on your printer.filter_recess: how deep the filter sits toward the glass. Bigger means less wide-angle vignetting. Verify glass clearance across the full zoom before trusting a deep value.thread_clearance: loosen or tighten the thread fit.finger_notches: the scallops that make a recessed filter easy to remove.
Render the STL with:
cd camera-adapter
OPENSCADPATH=$PWD/libs /opt/homebrew/bin/openscad -o dji-filter-adapter-v3.stl dji-filter-adapter.scad
Print the gauges first, find your winning ring, drop that number into cup_id, then print the adapter.
What I would tell my past self
- Do the 30-second hand test first. It de-risks the whole project before you model a single line.
- Do not guess print tolerances; measure them. Cheap labeled test rings beat reprinting the real part every time.
- Parametric design pays for itself. Three iterations of "get the filter closer" were three one-line edits and a reprint.
- Small, smart reuse feels great. One filter kit now covers two very different cameras.