
Let me start with a confession: I am not a frontend developer. My bread and butter is Python, AI pipelines, and cybersecurity. JavaScript gives me anxiety. CSS makes me question my career choices. And yet, the website you are reading this on -- with its animated hero sections, AI-powered chatbot, interactive knowledge graph, and cyberpunk aesthetics -- was built without me manually writing a single line of frontend code.
This is the story of how I went from a bloated WordPress site on a $10/month VPS to a blazing-fast Next.js application, self-hosted on my Mac Mini, using nothing but Cursor IDE and Claude as my AI pair programmers. Welcome to the era of vibe coding.
The Old World: WordPress and Its Growing Pains
For years, my personal website lived on WordPress. It was functional, sure. I could write blog posts, add pages, install plugins. But it came with baggage:
- A $10/month VPS just to keep it running. That adds up to $120/year for a personal portfolio site.
- Plugin bloat. Every feature needed a plugin, and every plugin was a potential security vulnerability (ironic, given my cybersecurity background).
- Speed issues. WordPress with a handful of plugins on a basic VPS was sluggish at best.
- Design limitations. No matter how many themes I tried, it never felt like mine. It always looked like a WordPress site wearing someone else's clothes.
- Maintenance overhead. Constant updates, PHP version management, database backups, SSL certificate renewals. It was a part-time job.
I knew I wanted something better, but the thought of building a modern web app from scratch when I could barely tell React from Angular? That felt like climbing Everest in flip-flops.
The Catalyst: Discovering Vibe Coding
Then came Cursor. And Claude.
If you haven't heard of "vibe coding" yet, here's the concept in a nutshell: instead of writing code line by line, you describe what you want in natural language and let AI handle the implementation. You become the architect, the creative director, the product manager -- while the AI is your expert developer who never sleeps, never complains, and knows every framework.
My approach was methodical:
Research first. Before touching any code, I spent hours researching modern web frameworks. I read about Next.js 15 with its App Router, React Server Components, Tailwind CSS, and a component library called Magic UI that caught my eye with its sleek animations and cyberpunk-ready design language.
Choose the right tools for the right tasks. This is where most people get vibe coding wrong. I didn't just use one AI model for everything. I strategically picked models based on task complexity:
- Claude Sonnet for rapid iteration -- quick component scaffolding, CSS tweaks, bug fixes, and smaller features where speed mattered more than deep reasoning.
- Claude Opus for complex architectural decisions -- designing the RAG pipeline, planning the knowledge graph, structuring the data flow between server and client components, and tackling multi-file refactors that required understanding the full codebase context.
Iterate relentlessly. Vibe coding isn't "prompt and pray." It's a conversation. I'd describe a feature, review what Claude produced, refine my description, and iterate until it was exactly right.
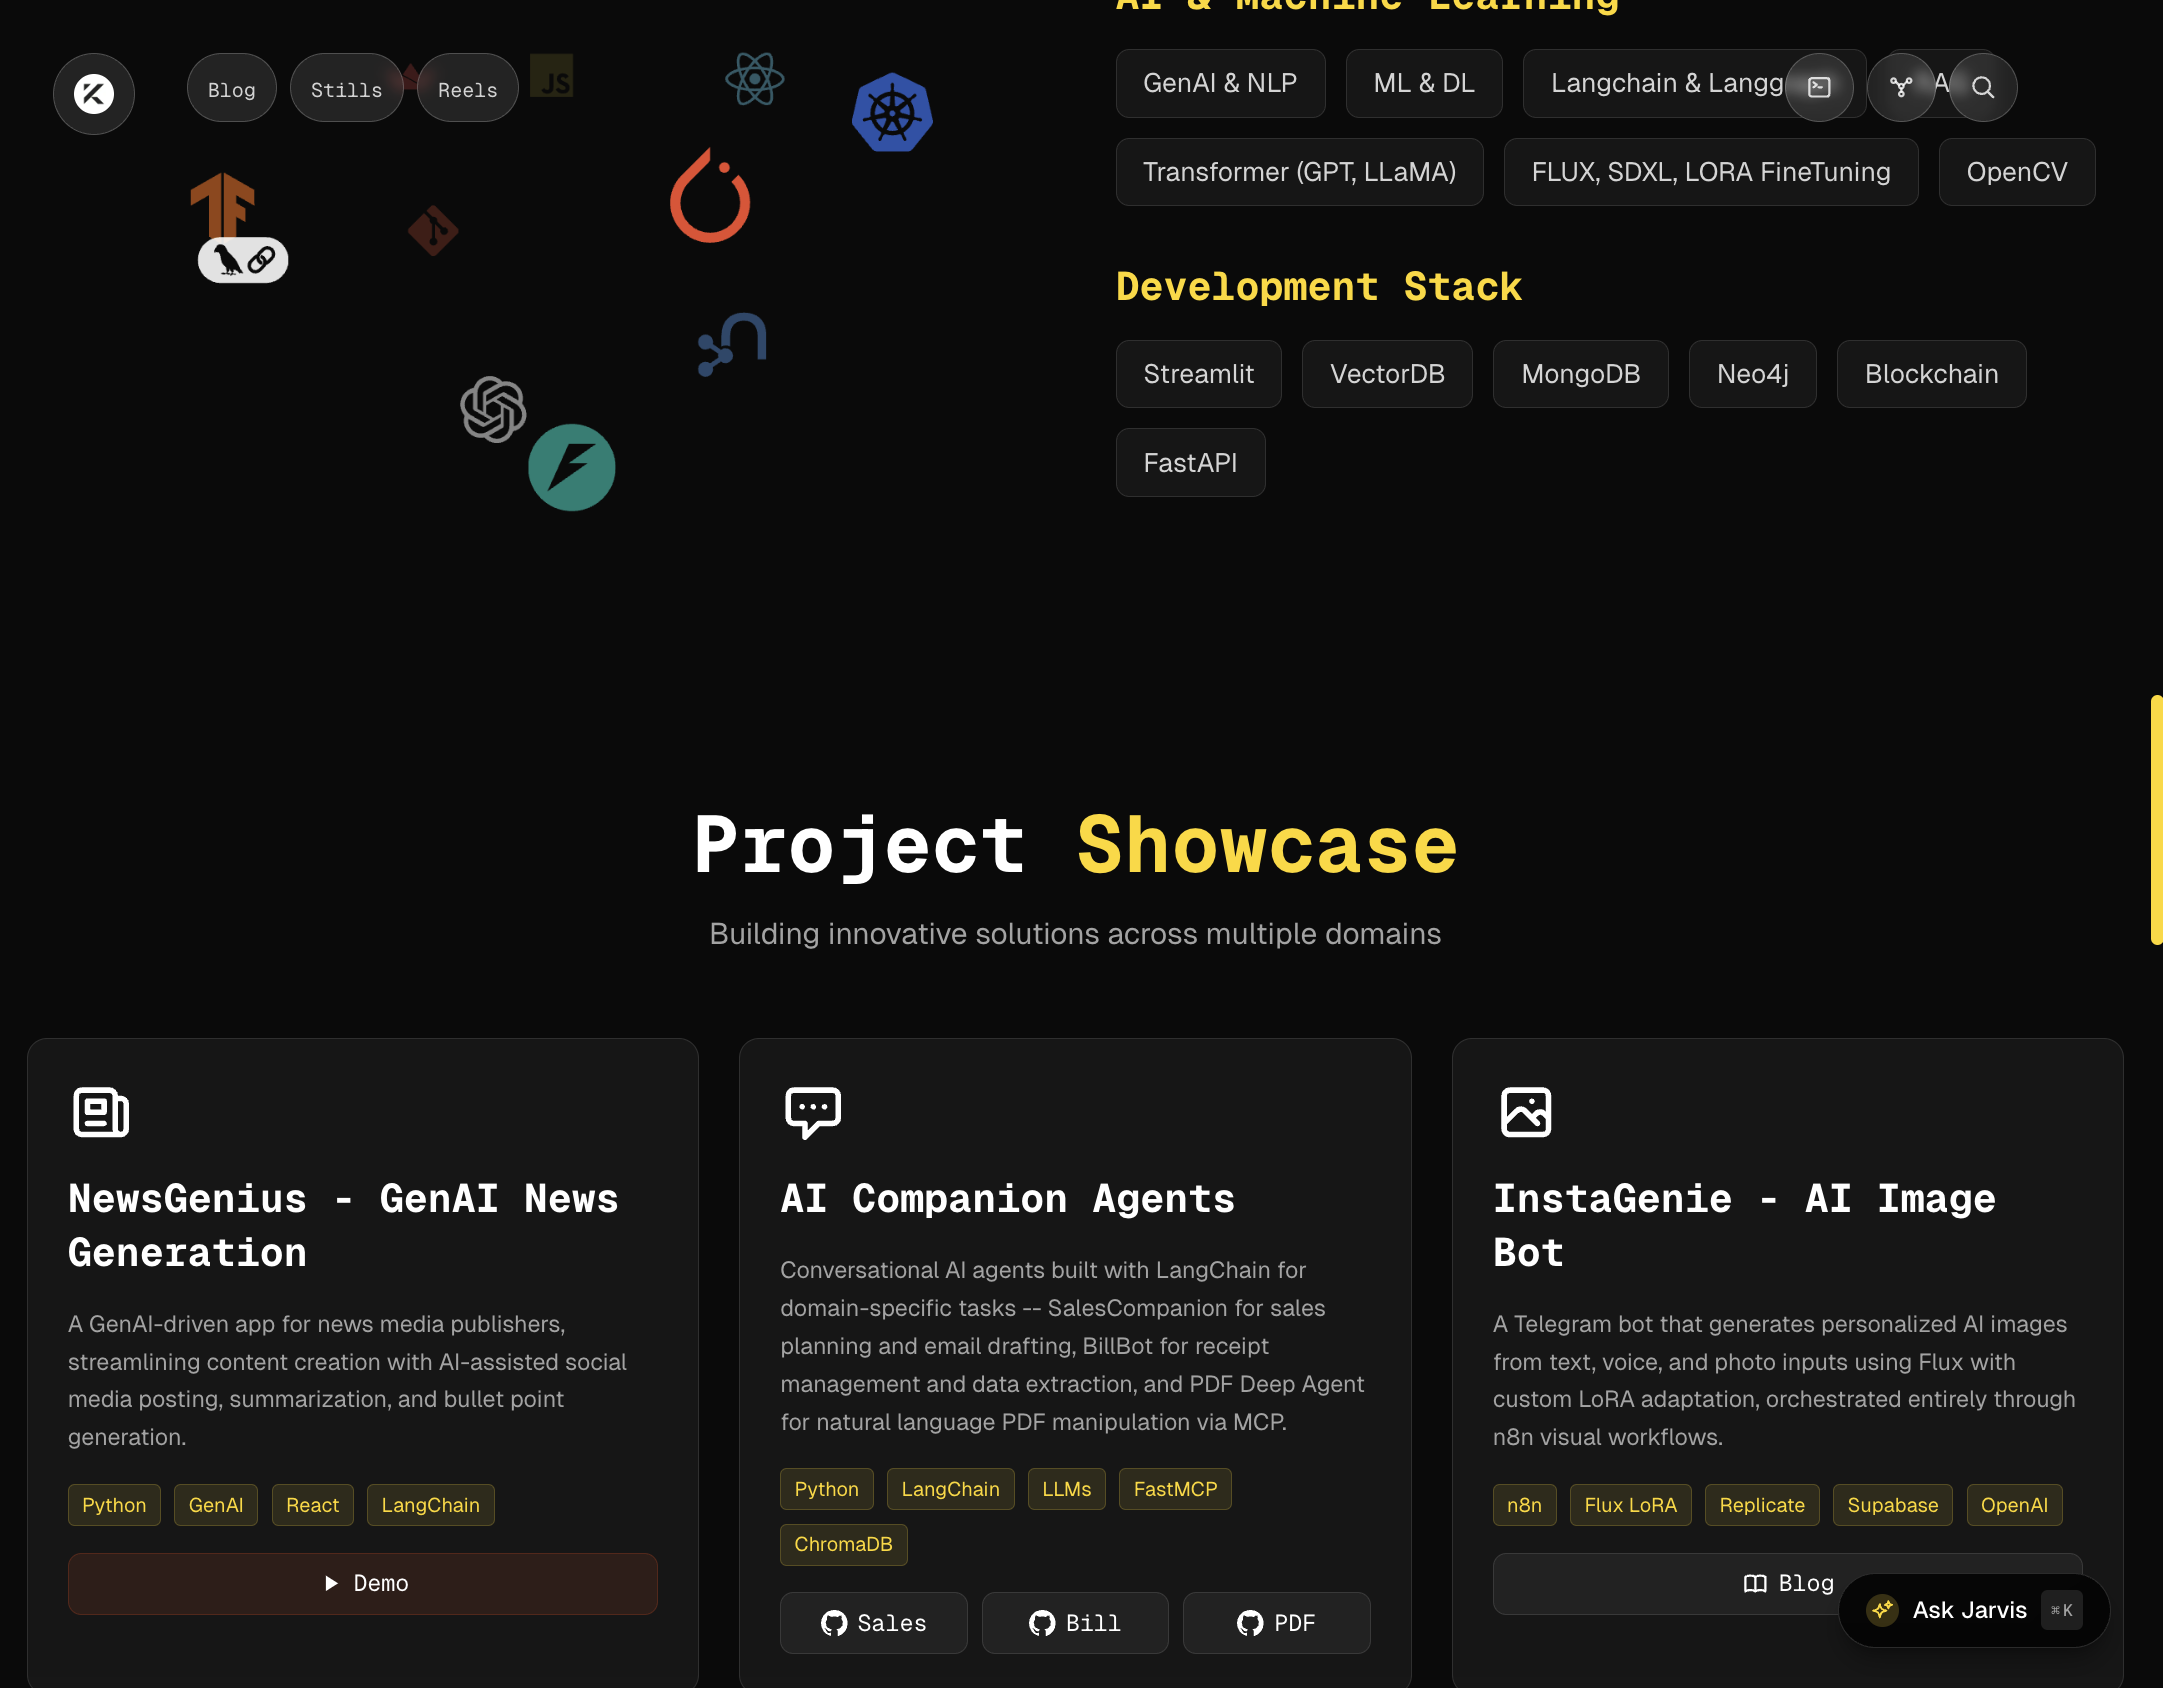
The Stack: What Powers This Site
Here's what we ended up with:
- Next.js 15 with the App Router for server-side rendering and optimal performance
- React 19 with Server Components for smart client/server split
- Tailwind CSS for styling with a custom cyberpunk dark theme
- Magic UI for polished animation components (the icon cloud, animated borders, shimmer effects)
- Framer Motion for smooth page transitions and scroll animations
- MDX for blog posts (like the one you're reading) with full React component support
- Google Gemini (free tier!) for all AI features
- LangChain + Vercel AI SDK for the RAG chatbot
- Docker on my Mac Mini for self-hosting
The total monthly cost? $0. Down from $120/year.
Building the Features: A Vibe Coding Walkthrough
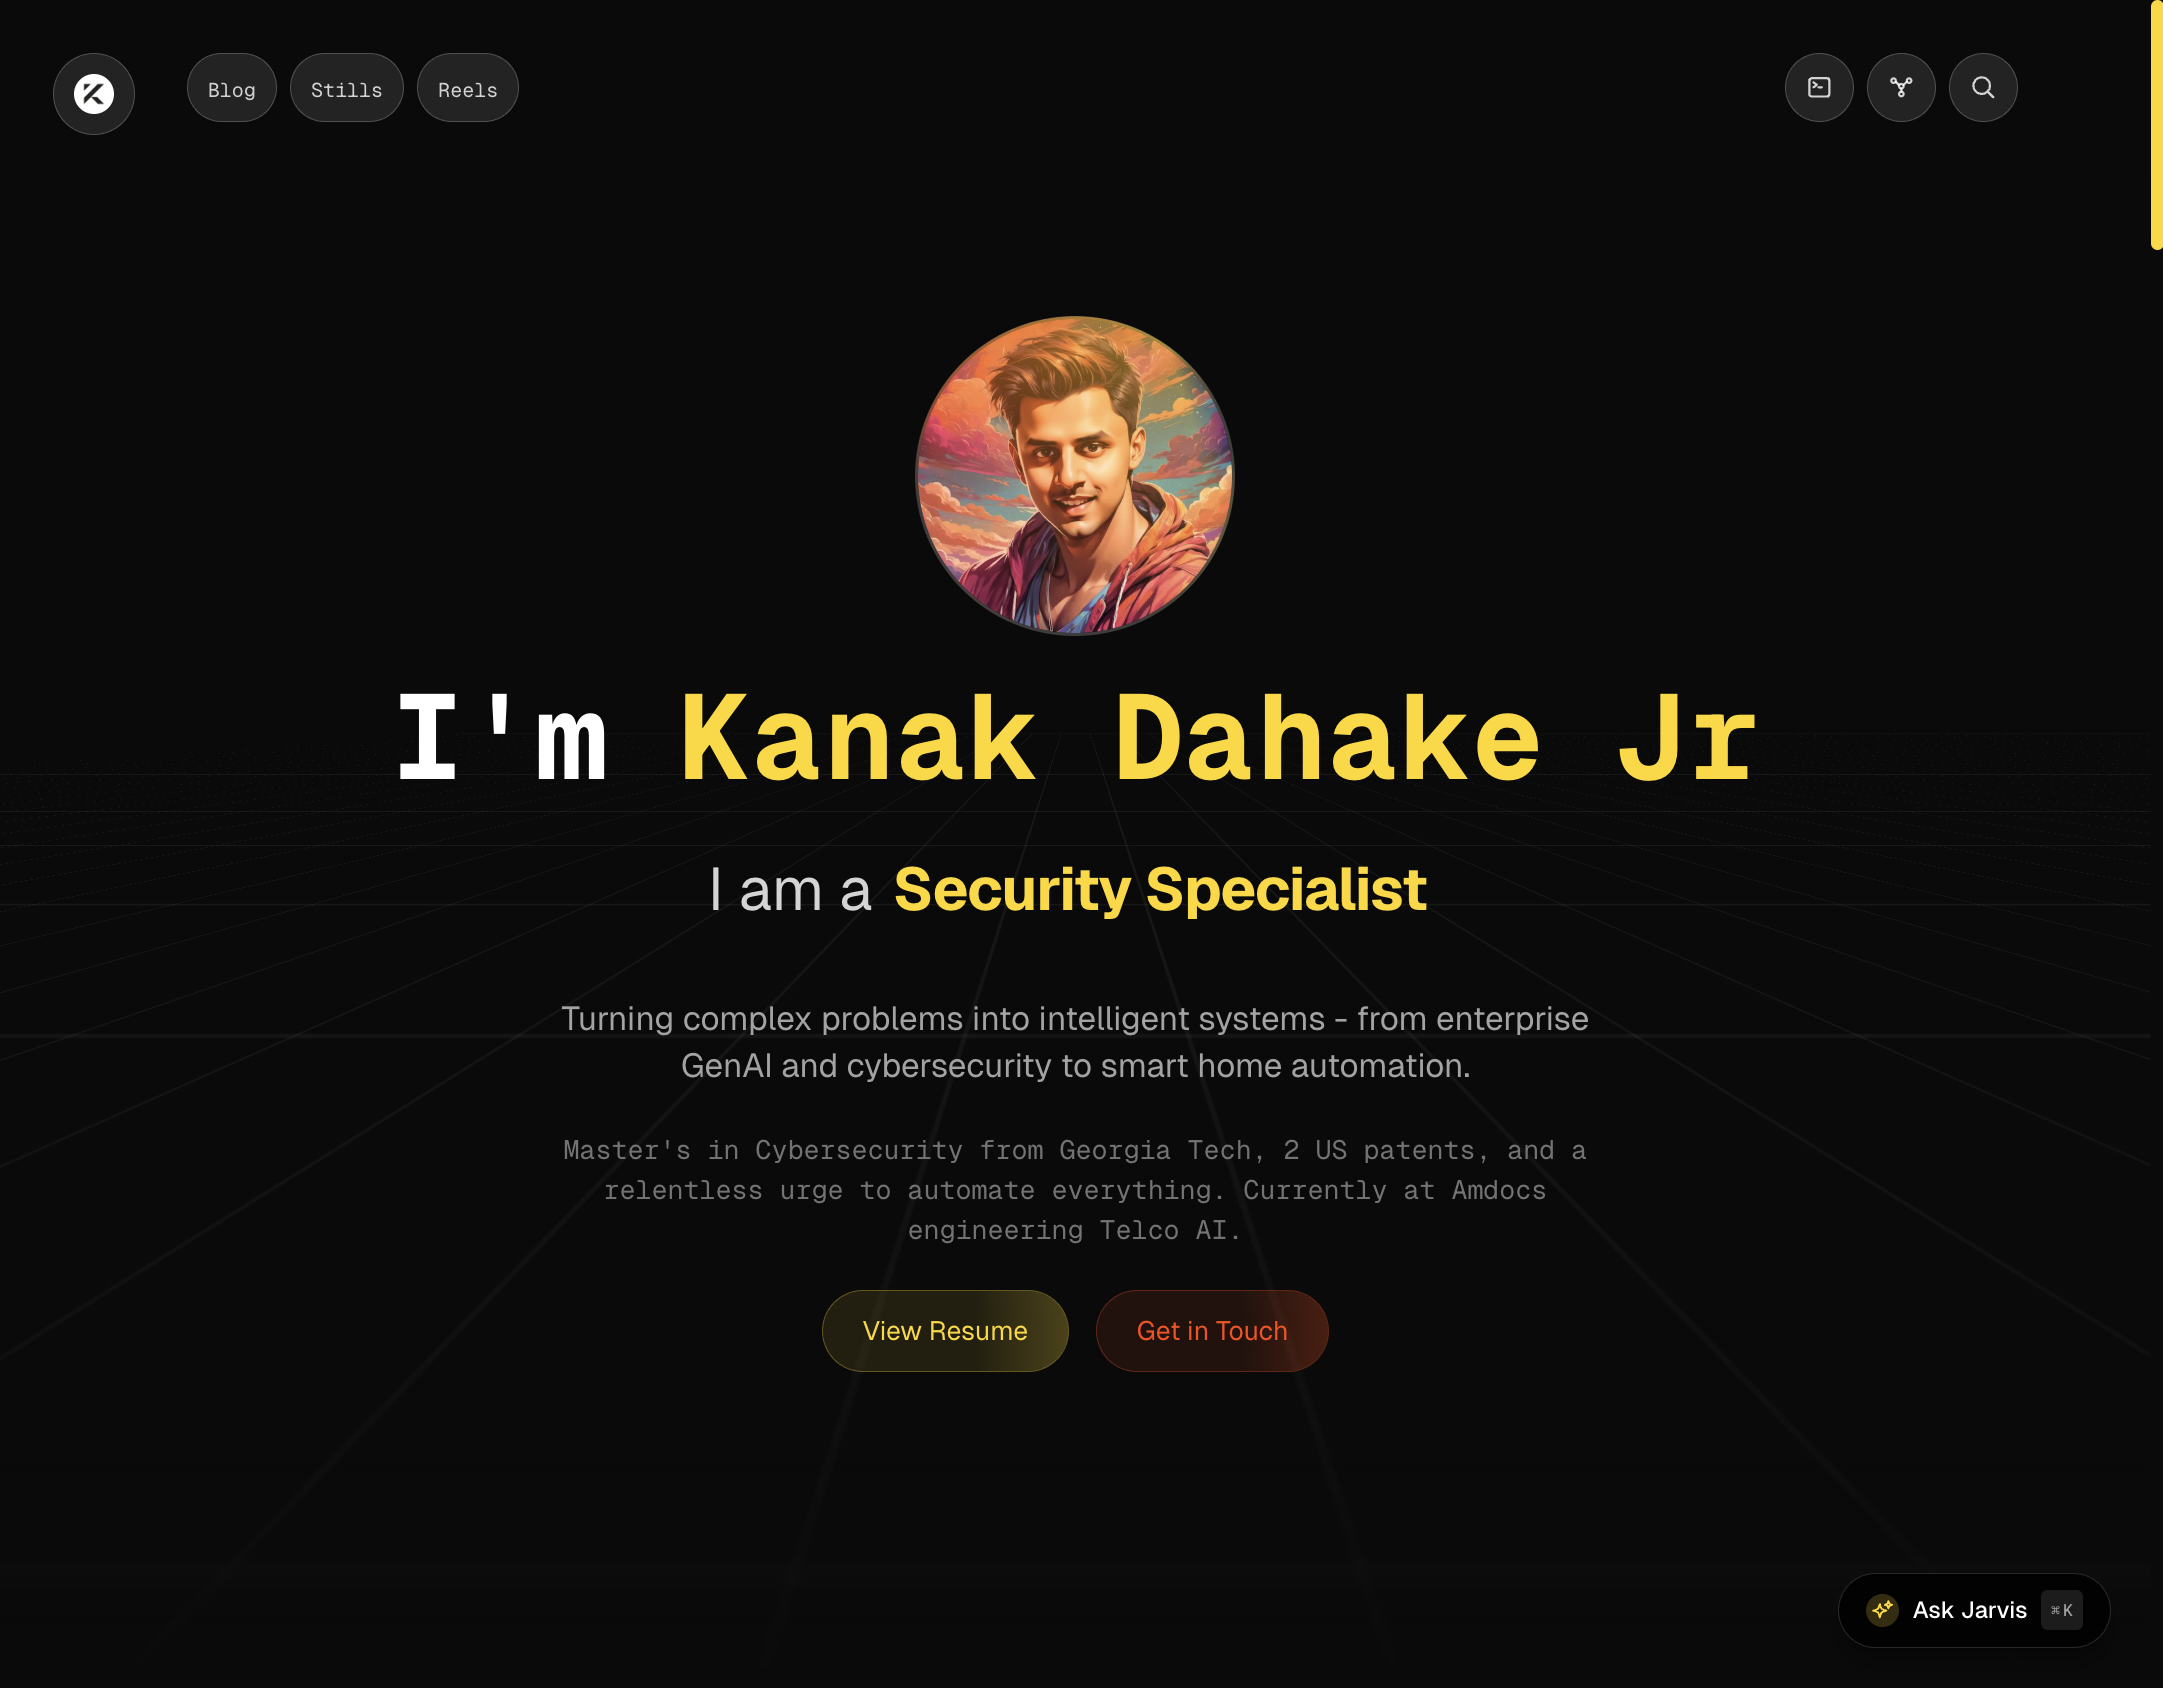
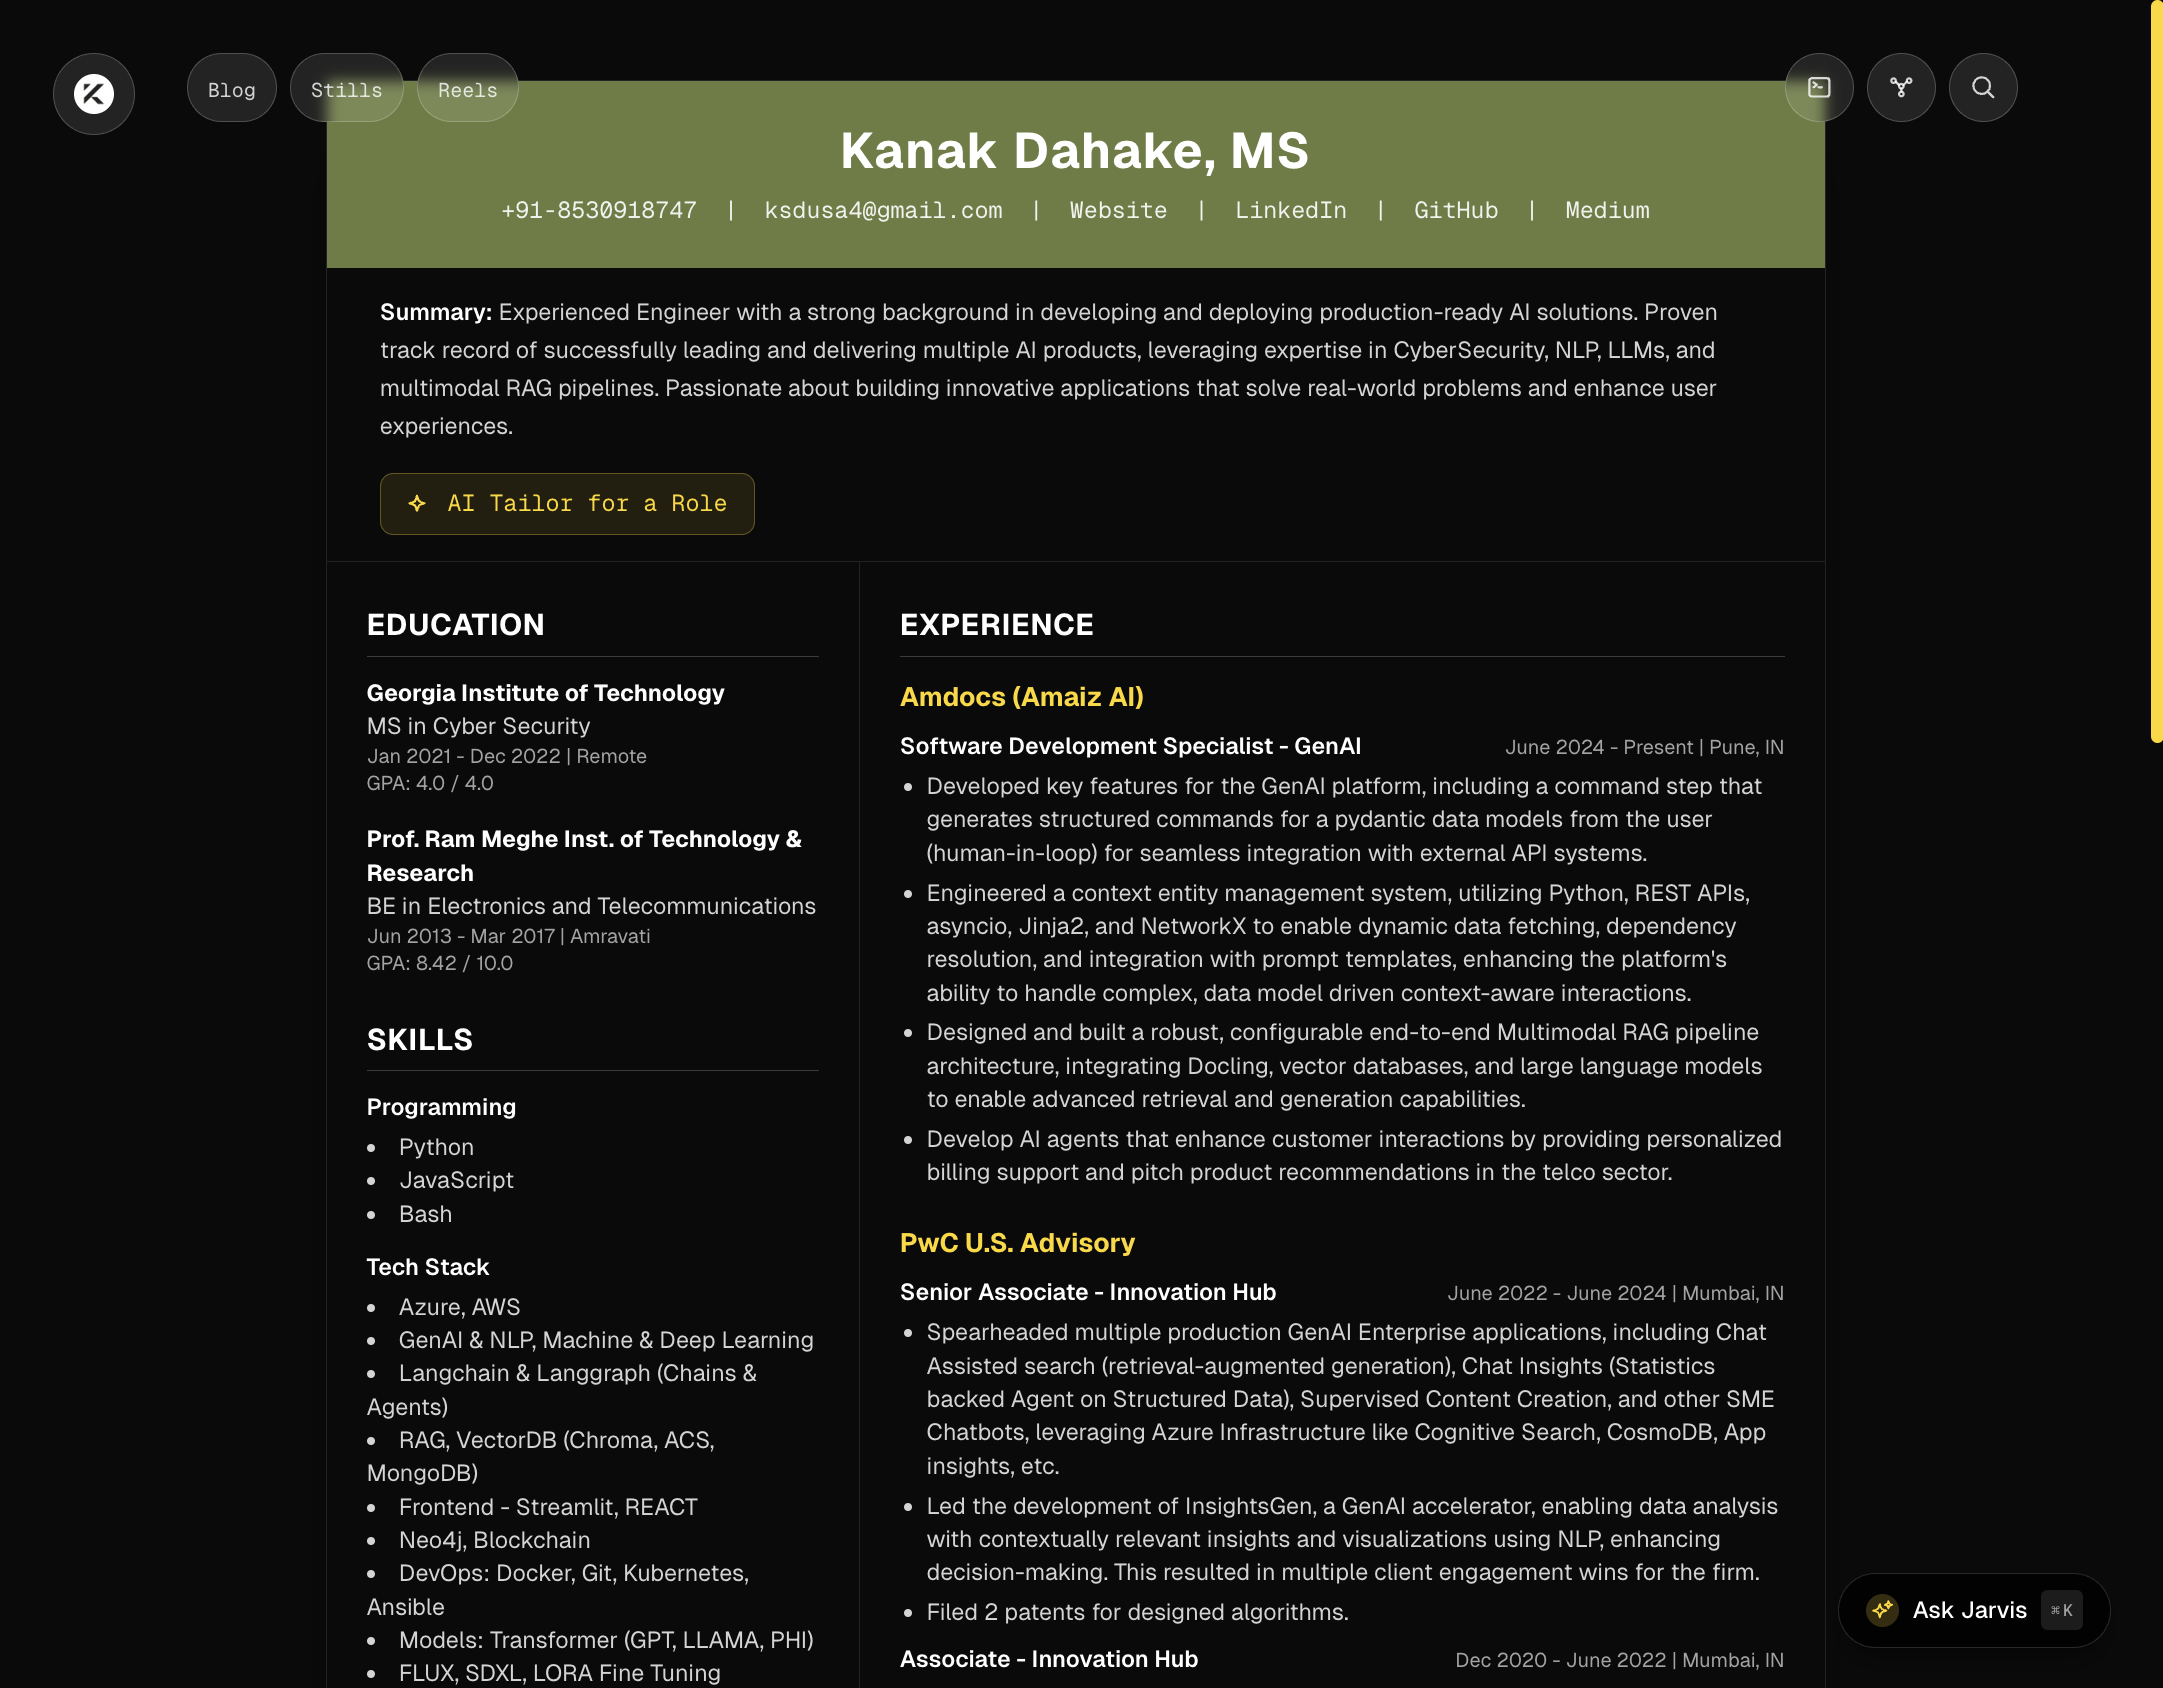
The Hero Section
The first thing visitors see is the animated hero with a typing effect, perspective grid background, and the retro-gold aesthetic. Here's how the conversation with Cursor went (paraphrasing):
Me: "I want a hero section with my profile picture in a circular frame, a large monospace heading with my name where the first name is highlighted in gold, a typing effect that cycles through my roles, and a dark background with a subtle perspective grid. Think cyberpunk meets professional."
Claude: [Generates the entire component with Framer Motion animations, CSS grid perspective, typing logic, and responsive breakpoints]
That's it. One description, one component. Did I tweak it afterward? Absolutely. But the foundation was solid on the first try.
Jarvis: The AI Chatbot
This is perhaps the feature I'm most proud of. "Jarvis" is a RAG-powered (Retrieval-Augmented Generation) AI assistant that knows everything about my career, projects, patents, and skills. You can chat with it, ask it questions via voice, and it responds with context pulled from my actual resume and portfolio data.
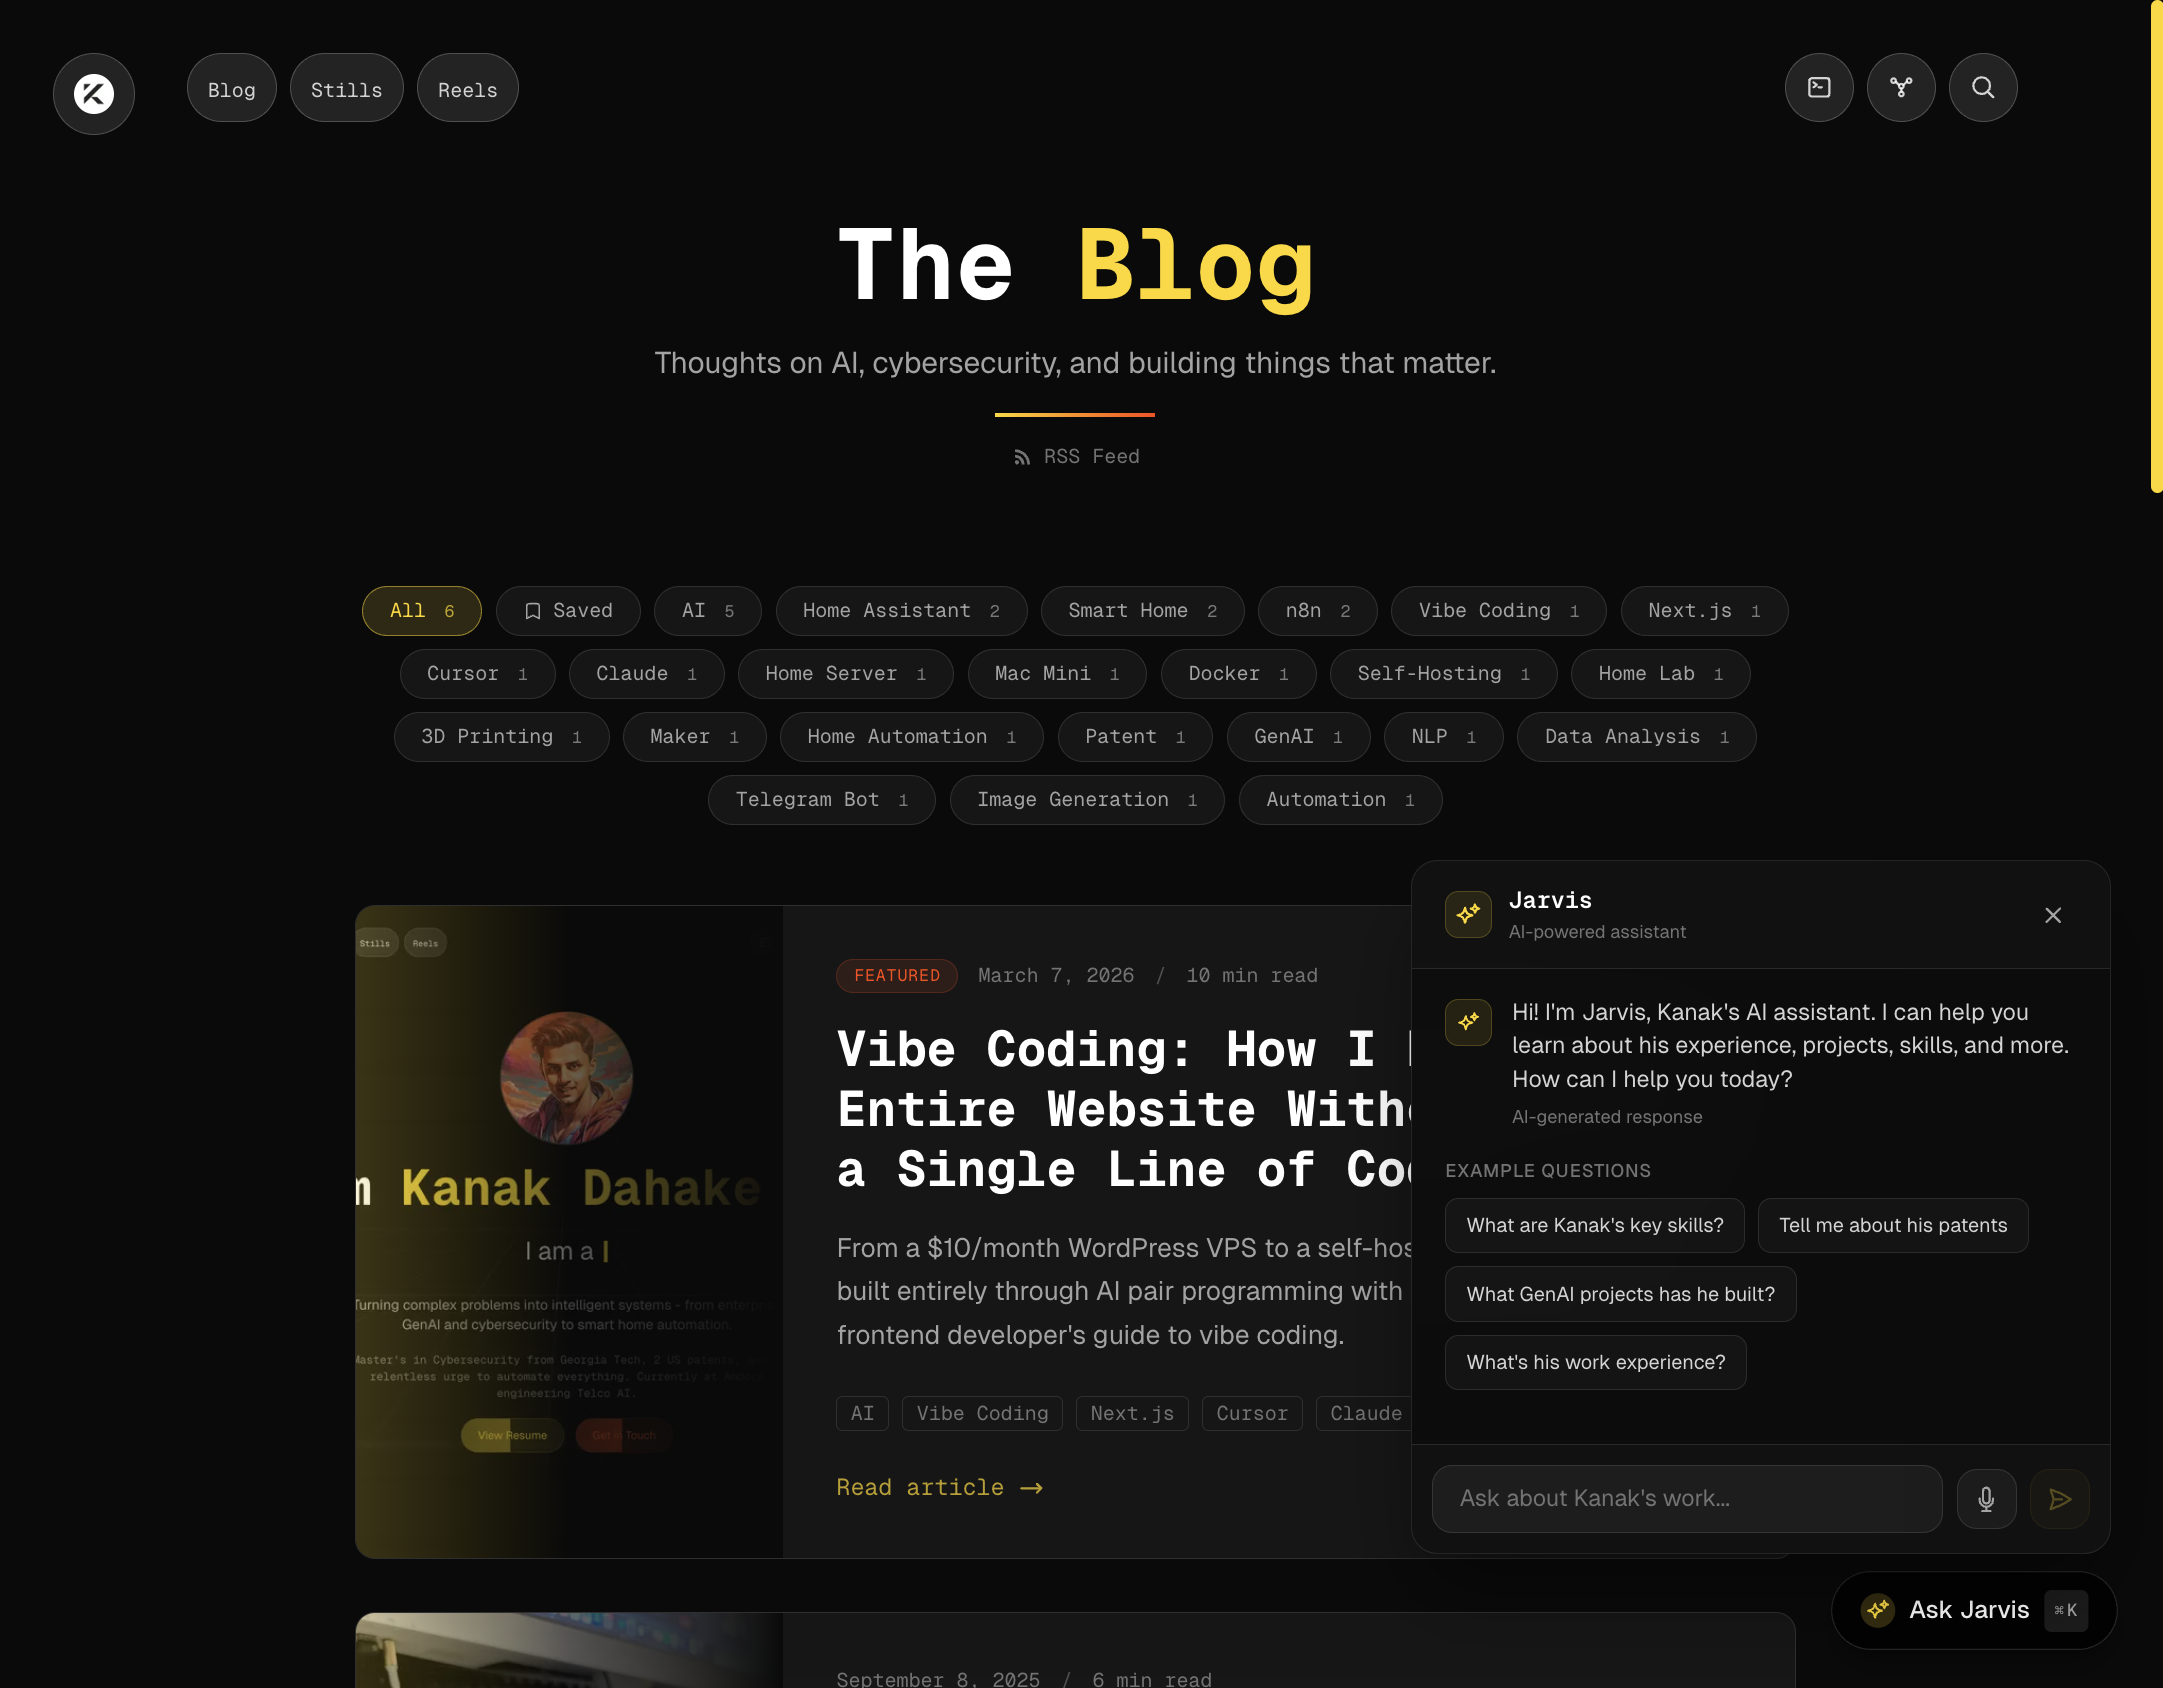
The architecture:
- At build time, a script generates vector embeddings of all my content (resume, blog posts, project descriptions) using Gemini's embedding model
- When a user asks a question, it performs semantic search against these embeddings to find the most relevant context
- That context is injected into a Gemini prompt along with the user's question
- The response streams back in real-time
The entire RAG pipeline -- embeddings generation, semantic search, context injection, streaming responses -- was designed and implemented through Cursor conversations. I described what I wanted ("an AI chatbot that can answer questions about me using my actual portfolio data"), and Claude built it layer by layer, from the embedding scripts to the API routes to the chat UI with voice input support.
And here's the kicker: it runs on Google Gemini's free tier. No OpenAI subscription needed. No API bills. Free.
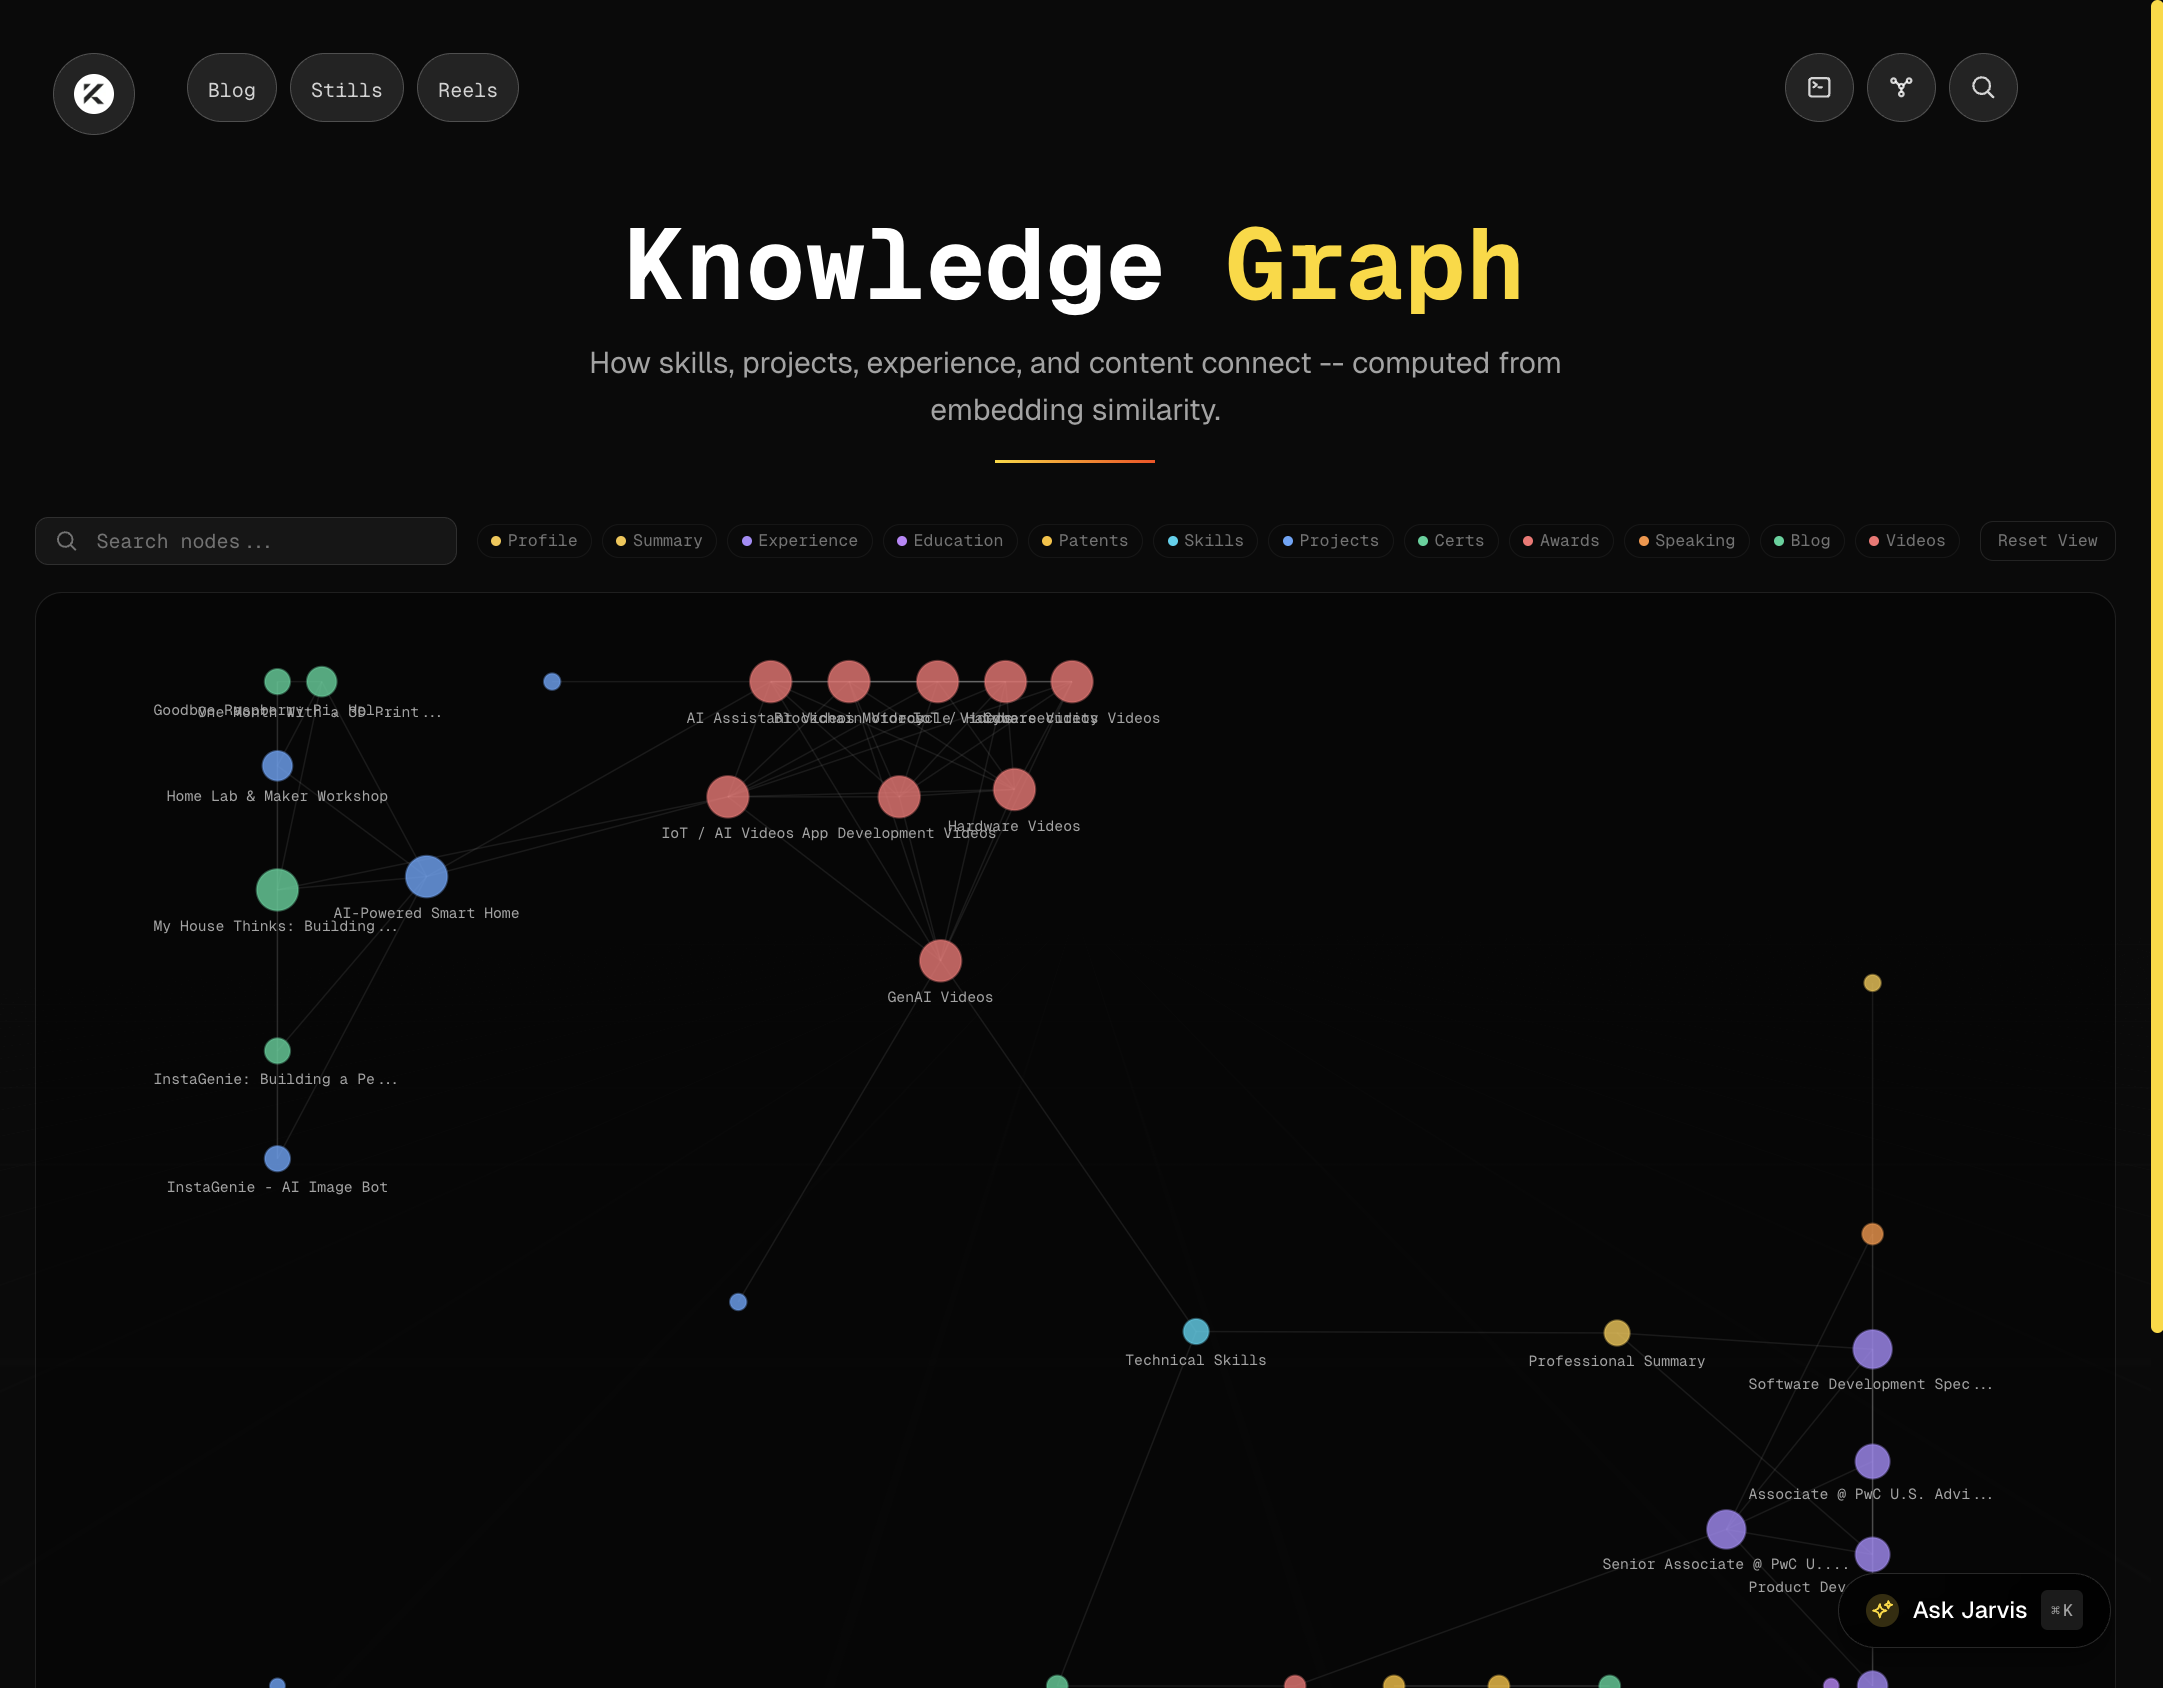
The Knowledge Graph
This one was ambitious. I wanted an interactive visualization showing how all my skills, projects, experience, and content are connected -- computed from the actual embedding similarity between items.
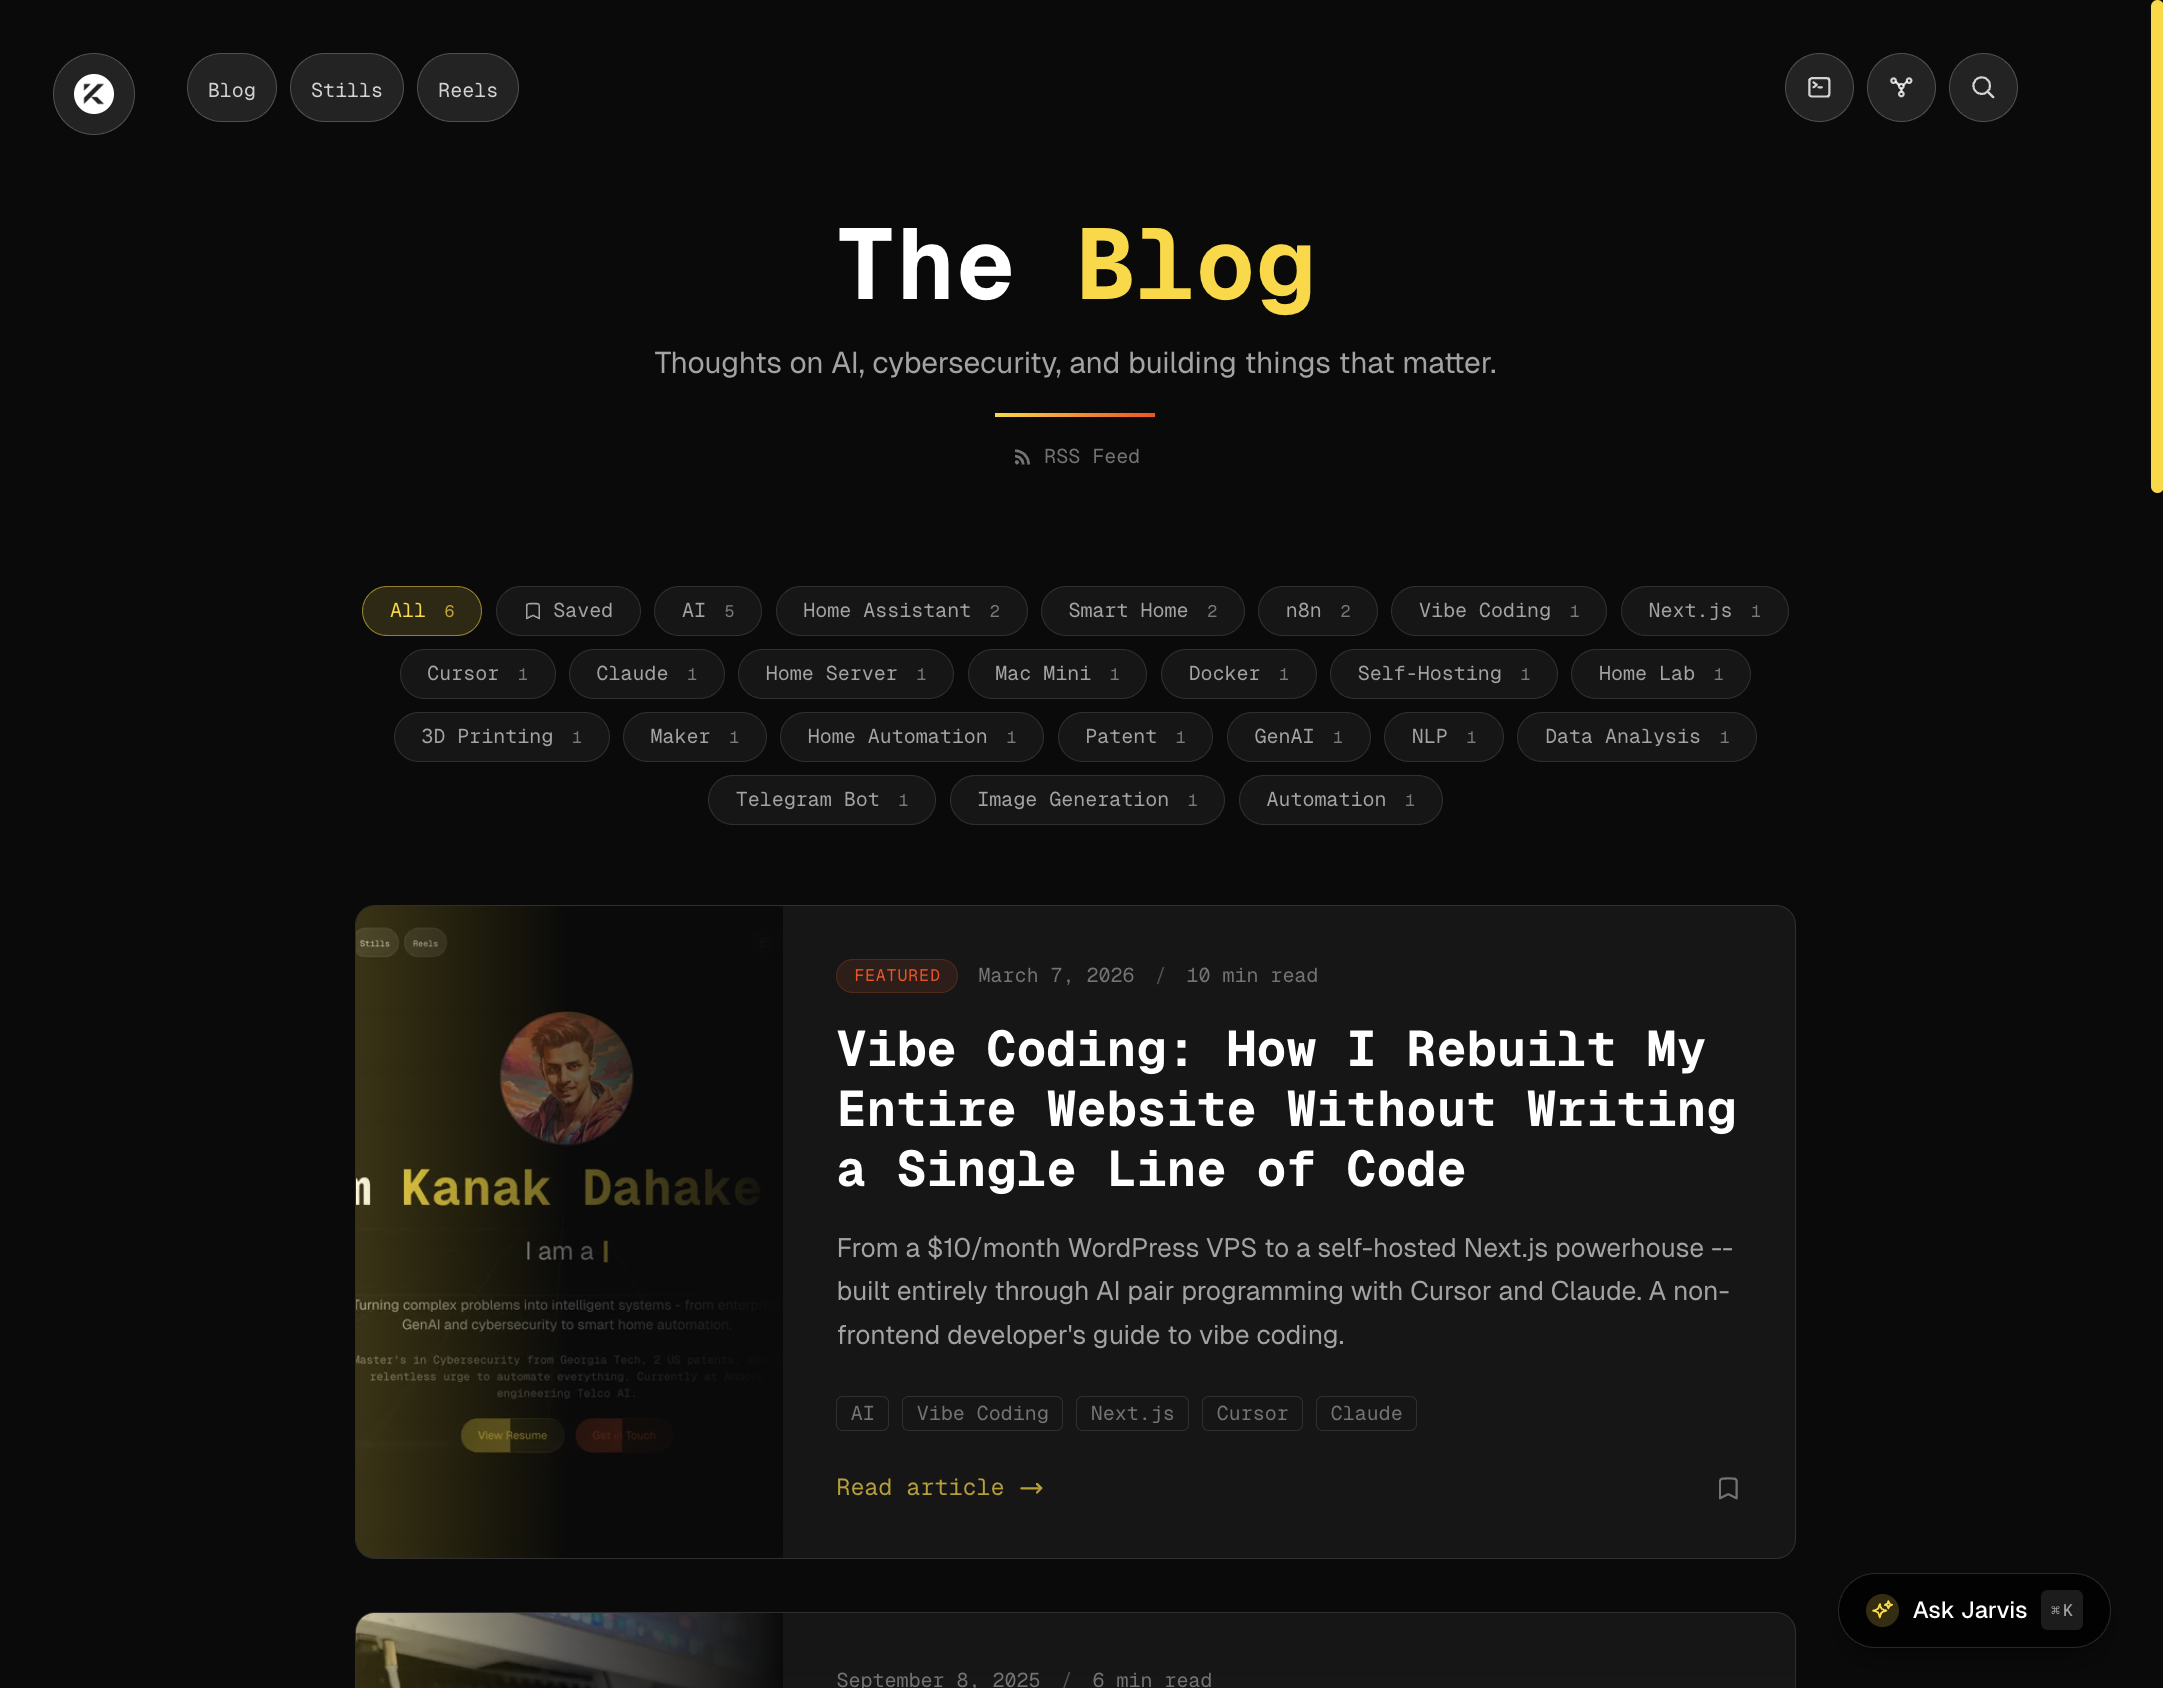
AI Blog Summaries
Every blog post on this site has an AI-generated summary, marked with an "AI" badge. These are generated at build time using a dedicated script that reads each MDX file, sends the content to Gemini, and caches the responses.
One interesting challenge: Gemini's gemini-2.5-flash is a "thinking" model, meaning it uses some of its output token budget for internal reasoning. Initially, all my summaries came back truncated to ~30 characters because I'd set maxOutputTokens: 200, not realizing the model was spending most of those tokens thinking. Bumping it to 2048 solved the problem. These are the kinds of debugging insights you gain through the vibe coding process.
AI-Tailored Resume
The resume page includes an "AI Tailor for a Role" feature. Enter a job title, and Gemini analyzes my full resume against that role, producing a tailored summary, relevant skills, highlighted experience, and tips -- all in seconds.
The Gallery with AI Image Captions
The Stills page features a masonry grid gallery with a lightbox viewer. Using Gemini's Vision API, each image gets an AI-generated caption. The lightbox even has an "Ask Jarvis" button that sends the image context to the chatbot for deeper discussion.

To keep costs at zero, the caption generation script sends compressed WebP thumbnails (600x600) instead of full-resolution images to the Vision API, dramatically reducing token consumption while maintaining caption quality.
Easter Eggs
Because every great website needs secrets. Try the Konami Code (up, up, down, down, left, right, left, right, B, A) for a Matrix-style rain animation. Open the terminal (press the backtick key) and type neofetch, matrix, or coffee for surprises. Ask Jarvis "sudo rm -rf" or "what is the meaning of life" for some witty responses.
Other Features
The list goes on:
- Semantic search across all content using vector embeddings
- Blog bookmarks persisted in localStorage
- RSS feed for blog subscribers
- GitHub activity section pulling live data from the GitHub API
- Dark/light mode with smooth transitions
- Responsive design that works beautifully on mobile
- Animated skill icons using an interactive 3D icon cloud
How I Handle Errors: The Browser Mode Advantage
One of Cursor's most powerful features for vibe coding is Browser Mode. Here's the workflow:
- I describe a feature or fix to Claude
- Claude implements it
- I open the browser preview right inside Cursor
- If something looks wrong, I can say "the button is misaligned" or "the animation is janky" and Claude can see the page state to understand the issue
- Fix, verify, iterate -- all without leaving the IDE
This tight feedback loop is what makes vibe coding productive. You're not copying error messages back and forth. The AI can see what you see and debug accordingly.
From $10/month VPS to Self-Hosted on Mac Mini
The final piece of the puzzle was hosting. My old WordPress site lived on a DigitalOcean VPS that cost around $10/month. Now:
- The Next.js app runs in a Docker container on my Mac Mini (the same one I wrote about in my Mac Mini home server blog post)
- Coolify manages the deployment (an open-source, self-hosted alternative to Vercel/Netlify)
- The Mac Mini is already running 24/7 for other services (Plex, Home Assistant, Ollama), so the incremental cost is essentially zero
- Performance is actually better than the VPS because the Mac Mini's M4 chip handles SSR effortlessly
The VPS has been shut down. The $10/month recurring charge is gone. And my website is faster than ever.
The Vibe Coding Philosophy
After building this entire website through AI pair programming, here are my takeaways:
1. You don't need to be an expert to build expert-level things. I'm living proof. My JavaScript knowledge is basic at best. But by clearly describing what I wanted and iterating on the results, I built something that rivals the work of experienced frontend developers.
2. Choose your AI model wisely. Not every task needs the most powerful model. Use faster, lighter models for quick iterations and save the heavy hitters for architectural decisions. This keeps the process fast and cost-effective.
3. Research is still your job. The AI can implement anything, but you need to know what to ask for. Spending time researching Next.js App Router patterns, Tailwind best practices, and Magic UI components gave me the vocabulary to describe what I wanted precisely.
4. Errors are learning opportunities. Every bug we encountered taught me something about how Next.js works, how React Server Components differ from Client Components, or how API rate limiting works. You absorb knowledge through the debugging process even if you're not writing the code yourself.
What's Next
The beauty of this setup is that adding features is trivial now. I just describe what I want and Cursor + Claude build it. Currently on the roadmap: The barrier between having an idea and seeing it live on my website has essentially disappeared. That's the real power of vibe coding.
The Numbers
Let me leave you with some concrete numbers:
- Monthly hosting cost: ~$10 --> $0 (self-hosted)
- Page load time: ~3-4 seconds --> Under 1 second
- Lighthouse score: ~65 --> 95+
- AI features: 0 --> 7+
- Time to add a new feature: Days --> Hours
If you're sitting on the fence about whether AI can help you build something real -- stop thinking and start describing. The tools are here. The future of development isn't about typing code faster. It's about thinking clearly and communicating effectively.
And honestly? It's the most fun I've had building anything in years.